10 Detailed Steps to Install a Flagstone Patio
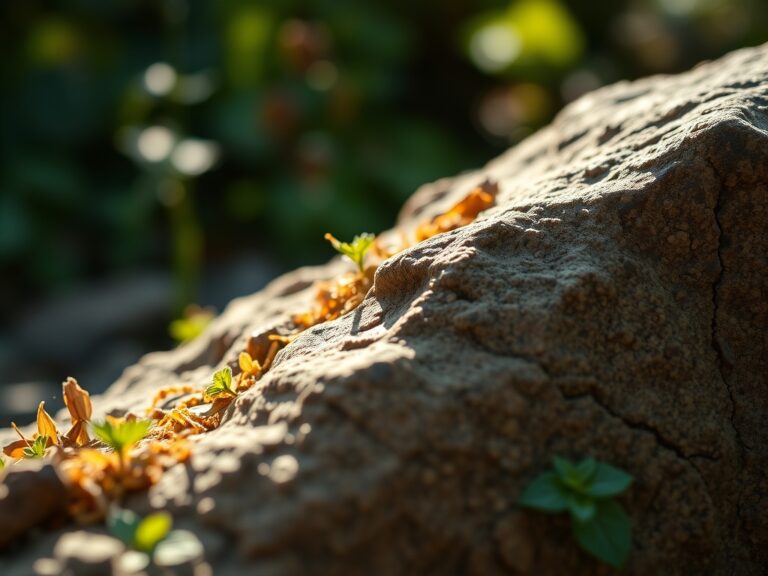
Damp earth releases a sharp, metallic scent as the spade breaks the surface tension of the soil. This is the scent of geosmin, a byproduct of Actinobacteria activity within the topsoil. Successful hardscaping requires more than just physical labor; it demands an understanding of the underlying geology and soil physics. When you begin the steps to install a flagstone patio, you are essentially engineering a drainage system that must interface with the existing ecosystem. The goal is to create a stable, non-shifting surface that permits moisture movement while preventing the compaction of the surrounding root zones. A poorly executed patio leads to stagnant water and anaerobic soil conditions, which can trigger root rot in nearby ornamental specimens. By following a rigorous scientific approach to excavation and layering, you ensure the structural integrity of the stone while maintaining the hydraulic conductivity of the land. This process integrates heavy masonry with the delicate balance of the rhizosphere, ensuring that your hardscape does not become a biological dead zone.
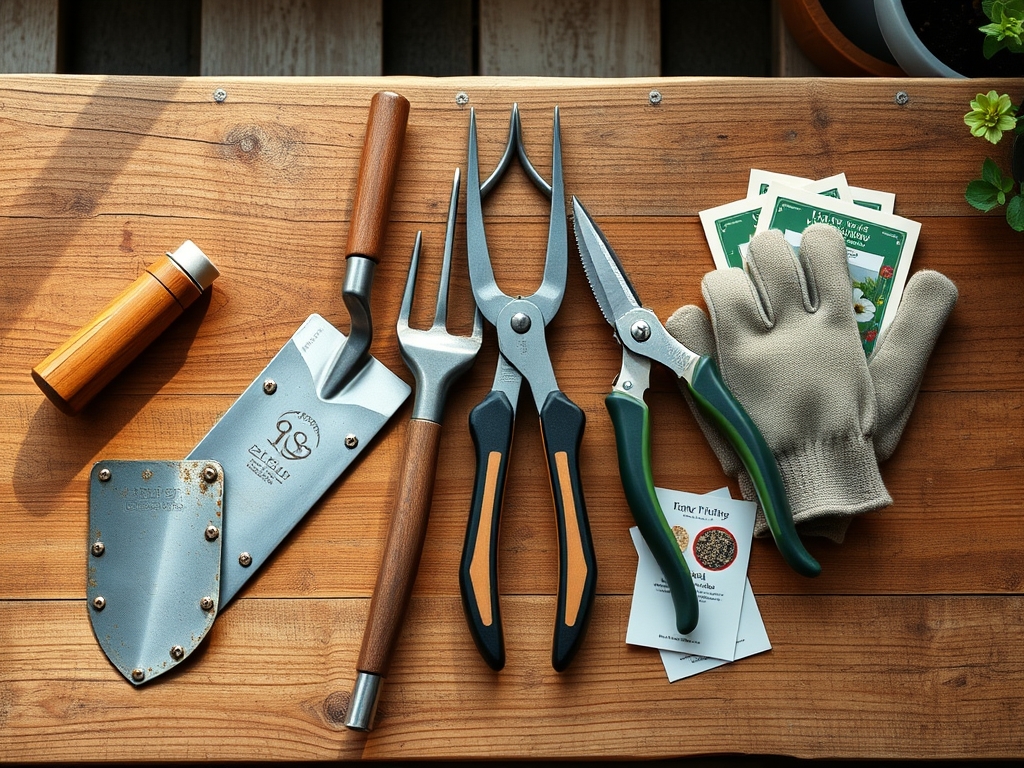
Materials:
The success of your patio depends on the substrate. You must analyze the soil texture; a **friable loam** with a balanced Cation Exchange Capacity (CEC) is ideal for peripheral plantings, but the patio base requires inert, inorganic materials. For the foundation, utilize **Class 5 crushed limestone or 3/4-inch minus gravel**. This material provides a high load-bearing capacity and excellent drainage.
For the leveling layer, use coarse masonry sand. Avoid fine play sand, which lacks the angularity needed for friction-based stability. If you are planting between the stones, the fill material must be tailored to the species. Use a mix of 70% sand and 30% organic compost with a target pH of 6.0 to 7.0. Ensure the NPK ratio of any supplemental fertilizer remains low, approximately 5-10-5, to prevent excessive vegetative growth that could destabilize the stone placement.
Timing:
Hardscaping should occur when the soil is at its lowest moisture content to prevent structural collapse and excessive compaction. In Hardiness Zones 4 through 7, the ideal window is late spring or early autumn. You must avoid the "frost heave" cycle; installing stone in frozen ground leads to catastrophic shifting when the ice lenses melt.
Monitor the biological clock of your surrounding flora. Construction during the transition from vegetative to reproductive stages (typically mid-summer) can stress plants due to root disturbance. Aim for the period of senescence in late autumn or the early dormant stage of late winter if the ground remains unfrozen. This timing minimizes the impact on the plants' metabolic demands and water uptake.
Phases:
Sowing the Foundation
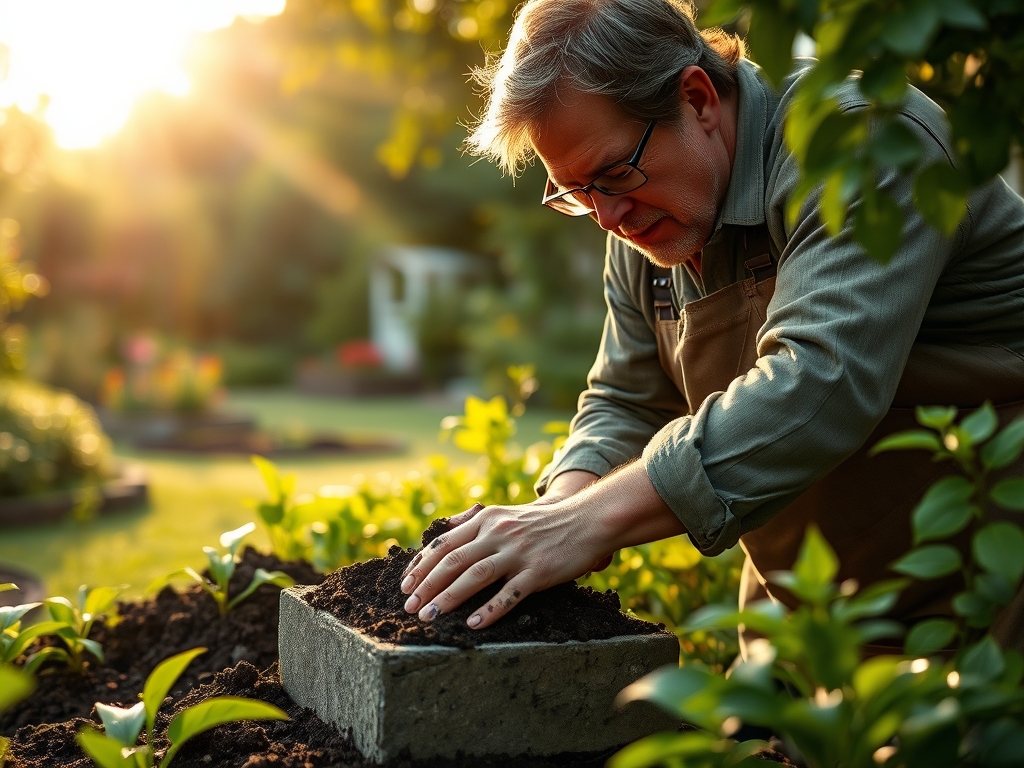
Excavate the area to a depth of 8 inches. This allows for 4 inches of compacted gravel, 2 inches of sand, and the thickness of the flagstone itself. Use a plate compactor to reach a 95% Proctor density on the subgrade.
Pro-Tip: Proper compaction prevents the formation of air pockets that can harbor anaerobic bacteria. This maintains the redox potential of the soil at the patio edge, ensuring that adjacent root systems can still access oxygen for cellular respiration.
Transplanting the Stone
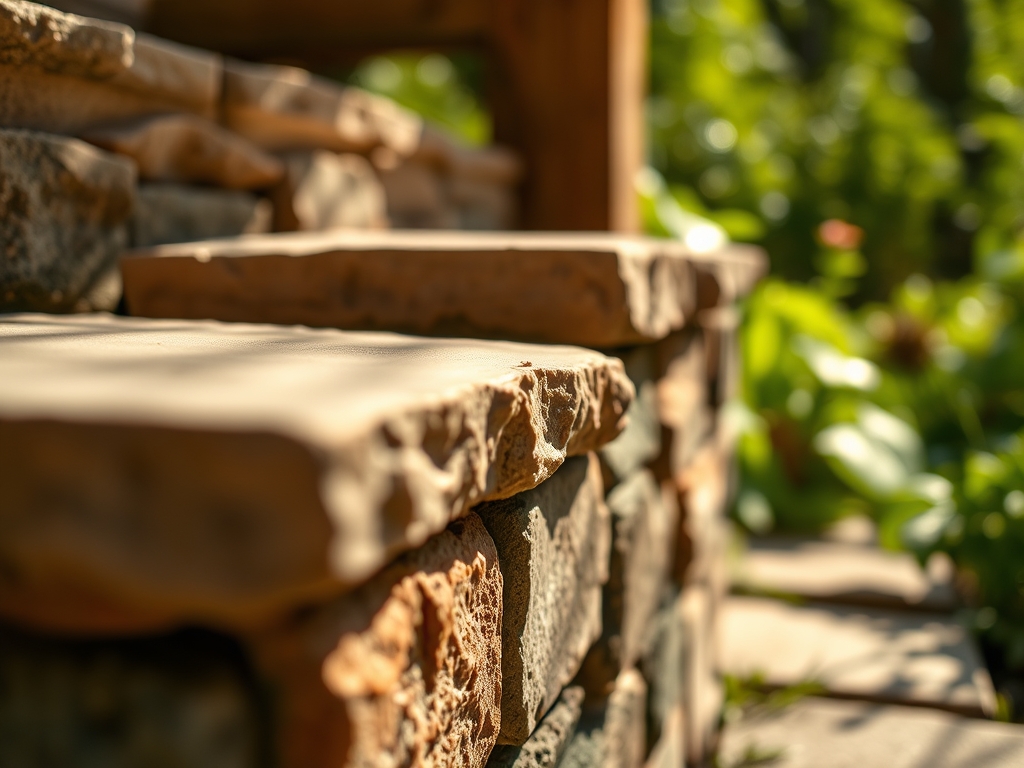
Lay the flagstone pieces starting from a straight edge or a focal point. Maintain a gap of 1 to 2 inches between stones for jointing material. Use a rubber mallet to set each stone, ensuring a 1% to 2% slope away from any structures to facilitate surface runoff.
Pro-Tip: When placing stones near existing trees, stay outside the Critical Root Zone (CRZ). Compacting soil over roots causes auxin suppression and limits gas exchange, leading to a slow decline in the tree's canopy health.
Establishing the Joints
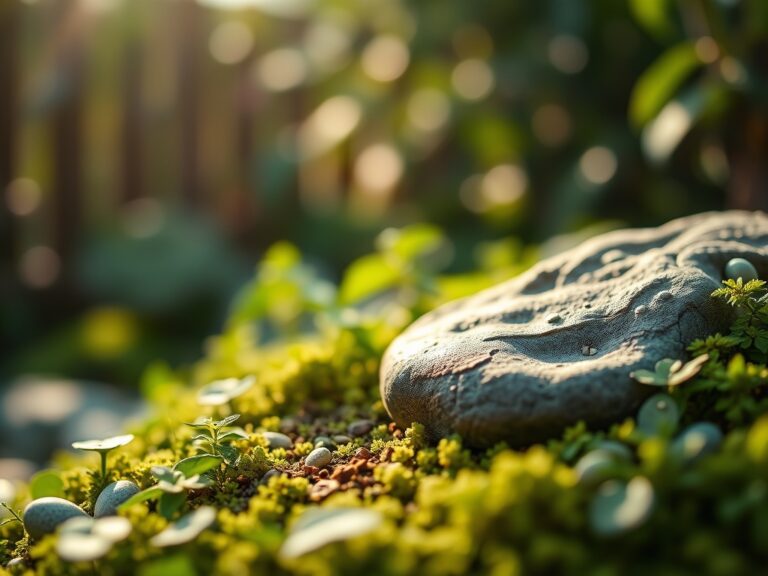
Fill the gaps with polymeric sand or a living mulch like Thymus serpyllum. If using living plants, ensure the root balls are tucked tightly into the sand-compost mix. Saturate the area immediately to remove air pockets.
Pro-Tip: Living joints utilize mycorrhizal symbiosis. The fungi bridge the gap between the isolated soil pockets under the stones and the larger soil biome, increasing the drought tolerance of the "steppable" plants through enhanced water transport.
The Clinic:
Physiological disorders in the patio environment usually manifest in the surrounding vegetation or the "creepers" between stones.
- Symptom: Interveinal chlorosis (yellowing leaves with green veins) in peripheral shrubs.
- Solution: This is often Iron or Magnesium deficiency caused by high alkalinity from the limestone base leaching into the soil. Apply a chelated iron supplement to lower the local pH.
- Symptom: Leaf scorch and marginal necrosis.
- Solution: This indicates excessive radiant heat from the stone surface. Increase irrigation frequency to cool the root zone and maintain turgor pressure.
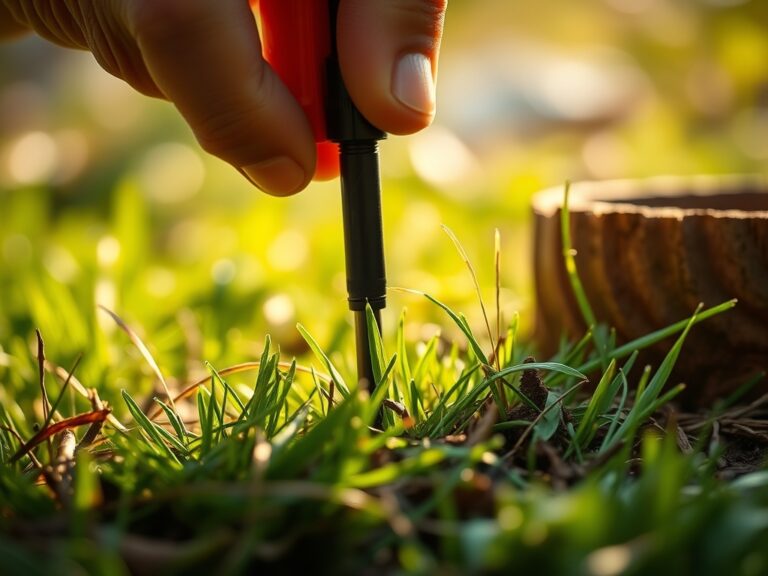
- Symptom: Stunted growth and dark purple foliage.
- Solution: This is a Phosphorus deficiency, often exacerbated by cold, compacted soils. Use a hori-hori knife to aerate the soil at the patio edge and apply a high-phosphate starter fertilizer.
Fix-It: For Nitrogen chlorosis (general paling of the entire leaf), apply a quick-release liquid fertilizer with an NPK of 20-0-0 to restore chlorophyll production rapidly.
Maintenance:
A flagstone patio requires consistent monitoring of the surrounding soil moisture. Use a soil moisture meter to ensure the perimeter receives at least 1.5 inches of water per week at the drip line. This prevents the soil from pulling away from the stone base during dry spells.
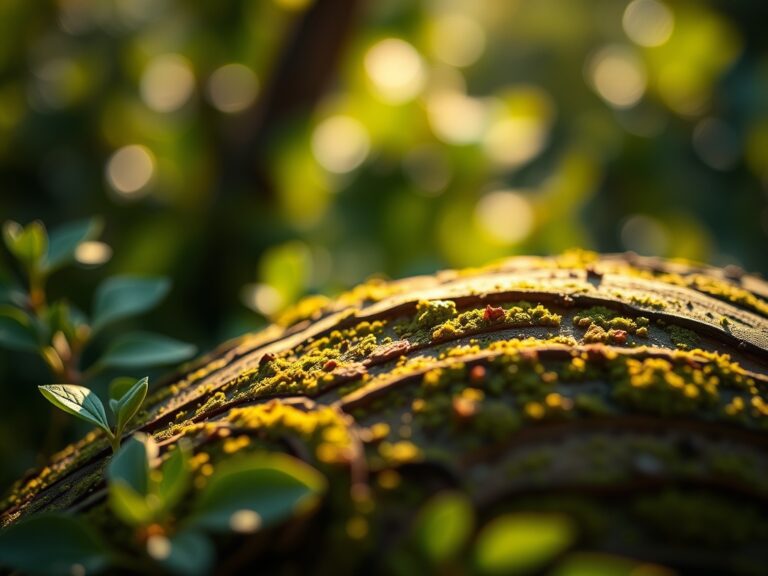
Use bypass pruners to trim any overhanging vegetation that creates excessive shade, which can lead to moss and algae growth on the stone. If weeds appear in the joints, use a hori-hori knife to extract the entire taproot. Avoid chemical herbicides that can leach into the groundwater or damage the mycorrhizal networks established in the joints. Every two years, check the level of the stones; if shifting occurs, lift the stone and add masonry sand to restore the proper grade.
The Yield:
If your patio includes an "edible joint" strategy with herbs like Creeping Thyme or Roman Chamomile, harvest when the essential oil concentration is at its peak. This usually occurs just before the plant enters its flowering stage in the early morning after the dew has evaporated.
Use sharp snips to take no more than 30% of the biomass at one time. This prevents the plant from entering a state of shock and allows for rapid regeneration. For "day-one" freshness, place the harvested sprigs in a sealed container with a damp paper towel and refrigerate at 40 degrees Fahrenheit. This slows the respiration rate and preserves the volatile compounds within the leaf tissue.
FAQ:
How deep should I dig for a flagstone patio?
Excavate to a total depth of 8 inches. This accommodates a 4-inch gravel base, 2 inches of leveling sand, and approximately 2 inches of stone thickness. Proper depth ensures structural stability and prevents frost heave in colder climates.
What is the best stone for a high-traffic patio?
Choose sandstone or quartz-based flagstone with a thickness of at least 2 inches. These materials have high compressive strength and low porosity, making them resistant to weathering and the mechanical stress of constant foot traffic.
Can I lay flagstone directly on dirt?
No. Placing stone on raw soil leads to uneven settling and poor drainage. Without a compacted aggregate base, the stones will shift during the freeze-thaw cycle, and the lack of oxygen will cause root asphyxiation in nearby plants.
How do I prevent weeds between flagstones?
Use polymeric sand to create a hard, sweep-resistant joint that inhibits seed germination. Alternatively, plant dense "steppable" groundcovers to outcompete weeds. Maintaining a slightly acidic soil pH in the joints can also discourage many common weed species.
How much slope does a patio need?
The patio must have a minimum pitch of 1/8 inch per foot, or approximately 1% to 2%. This ensures that gravitational force directs water away from foundations, preventing hydrostatic pressure buildup and protecting the structural integrity of your home.