10 Pro Tips How to Use Perlite Soil
Perlite transforms heavy, waterlogged soil into a free-draining medium that roots can colonize rapidly. The volcanic glass, heated until it explodes into white granules, holds oxygen in its cavities while allowing excess moisture to escape. Growers who understand how to use perlite soil correctly can reduce transplant shock, prevent root rot, and accelerate establishment in both container and ground plantings. This mineral amendment does not decompose, making it a permanent structural component that maintains porosity year after year.
Materials
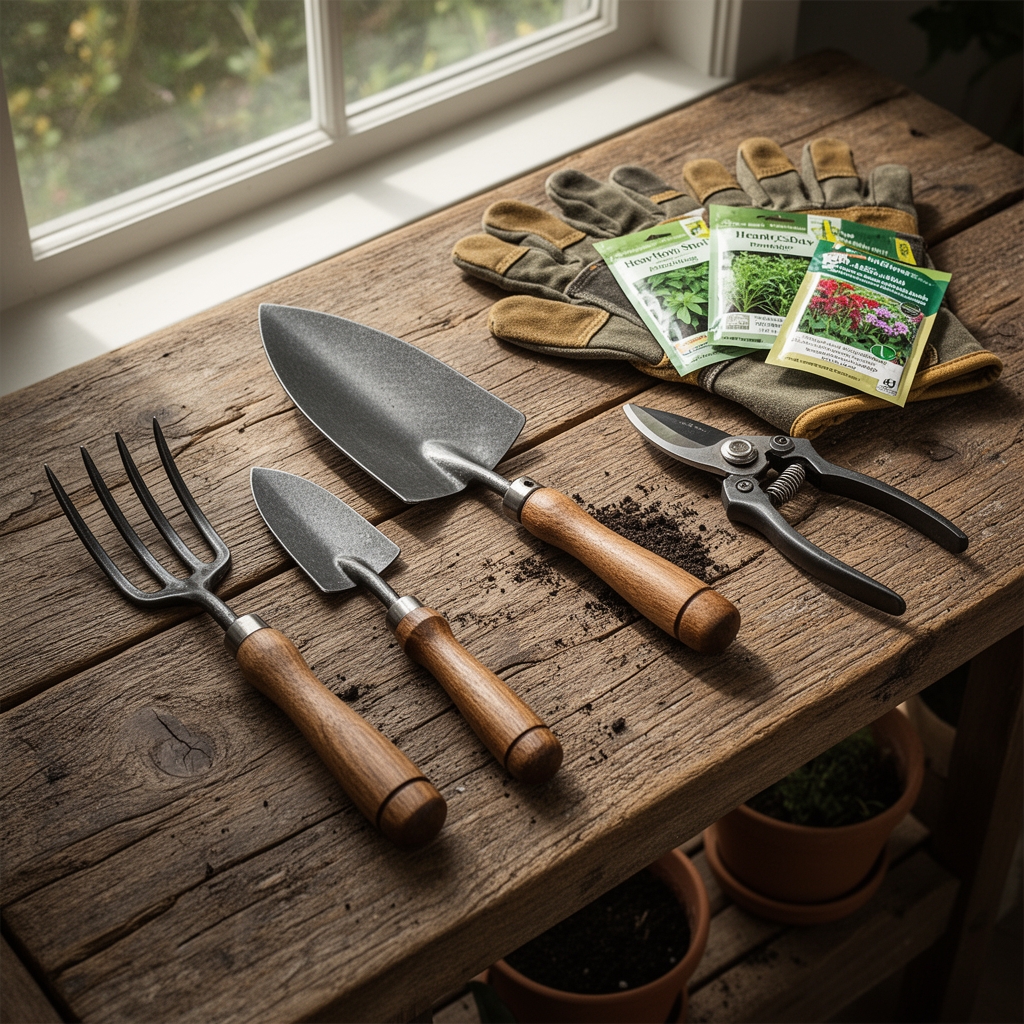
Perlite grades: Coarse (1/4 to 1/2 inch) for orchids and succulents, medium (1/8 to 1/4 inch) for general potting mixes, and fine (under 1/8 inch) for seed-starting. Horticultural perlite carries a pH of 6.5 to 7.5, essentially neutral, and contributes zero NPK value.
Base substrate: Sphagnum peat moss (pH 3.5 to 4.5) or coconut coir (pH 5.8 to 6.8). Both serve as the primary water-retaining matrix.
Amendments: Composted bark fines improve cation exchange capacity. Worm castings supply a gentle 1-0-0 NPK ratio and populate the substrate with beneficial microbes. Granular organic fertilizer (4-4-4 or 5-5-5) delivers slow-release macronutrients over 8 to 12 weeks.
Wetting agent: Yucca extract or a commercial surfactant ensures even hydration, especially critical in peat-based mixes that can become hydrophobic when dry.
Inoculant: Endomycorrhizal fungi (Rhizophagus species) colonize root cortex cells and extend nutrient acquisition, particularly phosphorus, beyond the depletion zone.
Timing
Plant establishment windows align with USDA Hardiness Zones and local frost dates. In Zones 3 through 6, sow indoors 6 to 8 weeks before the last spring frost, typically late March through mid-April. Transplant outdoors when soil temperatures stabilize above 55°F, usually two weeks after the final frost date.
Zones 7 through 9 permit direct sowing outdoors in early March, with fall planting windows reopening from late August through September. Zone 10 and 11 gardeners can transplant year-round but should avoid high summer temperatures above 95°F, which stress root development even in well-aerated substrates.
Autumn applications of perlite-amended compost allow microbial populations to establish before spring flush. Incorporate amendments 4 to 6 weeks before planting to let organic matter begin decomposition and release initial nutrients.
Phases

Sowing: Blend 1 part fine perlite with 2 parts seed-starting mix. The increased air-filled porosity prevents damping-off fungi (Pythium, Rhizoctonia) from proliferating in waterlogged conditions. Fill cell trays, water from below until the surface glistens, then sow seeds at twice their diameter in depth. Maintain substrate temperature at 70 to 75°F using a propagation mat. Germination occurs when oxygen reaches the embryo, and perlite ensures consistent gas exchange.
Pro-Tip: Dust seed-starting mix with Trichoderma harzianum powder at 1 gram per gallon of substrate. This fungal antagonist colonizes the root zone before pathogens establish, reducing seedling mortality by up to 40 percent.
Transplanting: Prepare beds by tilling in 2 inches of coarse perlite and 1 inch of compost to a depth of 8 inches. This achieves a bulk density of 0.9 to 1.1 g/cm³, optimal for fibrous root expansion. Water beds 24 hours before transplanting to eliminate air pockets. Remove seedlings from cells by pressing the bottom plug, preserving the root ball's integrity. Set transplants at the same depth they occupied in the cell, firm soil gently, and water with a diluted seaweed solution (1 tablespoon per gallon) to supply cytokinins that mitigate transplant shock.
Pro-Tip: Trim root-bound seedlings by scoring four vertical cuts (1/4 inch deep) on the root ball's sides. This severs circling roots and stimulates lateral branching through auxin redistribution.
Establishing: Monitor soil moisture with a tensiometer; irrigate when readings reach 20 to 30 centibars. Perlite's low water-holding capacity (10 to 15 percent by volume) means containers dry faster than field soil. Apply 1/2 inch of water every 3 to 4 days in containers, adjusting for temperature and humidity. Mulch beds with 2 inches of shredded hardwood to stabilize soil temperature and reduce evaporation.
Pro-Tip: Side-dress with granular 5-10-10 fertilizer at 2 ounces per 10 linear feet, four weeks post-transplant. Band the fertilizer 3 inches from stems to position nutrients in the active root zone without burning tender tissues.
Troubleshooting
Symptom: Yellowing lower leaves with green veins. Solution: Iron deficiency caused by pH above 7.5. Drench with chelated iron (Fe-EDDHA) at 1 tablespoon per gallon. Incorporate sulfur at 1 pound per 100 square feet to lower pH over 8 weeks.
Symptom: White crust on soil surface. Solution: Salt accumulation from hard water or over-fertilization. Leach containers with distilled water at twice the pot volume. Flush beds with 2 inches of irrigation water to move salts below the root zone.
Symptom: Wilting despite moist substrate. Solution: Root rot from Fusarium or Phytophthora. Remove affected plants immediately. Drench remaining plants with a phosphite fungicide (potassium phosphite) at labeled rates. Increase perlite ratio to 40 percent in replacement substrate.
Symptom: Slow, stunted growth with purpling stems. Solution: Phosphorus deficiency in cold soil (below 50°F). Roots absorb phosphorus poorly at low temperatures. Apply liquid 10-52-10 starter fertilizer at 1 tablespoon per gallon weekly until soil warms.
Symptom: Holes in leaves with dark frass. Solution: Caterpillar damage from armyworms or cabbage loopers. Spray Bacillus thuringiensis subspecies kurstaki (Btk) at 1 teaspoon per gallon in the evening when larvae are feeding. Repeat every 5 days for three applications.
Maintenance
Water containers when the top 1 inch of substrate feels dry to the touch. Field beds require 1 inch of water per week, delivered in a single deep irrigation rather than multiple shallow events. Deep watering encourages roots to explore lower soil strata.
Feed container plants with liquid 15-5-15 fertilizer at half strength (1/2 teaspoon per gallon) every 10 days. Field plantings benefit from a mid-season topdress of compost at 1/2 inch depth, gently worked into the top 2 inches of soil.
Prune damaged or diseased tissue with disinfected shears (dipped in 10 percent bleach solution between cuts). Remove no more than 20 percent of foliage at once to avoid shocking the plant's photosynthetic capacity.
Test substrate pH and electrical conductivity monthly using a slurry method: mix 1 part soil with 2 parts distilled water, let settle for 30 minutes, then measure. Target pH of 6.0 to 6.8 and EC below 2.0 mS/cm for most crops.
FAQ
How much perlite should I add to potting soil?
Blend 10 to 20 percent by volume for standard houseplants, 30 to 40 percent for succulents and cacti, and up to 50 percent for orchids requiring rapid drainage.
Can perlite replace sand in soil mixes?
Yes. Perlite weighs one-tenth as much as sand, reducing container weight while providing superior air porosity. Sand compacts over time; perlite maintains structure indefinitely.
Does perlite need rinsing before use?
Rinsing removes fine dust that can clog substrate pores and irritate lungs during handling. Rinse until runoff runs clear, approximately 2 to 3 minutes under running water.
Will perlite float out of pots during watering?
Surface granules may float initially. Top-dress with 1/4 inch of compost or fine bark to anchor perlite below the surface layer.
How long does perlite last in soil?
Indefinitely. The expanded volcanic glass does not degrade, compress, or lose structural integrity, making it a one-time amendment for the life of the planting bed.