10 Strong Ways How to Build a Cedar Garden Fence
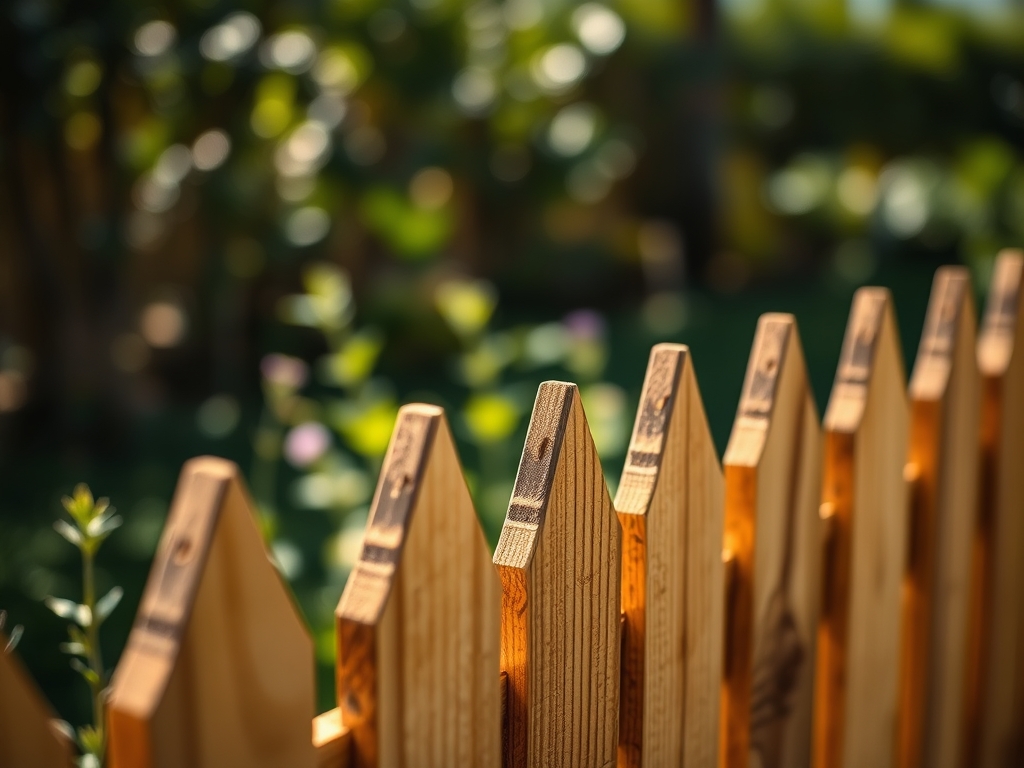
The scent of damp, acidic soil mixed with the sharp, resinous aroma of Thuja plicata heartwood signals the start of a permanent landscape installation. A successful project requires understanding the structural integrity of the timber and the biological needs of the surrounding rhizosphere. When you learn how to build a cedar garden fence, you are not merely erecting a barrier; you are managing a microclimate that influences air circulation and soil moisture levels for every plant in the vicinity.
Materials:
Construction begins with the substrate. For fence posts, you require a **friable loam** that allows for adequate drainage to prevent fungal pathogens from attacking the wood at the soil line. If your soil has a high clay content, the **Cation Exchange Capacity (CEC)** will be high, retaining more water and increasing the risk of post rot. Aim for a soil pH between **6.0 and 7.0** to ensure that any perimeter plantings thrive.
Before setting posts, amend the surrounding soil with a balanced 10-10-10 NPK ratio if you plan to grow climbers. High nitrogen levels (the first number) support the vegetative growth of vines that will eventually scale the cedar. Ensure you have 6×6 pressure-treated base posts for ground contact and Western Red Cedar for the rails and pickets. Cedar contains natural thujaplicins, which are chemical compounds that resist decay and repel xylophagous insects.
Timing:
Installation should occur during the dormant season, specifically between the first hard frost and the spring thaw. In Hardiness Zones 4 through 7, this window typically falls between late November and early March. Building during the "Biological Clock" transition from senescence (dormancy) to the vegetative stage prevents compacting the soil during active root expansion.
Avoid construction when the ground is saturated. Working in mud destroys soil structure and reduces oxygen availability in the rhizosphere. Wait for a period where the soil temperature is consistently below 45 degrees Fahrenheit to ensure that nearby perennial root systems are not shocked by the mechanical disturbance of digging post holes.
Phases:

Sowing the Layout
Establish your perimeter using high-visibility masonry string. Dig post holes to a depth of at least one-third the total height of the post. For a six-foot fence, this means a 24-inch to 30-inch deep hole.
Pro-Tip: Fill the bottom three inches of the hole with crushed aggregate. This creates a "sump" that utilizes gravity to pull moisture away from the wood. This prevents the saturation of the wood fibers, which would otherwise lead to anaerobic conditions and cellular breakdown.
Transplanting the Structure
Set your posts and backfill with concrete or compacted gravel. Ensure every post is perfectly plumb using a post level. Once the posts are set, install your horizontal rails at 8-inch and 56-inch heights from the ground.
Pro-Tip: Leave a 2-inch gap between the bottom of the cedar pickets and the soil surface. This gap facilitates air drainage. Without it, cool, moist air pools at the base of the fence, increasing the humidity and the likelihood of powdery mildew on nearby foliage due to restricted airflow.
Establishing the Pickets
Fasten the cedar pickets using 304-grade stainless steel screws. Avoid galvanized nails, as the tannins in the cedar will react with the zinc and cause black vertical streaking over time.
Pro-Tip: Space pickets at least 1/8 inch apart to allow for hygroscopic expansion. Wood is a biological tissue that expands and contracts based on ambient humidity. Providing this space prevents the pickets from buckling, which would otherwise trigger thigmotropism (touch-response) issues in climbing plants trying to find a stable grip.
The Clinic:
Physiological disorders in the garden often manifest near new structures. Monitor these symptoms closely.
- Symptom: Yellowing of lower leaves on perimeter plants (Nitrogen Chlorosis).
- Solution: The construction process may have buried "brown" organic matter, causing nitrogen tie-up. Apply a liquid 5-1-1 fish emulsion to provide immediate bioavailability.
- Symptom: Stunted growth and "leaning" toward the fence.
- Solution: This is phototropism. The fence is casting a shadow that exceeds the plant's light compensation point. Thin the upper pickets or move the plant 12 inches further out.
- Symptom: White, fuzzy growth on the wood or nearby leaves.
- Solution: Poor air circulation. Increase the gap at the bottom of the fence or prune back 20 percent of the plant's interior canopy to lower the humidity.
Fix-It: If you notice iron deficiency (interveinal chlorosis in new leaves), check the soil pH. Construction debris like concrete dust can spike the pH, making iron insoluble. Apply chelated iron to bypass the soil chemistry and restore chlorophyll production.
Maintenance:
A cedar fence requires precise hydration management for the surrounding landscape. Use a soil moisture meter to ensure the area receives exactly 1.5 inches of water per week at the drip line. Over-watering will lead to hydrostatic pressure against the fence posts, while under-watering will cause the cedar to check and crack prematurely.
Use a hori-hori knife to remove any weeds that emerge at the base of the fence; do not use a string trimmer, as mechanical damage to the cedar pickets destroys the protective outer bark of the lumber. Every two years, inspect the structural integrity using bypass pruners to clear away any woody vines that have grown thick enough to displace the pickets.
The Yield:
While a fence is not harvested, the "yield" is the increased productivity of the protected microclimate. A cedar fence acts as a windbreak, reducing the transpiration rate of your plants. This allows them to maintain turgor pressure more efficiently during the heat of the day. In the autumn, the cedar boards will radiate stored thermal energy, potentially extending your growing season by 7 to 10 days by preventing localized frost.
FAQ:
How deep should I dig the fence posts?
Dig holes to a depth of at least 30 inches or one-third of the post length. This ensures the post stays below the frost line to prevent "heaving" during freeze-thaw cycles in the winter months.
Should I seal my cedar garden fence?
Cedar contains natural oils, but applying a clear UV-rated sealant every three years preserves the cellular structure. This prevents the wood from turning gray and maintains the structural integrity required to support heavy climbing perennials.
Can I use cedar fence pickets for raised beds?
Yes. Cedar is rot-resistant and does not leach harmful chemicals into the soil. Ensure the boards are at least 5/8-inch thick to handle the lateral pressure of wet soil and the weight of the root mass.
What is the best way to prevent post rot?
Use crushed gravel backfill instead of pouring concrete directly against the wood. This allows water to drain away from the post, preventing the anaerobic conditions that allow fungal hyphae to colonize and decay the timber.