5 Best Solar Path Lights for Brightness
The scent of damp, well-aerated humus rising from a garden bed indicates a high level of microbial activity. This biological vigor is only visible if the landscape is properly illuminated after dusk. Selecting the best solar path lights for brightness requires an understanding of lumen output and photovoltaic efficiency. High-performance units must deliver at least 80 to 100 lumens to penetrate the dense canopy of a mature shrubbery or a thicket of perennials. When lumens are insufficient, the architectural details of the foliage are lost to the shadows. A master gardener views lighting as a functional extension of the garden's structural integrity. Proper illumination ensures that the turgor of a healthy leaf is visible even at midnight. Low-quality fixtures often fail due to poor battery capacity or inefficient monocrystalline panels. To maintain a professional aesthetic, the hardware must withstand the corrosive nature of soil moisture and the high acidity of organic mulches. Precision in lighting placement mirrors the precision required for seed depth or fertilizer application.
Materials:

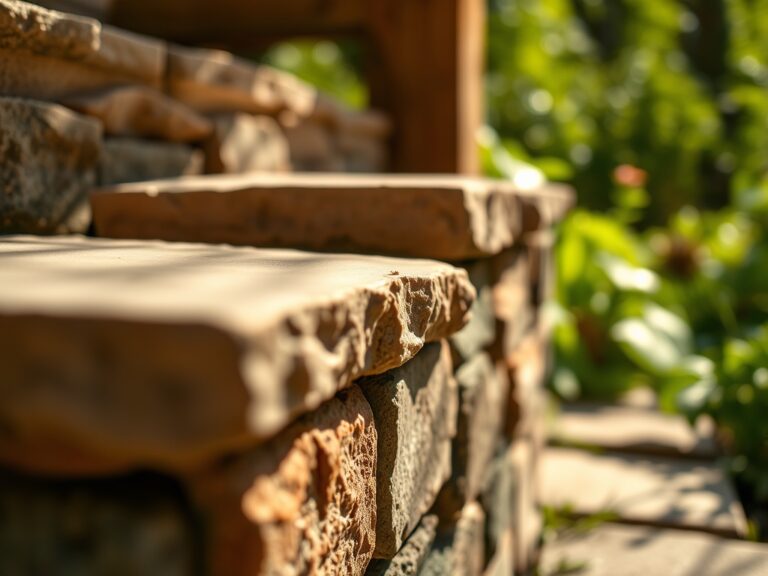
Installation of lighting fixtures often involves disturbing the rhizosphere. For optimal stability, the substrate should be a **friable loam** with a **pH between 6.0 and 7.0**. This acidity range prevents the rapid oxidation of metal stakes. If the soil is heavy clay, the Cation Exchange Capacity (CEC) will be high, retaining moisture that can lead to electrical short-circuits in inferior units.
Before driving stakes into the ground, evaluate the nutrient profile of the surrounding area. A standard 10-10-10 NPK ratio supports general vegetative growth, but if you are installing lights near heavy feeders like roses, ensure the soil contains adequate phosphorus (P) for root development. Avoid installing heavy metal fixtures in sandy soils with low CEC, as the lack of structural density will cause the lights to lean. The ideal substrate has a bulk density of approximately 1.33 grams per cubic centimeter, providing enough resistance to hold a 12-inch stake firmly without compressing the pore space required for root respiration.
Timing:
The biological clock of the garden dictates the best window for installation. In Hardiness Zones 4 through 7, the ideal time to install lighting is after the final spring frost when the soil temperature reaches a consistent 55 degrees Fahrenheit. This prevents the heaving of fixtures caused by the freeze-thaw cycle.
As plants transition from the vegetative stage to the reproductive stage, their light requirements change. However, solar lights are strictly for human navigation and aesthetic highlighting. Ensure the photoperiod of your plants is not disrupted; certain short-day plants require uninterrupted darkness to initiate flowering. Install lights during the dormant season if you wish to avoid damaging active root systems. In Zones 8 through 10, installation can occur year-round, provided the soil is not oversaturated by seasonal monsoons, which can lead to anaerobic conditions in the planting hole.
Phases:

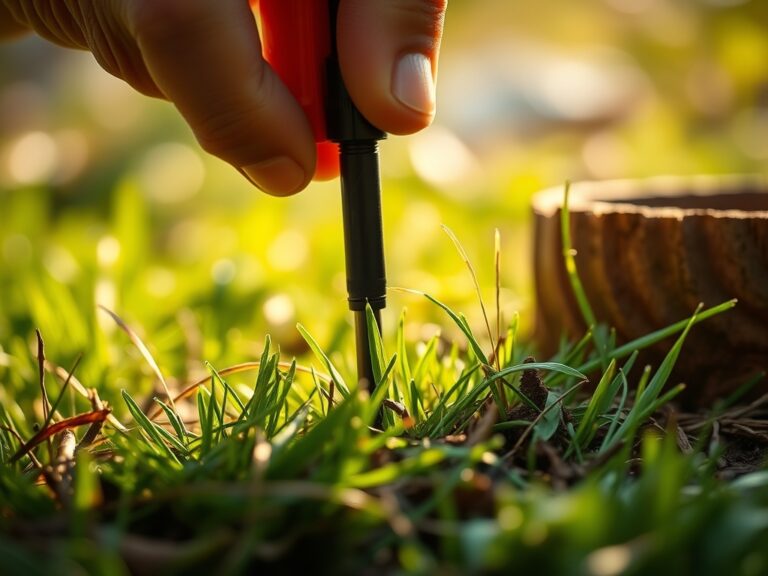
Sowing the Layout
Begin by mapping the light spread. The best solar path lights for brightness feature a beam angle of 120 degrees. Space fixtures 6 to 8 feet apart to avoid light pollution and overlapping glare. Use a hori-hori knife to cut a clean pilot hole.
Pro-Tip: Proper spacing prevents excessive heat buildup near delicate foliage. High-intensity LEDs can slightly alter the microclimate temperature. Understanding phototropism is key; plants will grow toward the strongest light source. If path lights are too bright and close, they may cause lopsided growth in nearby seedlings.
Transplanting the Fixtures
Insert the stakes into the pilot holes. Do not force them, as this can compact the soil and damage the mycorrhizal symbiosis occurring beneath the surface. If the soil is too hard, hydrate the area to a depth of 4 inches before proceeding.
Pro-Tip: Maintaining soil porosity during installation is vital for gas exchange. When you compact soil around a light stake, you limit the oxygen available to the rhizosphere, which can lead to localized root senescence.
Establishing the System
Once the lights are positioned, monitor their performance for 48 hours. Ensure the solar panels receive at least 6 hours of direct solar radiation. Wipe the panels with a microfiber cloth to remove pollen or dust, which can reduce charging efficiency by 30 percent.
Pro-Tip: Clean panels maximize energy absorption. In a biological context, this is similar to how a leaf's stomata must remain unobstructed for efficient gas exchange. Dust on a solar panel is the mechanical equivalent of soot on a leaf, inhibiting the "metabolism" of the light unit.
The Clinic:
Physiological disorders in the garden often manifest through foliage changes. If your plants near the lights show signs of stress, diagnose the issue immediately.
- Symptom: Interveinal chlorosis (yellowing between leaf veins).
- Solution: This indicates a Magnesium deficiency. Apply Epsom salts at a rate of 1 tablespoon per gallon of water.
- Symptom: Necrotic leaf margins (brown, burnt edges).
- Solution: This is often Potassium (K) deficiency. Increase the K ratio in your fertilizer to improve cellular turgor and water regulation.
- Symptom: Stunted growth and pale green leaves.
- Solution: Nitrogen chlorosis. Apply a quick-release high-nitrogen fertilizer (e.g., 21-0-0) to boost chlorophyll production.
Fix-It: For physical lighting issues, check the battery terminals for oxidation. Use a wire brush to clean contacts. If the light is flickering, it may be a sign of a failing lithium-ion cell or a shadow casting over the sensor during the day.
Maintenance:
A professional garden requires rigorous upkeep. Use a soil moisture meter to ensure the area around your lights maintains a moisture level of 40 to 60 percent. Provide exactly 1.5 inches of water per week at the drip line of nearby plants to prevent drought stress.
Use bypass pruners to trim any overhanging branches that cast shadows on the solar panels. This ensures the batteries reach a full state of charge. Every autumn, remove the fixtures in Zones 3 and 4 to prevent damage from deep ground freezes. Store them in a dry, temperate environment to preserve battery chemistry. Check the integrity of the stakes annually; if the soil pH has dropped below 5.5, the metal may show signs of pitting and require a coat of protective sealant.
The Yield:
While solar lights do not produce a harvest, the plants they illuminate do. For flowers like lavender or culinary herbs like rosemary, harvest during the "day-one" freshness window, which is usually just after the morning dew has evaporated but before the sun reaches its zenith. Use a sharp hori-hori knife for clean cuts that minimize tissue trauma.
Immediately place harvested stems in a bucket of cool water to maintain turgor pressure. For woody perennials, never remove more than one-third of the biomass at a single time to avoid shocking the plant's vascular system. This ensures the plant remains a healthy, illuminated focal point in your landscape for years to come.
FAQ:
How many lumens do I need for bright path lights?
For effective navigation and safety, seek fixtures providing 80 to 130 lumens. This range ensures the light reaches the ground surface effectively without being washed out by ambient moonlight or neighboring street lamps.
Does soil type affect solar light installation?
Yes. Compacted clay can bend stakes, while loose sand may not provide enough friction. A friable loam is ideal. High Cation Exchange Capacity in clay also retains moisture, which may corrode low-quality metal components over time.
Can solar lights harm my plants?
Generally, no. However, very bright LEDs placed too close to "short-day" plants can interfere with their photoperiodism. This may prevent the plant from flowering. Maintain a distance of at least 12 inches from sensitive foliage.
How do I maintain solar panels on path lights?
Wipe panels monthly with a damp cloth to remove debris. Accumulated dust or bird droppings can reduce energy conversion by 25 percent or more. Prune nearby shrubs with bypass pruners to prevent shading of the photovoltaic cells.