5 Quick Steps to Plant a Privacy Screen
Damp earth releases a sharp, metallic scent of geosmin as the spade breaks the surface. A healthy privacy screen begins with the turgor pressure of a well hydrated specimen; the leaves should feel firm and resistant to the touch. Success depends on the physiological integration of the root system into the local rhizosphere. Following the correct steps to plant a privacy screen ensures that your living barrier reaches its full density before the first season of senescence. You must approach this project as a biological engineering task. Every hole dug and every pound of amendment added serves the singular purpose of maximizing cellular expansion and lateral branching. Neglecting the initial soil chemistry or the physical structure of the planting site leads to stunted growth and sparse foliage. A professional installation requires precision in spacing and a deep understanding of the site specific hydrology. By adhering to rigorous horticultural standards, you can transform a vacant perimeter into a functional, dense wall of vegetation that provides wind protection and visual isolation.
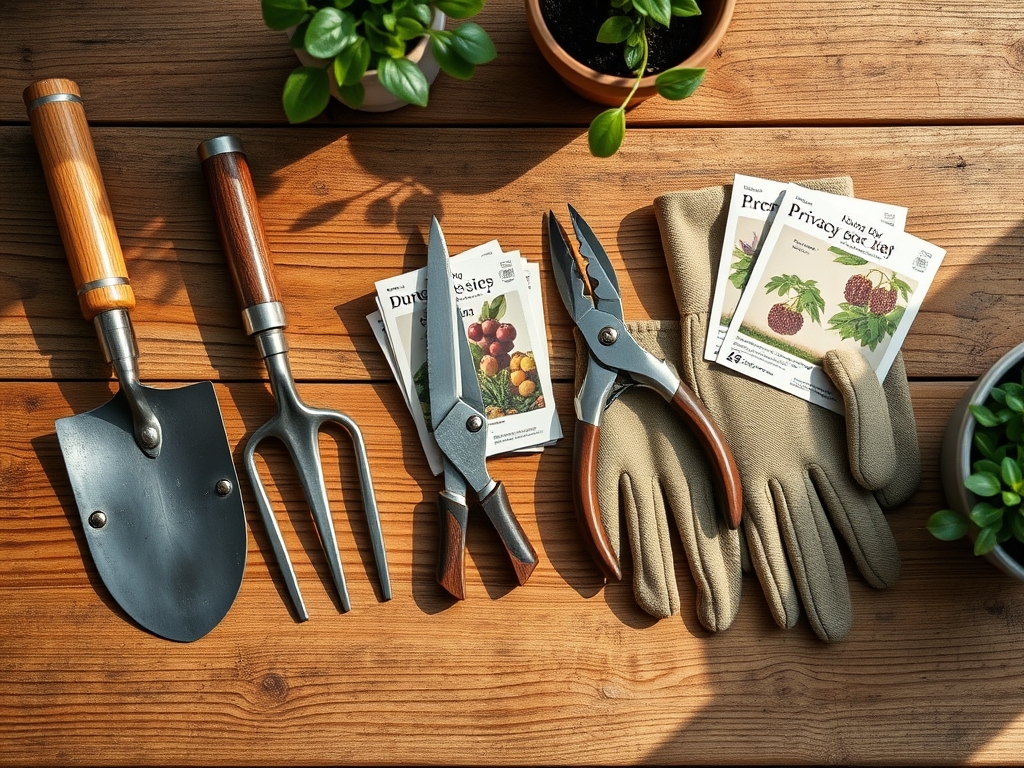
Materials:
The foundation of a privacy screen is the substrate. You require a friable loam with a Cation Exchange Capacity (CEC) above 15 to ensure nutrient retention. Most screening species, such as Thuja occidentalis or Prunus laurocerasus, thrive in a soil pH range of 6.0 to 7.5. If your soil tests outside these parameters, use elemental sulfur to lower pH or calcitic lime to raise it.
For the initial planting phase, secure a slow release fertilizer with an NPK ratio of 10-10-10 or a specialized 12-4-8 blend for evergreens. High phosphorus (the middle number) is critical for early root development. You will also need organic mulch, specifically double shredded hardwood or pine bark, to regulate soil temperature and moisture. Ensure you have a soil moisture meter and a hori-hori knife for precise root ball manipulation.
Timing:
Timing is dictated by the USDA Hardiness Zones and the biological clock of the chosen species. In Zones 5 through 7, the ideal window is late autumn or early spring. This allows the root system to establish during the plant's dormant or semi-dormant phase, reducing the metabolic demand for water. In warmer Zones 8 through 10, autumn planting is superior because it avoids the extreme heat stress of the summer months.
The "Biological Clock" of a privacy screen involves a transition from the establishment phase to the rapid vegetative growth stage. Most woody perennials require soil temperatures between 45 and 55 degrees Fahrenheit to initiate root elongation. Planting during a period of high photoperiod (long days) without an established root system will lead to desiccation, as the leaves will transpire moisture faster than the roots can provide it.
Phases:

Sowing and Selection
While most privacy screens are started from nursery stock, selecting the right specimens is the first step. Inspect the root system for any signs of girdling or rot. A healthy plant will have white or light tan root tips. Space your plants according to their mature width; for a dense screen, overlap the predicted mature spread by 15 to 20 percent.
Pro-Tip: Pay attention to apical dominance. If you choose a species with strong apical dominance, you may need to prune the terminal leader once it reaches the desired height to encourage lateral branching and increase density.
Transplanting
Dig a hole twice as wide as the root ball but no deeper. The flare of the trunk where it meets the roots must remain at or slightly above the soil line. If buried too deep, the lack of oxygen in the soil will cause stem suffocation and eventual death. Backfill with native soil to ensure the roots do not encounter a "soil interface" barrier that prevents them from moving into the surrounding ground.
Pro-Tip: Utilize mycorrhizal symbiosis by adding fungal inoculants to the planting hole. These fungi extend the reach of the root system, increasing the surface area for water and nutrient absorption by up to 1,000 times.
Establishing
Once the plant is in the ground, saturate the area immediately to eliminate air pockets. Apply a 3-inch layer of mulch around the base, keeping it at least 2 inches away from the trunk to prevent fungal pathogens. During the first year, the plant will focus its energy on root development rather than vertical growth.
Pro-Tip: Avoid heavy nitrogen fertilization in the first three months. High nitrogen triggers auxin suppression in the roots while forcing top growth, which creates an unbalanced plant that cannot support its own water needs.
The Clinic:
Symptom: Yellowing of older leaves while veins remain green (Interveinal Chlorosis).
Solution: This indicates a Magnesium deficiency or high pH blocking iron uptake. Apply chelated iron or Epsom salts (Magnesium Sulfate) at a rate of 1 tablespoon per gallon of water.
Symptom: Browning of needle tips or leaf margins (Desiccation).
Solution: This is often caused by "Winter Burn" or lack of water during high winds. Increase irrigation frequency and apply an anti-transpirant spray to the foliage to reduce moisture loss through the stomata.
Symptom: Stunted growth and purple tint on foliage.
Solution: Phosphorus deficiency. The plant cannot move energy at the cellular level. Incorporate bone meal or a high-phosphate fertilizer into the top 2 inches of soil.
Fix-It for Nitrogen Chlorosis: If the entire leaf turns pale green or yellow, the plant lacks Nitrogen. Apply a quick release 20-0-0 fertilizer or organic fish emulsion to restore chlorophyll production.
Maintenance:
A privacy screen requires disciplined maintenance to reach its full potential. Provide 1.5 inches of water per week, delivered directly to the drip line. Using a soil moisture meter is essential; the soil should feel damp at a depth of 4 inches but never saturated. Overwatering leads to anaerobic conditions that kill the root hairs.
Pruning should be performed with sharp bypass pruners to ensure clean cuts that heal quickly. For most evergreen screens, prune in late winter before the new growth flush begins. Remove no more than 25 percent of the total foliage in a single season to avoid stressing the plant. Use your hori-hori knife to remove any competing weeds within the mulch ring, as these will compete for the same cation exchange sites in the soil.
The Yield:
For flowering privacy screens like Hibiscus syriacus or Hydrangea paniculata, timing the harvest of blooms is critical for plant health. Cut flowers in the early morning when turgor pressure is at its peak. Use a sharp blade to make a 45-degree angle cut, which maximizes the surface area for water uptake.
Post-harvest, place the stems immediately into 100-degree Fahrenheit water containing a floral preservative. This prevents air embolisms in the xylem. For woody screens, "harvesting" may simply refer to the collection of trimmings for propagation. Treat these softwood cuttings with a 0.3 percent Indole-3-butyric acid (IBA) rooting hormone to stimulate new root growth.
FAQ:
How far apart should I space my privacy plants?
Space plants based on their mature width. For a dense screen, subtract 20 percent from the mature spread. For example, if a tree grows 10 feet wide, space them 8 feet apart on center to ensure the branches interlock.
What is the best fertilizer for a new privacy screen?
Use a balanced 10-10-10 NPK fertilizer or a slow release formula with a higher middle number (Phosphorus) to encourage root establishment. Apply at a rate of 1 pound per 100 square feet of planting area.
How much should I water my new screen?
Deliver 1.5 inches of water per week at the drip line. Use a rain gauge or a soil moisture meter to ensure the water reaches a depth of 6 to 8 inches, where the active root zone resides.
Why are the bottom branches of my screen dying?
This is usually caused by a lack of sunlight reaching the lower canopy. Prune the top of the screen slightly narrower than the bottom (an inverted "V" shape) to allow light to reach the lower foliage and prevent senescence.