6 Aeration Benefits of Specialized Orchid Soil
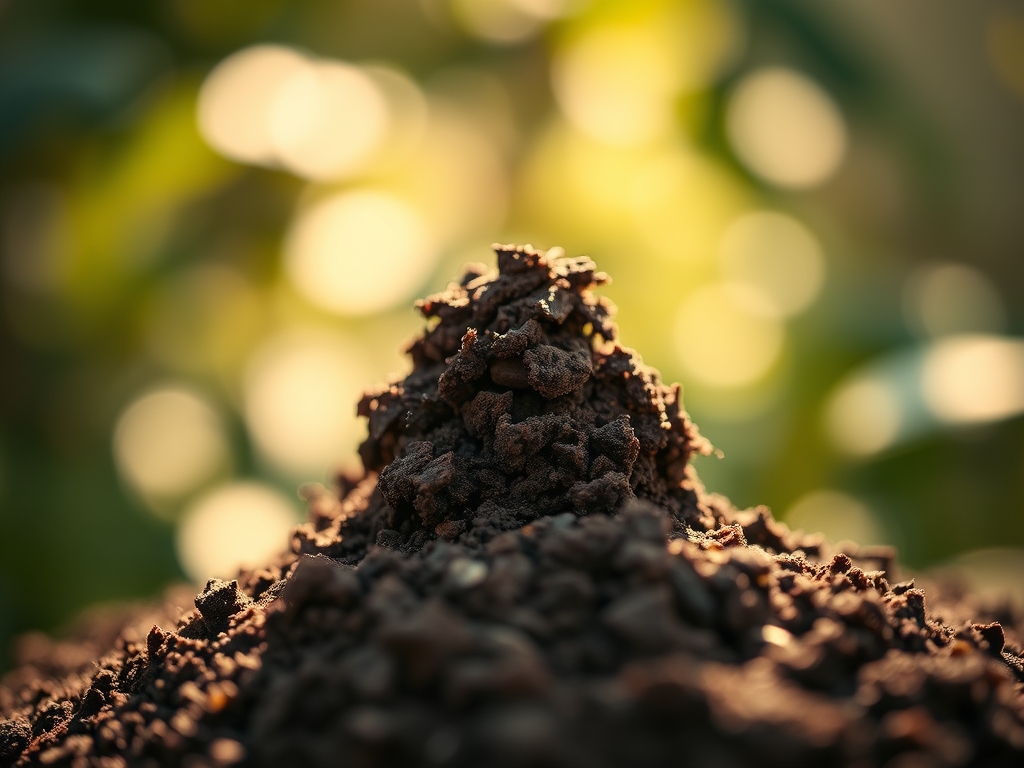
The scent of a healthy orchid environment is not that of rotting organic matter but rather the clean, earthy aroma of moist fir bark and charcoal. When a Phalaenopsis or Cattleya reaches peak physiological health, the leaves exhibit high turgor pressure; they feel like rigid leather rather than limp plastic. Achieving this state requires a radical departure from standard terrestrial potting mixes. Using a specialized orchid soil ensures that the plant does not succumb to the crushing weight of fine peat or silt. In their native habitats, most cultivated orchids are epiphytes, clinging to tree bark where their roots are exposed to constant airflow and rapid wet-dry cycles. A specialized medium mimics this environment by providing a high-porosity structure that prevents water from lingering in the interstitial spaces between particles. Without this specific architecture, the rhizosphere becomes anaerobic, leading to the rapid decay of the velamen, the spongy outer layer of the root. By prioritizing gas exchange over water retention, the grower maintains the delicate balance of moisture and oxygen required for sustained cellular respiration and nutrient uptake.
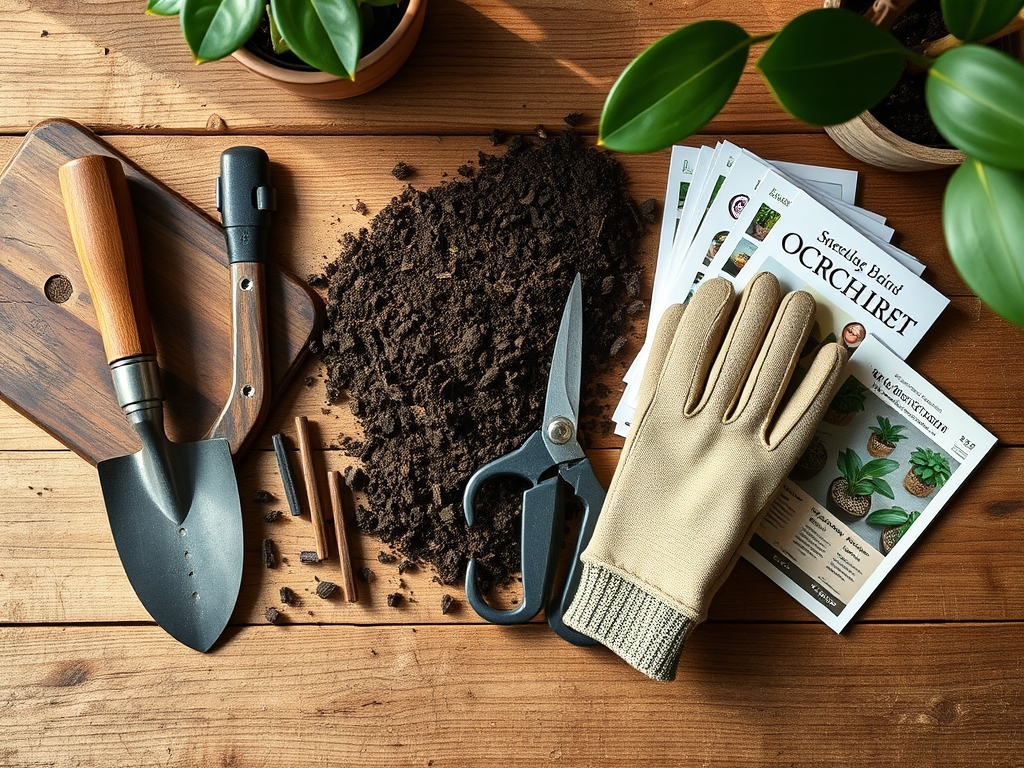
Materials:
The ideal substrate for orchids is not a soil in the traditional sense but a coarse, friable aggregate. The physical texture must be chunky and resistant to rapid decomposition. Most professional mixes utilize a base of **Douglas fir bark or Monterey pine bark**, supplemented with **horticultural charcoal and perlite**. The target pH for most tropical orchids is slightly acidic, ranging between **5.5 and 6.5**. This range ensures optimal availability of micronutrients like iron and manganese.
Fertilization should follow a "weakly, weekly" protocol. During the active growth phase, use a water-soluble fertilizer with an NPK ratio of 20-20-20 for general maintenance. To trigger blooming, transition to a high-phosphorus formula, such as 10-30-20. The Cation Exchange Capacity (CEC) of bark-based media is relatively low; therefore, consistent, low-dose nutrient application is more effective than heavy, infrequent feedings. The charcoal component serves to adsorb toxic metabolic byproducts and salts, keeping the root zone chemically stable.
Timing:
Orchids are generally kept indoors in controlled environments, but their biological clock is governed by the photoperiod and temperature fluctuations. In Hardiness Zones 9 through 11, some species can be grown outdoors year-round, provided they are protected from temperatures below 50 degrees Fahrenheit. The transition from the vegetative stage to the reproductive stage is often triggered by a "chilling period." For many hybrids, a 10 to 15-degree drop in nighttime temperatures for four consecutive weeks in late autumn is necessary to initiate the development of a flower spike.
Repotting must be timed precisely with the emergence of new root tips. This usually occurs immediately following the senescence of the previous season's blooms. Avoid disturbing the plant during its dormant phase, as damaged roots will not regenerate until the next growth cycle begins.
Phases:

Sowing and Seedling Development
Orchid seeds are microscopic and lack an endosperm, meaning they cannot germinate without a symbiotic relationship with mycorrhizal fungi or a sterile, nutrient-rich agar in a laboratory setting. For the home grower, "sowing" usually involves the deflasking of agar-grown seedlings. These young plants require a finer grade of specialized orchid soil, such as 1/4-inch bark chips mixed with New Zealand Sphagnum moss, to maintain constant humidity around the developing protocorms.
Pro-Tip: Seedlings require higher humidity (70 to 80 percent) because they have a lower volume-to-surface-area ratio, making them susceptible to rapid desiccation. This is a matter of osmotic potential; the young tissues cannot yet store sufficient water to survive even brief dry spells.
Transplanting and Repotting
When the medium begins to break down and hold too much water, it is time to transplant. Remove the plant and prune dead, papery roots using a sterilized bypass pruner. Select a pot that allows for only one to two years of growth; over-potting leads to a "dead zone" of wet media in the center that the roots cannot reach. Using a specialized orchid soil, pack the medium firmly around the roots to provide mechanical stability.
Pro-Tip: Ensure the "eyes" or growth nodes of the rhizome are not buried. This prevents auxin suppression and ensures that new lead growths can emerge unimpeded by the substrate, following the plant's natural geotropism.
Establishing and Hardening
Once repotted, the orchid enters an establishment phase. Reduce light intensity by 20 percent for the first two weeks to minimize transpiration stress. Do not water for the first three days; this allows any micro-fractures in the roots to callous over, preventing pathogen entry.
Pro-Tip: Maintaining high ambient humidity during this phase encourages the production of root hairs. This is driven by hydrotropism, where the roots grow toward moisture gradients, establishing a robust connection with the new bark substrate.
The Clinic:
Physiological disorders in orchids often manifest as a result of poor aeration.
- Symptom: Root Rot (Velamen Necrosis). The roots appear black, mushy, and the outer sheath slides off a wiry core.
- Solution: This is caused by anaerobic conditions. Immediately repot into a fresh, coarse-grade specialized orchid soil. Increase air circulation using a small fan.
- Symptom: Bud Blast. Flower buds turn yellow and drop before opening.
- Solution: This is often a response to sudden changes in temperature or ethylene gas exposure. Maintain a stable environment between 65 and 75 degrees Fahrenheit.
- Symptom: Nitrogen Chlorosis. Older leaves turn a uniform pale yellow.
- Fix-It: Apply a high-nitrogen fertilizer (30-10-10) if using a bark-based mix, as the bacteria breaking down the bark consume nitrogen, competing with the plant.
Maintenance:
Precision is the hallmark of orchid care. Use a soil moisture meter to verify that the center of the pot is dry before adding water. For an average six-inch pot, apply approximately 1 cup of water (roughly 8 ounces) directly to the media, avoiding the crown of the plant. If water settles in the leaf axils, use a paper towel to blot it dry to prevent crown rot.
Use a hori-hori knife to gently loosen the root ball during repotting if the plant has become pot-bound. Sanitize all tools with a 10 percent bleach solution or isopropyl alcohol between plants to prevent the spread of tobacco mosaic virus or other pathogens. Monitor the light levels; a healthy orchid leaf should be the color of a Granny Smith apple. Dark green leaves indicate insufficient light, while reddish-purple pigmentation suggests the plant is at its maximum light tolerance.
The Yield:
While most orchids are grown for their aesthetic value, the "yield" is the longevity and quality of the inflorescence. To maximize bloom life, move the plant to a slightly cooler location with lower light once the first flower opens. This slows the plant's metabolism and delays the senescence of the blooms.
When cutting a flower spike for a vase, use a sterilized blade and cut at a 45-degree angle. Place the spike immediately into water at room temperature. For Phalaenopsis, cutting the spike above the second or third "node" from the base may induce a secondary flush of flowers from a lateral bud.
FAQ:
Why does specialized orchid soil prevent root rot?
Specialized soil uses large particles like bark and charcoal to create large air pockets. This ensures oxygen reaches the roots, preventing the anaerobic conditions that allow rot-causing pathogens to thrive in the rhizosphere.
How often should I replace orchid bark?
Replace bark every 18 to 24 months. Over time, organic components break down and compact, reducing aeration and acidifying the root zone, which can inhibit nutrient uptake and damage the velamen.
Can I use regular potting soil for orchids?
No. Regular potting soil is too dense and retains excessive moisture. It will suffocate orchid roots, which are adapted for air exposure, leading to rapid death through cellular suffocation and fungal infection.
What is the best pH for orchid soil?
The optimal pH range is 5.5 to 6.5. This slightly acidic environment ensures that essential minerals remain soluble and available for the roots to absorb through active transport and cation exchange.