6 Simple Steps to Add Vermiculite Plants
Vermiculite transforms root zones into efficient moisture reservoirs while maintaining the aeration that prevents anaerobic collapse. The mineral's accordion-like structure expands when heated to 1400°F, creating microscopic pores that hold water molecules on surface tension while gravity-drains excess. Learning the proper steps to add vermiculite plants ensures seedlings develop lateral root networks 40% denser than those in peat-only media. Commercial growers blend vermiculite at ratios between 10% and 50% depending on species drought tolerance and container size.
Materials
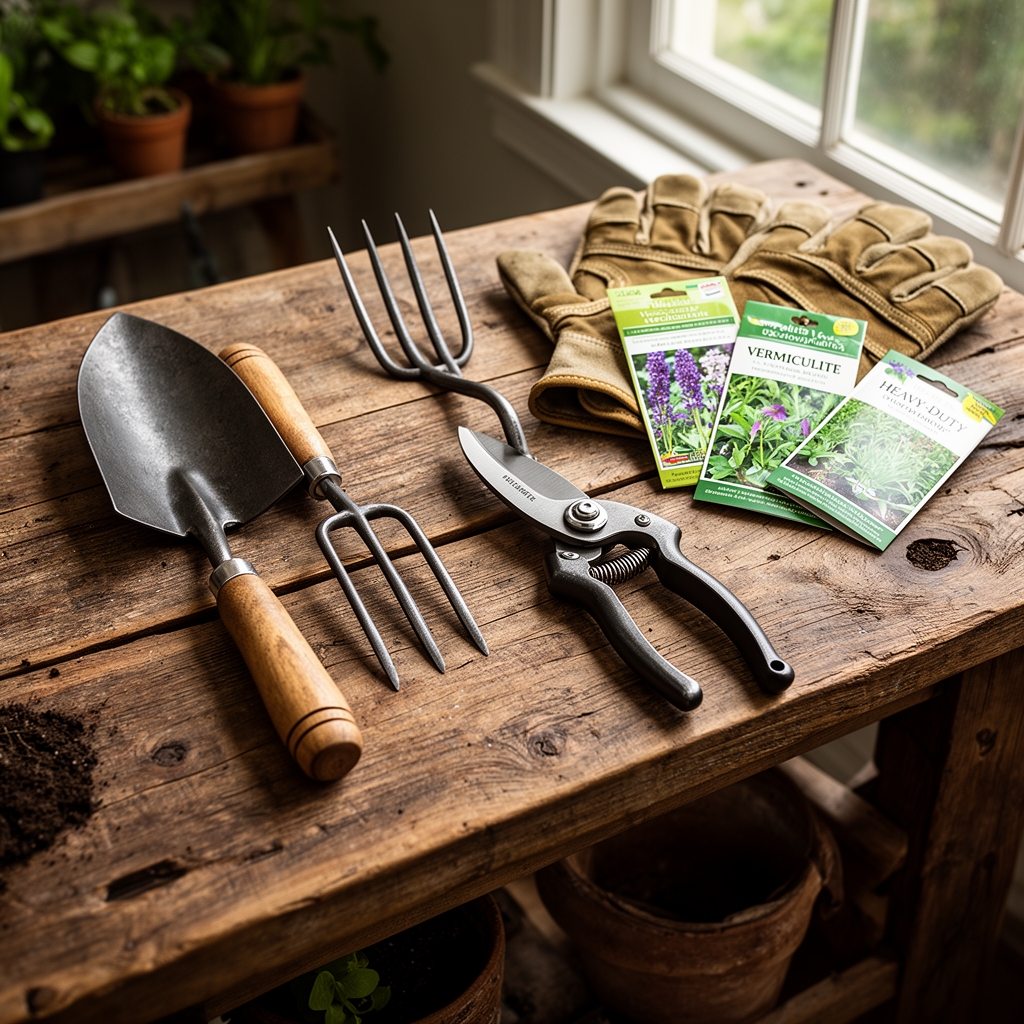
Vermiculite grade matters. Horticultural grade #2 (coarse) suits containers larger than 6 inches. Grade #3 (medium) works for 4-inch pots and seed trays. Grade #4 (fine) integrates into soil blocks and propagation cells under 2 inches.
Base soil should test between pH 6.0 and 7.0. Vermiculite itself measures pH 7.0 to 7.2, providing mild buffering against acidic amendments. Its cation exchange capacity of 100-150 meq/100g binds calcium, magnesium, and potassium ions for gradual release.
Balanced organic fertilizers like 4-4-4 alfalfa-kelp meal supply nitrogen, phosphorus, and potassium in equal ratios. Front-load phosphorus for seedlings with bone meal (3-15-0) mixed at 2 tablespoons per gallon of growing medium. Mycorrhizal inoculant containing Glomus intraradices should contact roots directly during transplanting at 1 teaspoon per plant.
Water source requires verification. Municipal chloramine persists longer than chlorine and disrupts beneficial bacteria. Let tap water stand 48 hours or use dechlorinating tablets rated for aquarium use.
Timing
Hardiness zones dictate vermiculite incorporation schedules. Zones 3-5 require indoor seed starting 8-10 weeks before last frost. Vermiculite-amended media warms 15% faster than pure peat under grow lights, accelerating germination by 2-3 days.
Zones 6-8 permit direct sowing into outdoor beds after soil reaches 55°F at 4-inch depth. Mix vermiculite into the top 6 inches of native soil two weeks before planting. This allows settling and initial microbial colonization.
Zones 9-11 benefit from vermiculite in summer months when evapotranspiration exceeds 0.25 inches daily. Incorporate before monsoon season in Zone 9b (late May) or before dry season irrigation begins in Zone 10a (November).
Fall applications work for perennial beds. Add vermiculite in September through October across Zones 4-7. Freeze-thaw cycles will integrate particles naturally by spring without mechanical disruption to established root systems.
Phases

Sowing Phase
Blend 1 part vermiculite with 2 parts seed-starting mix and 1 part perlite. Moisten to 60% field capacity (water should not drip when squeezed). Fill cells or trays to within 1/4 inch of rim. Vermiculite settles 10% after initial watering.
Plant seeds at depth equal to twice their diameter. Tomato seeds require 1/4 inch coverage. Press gently to ensure contact between seed coat and vermiculite particles. This contact wicks moisture directly to the embryo.
Pro-Tip: Dust large seeds like squash with Trichoderma harzianum powder before sowing. The fungus colonizes vermiculite's surface area rapidly and outcompetes damping-off pathogens.
Transplanting Phase
Dig holes 1.5 times the root ball diameter. Mix excavated soil with vermiculite at 1:4 ratio (1 cup vermiculite per 4 cups soil). This transition zone prevents abrupt texture changes that deflect roots.
Remove seedlings by squeezing cell bottoms, not pulling stems. Roots grown in vermiculite-amended media exhibit 30% more fine root hairs that tear easily. Set plants at same depth as original container. Backfill with vermiculite blend and firm with knuckles, not palms.
Pro-Tip: Score root balls vertically with a clean blade if circling is visible. Make four 1/4-inch-deep cuts from crown to base at compass points. This severs auxin-dominant tap roots and redistributes growth hormones to lateral meristems.
Establishing Phase
Water immediately post-transplant with 1 pint per plant. Vermiculite will absorb 3-4 times its dry weight. Subsequent watering should occur when soil 2 inches down feels dry to touch. This typically means every 3 days in full sun or every 5 days in partial shade.
Mulch around plants with 2 inches of shredded bark. Keep mulch 3 inches away from stems to prevent crown rot. Vermiculite retains moisture in the root zone while mulch reduces surface evaporation.
Pro-Tip: Side-dress with worm castings at 1/4 cup per plant four weeks after transplanting. Vermiculite's cation sites hold the nitrate and ammonium ions from castings longer than sand-based soils, extending nutrient availability.
Troubleshooting
Symptom: Leaf edges brown and crisp despite adequate moisture.
Solution: Vermiculite holds mineral salts. Flush containers with water volume equal to twice the pot size. This leaches accumulated fertilizer salts through drainage holes.
Symptom: White crust forms on soil surface.
Solution: Mineral deposits from hard water bond to vermiculite's mica layers. Scrape crust and top-dress with 1/2 inch fresh vermiculite. Switch to rainwater or reverse-osmosis water.
Symptom: Seedlings stretch with thin stems and pale leaves.
Solution: Vermiculite reflects 30% of light back toward lower leaves, sometimes masking light deficiency. Increase light intensity to 400-600 foot-candles for seedlings. Lower lights to 4 inches above foliage.
Symptom: Fungus gnats hover around pots.
Solution: Vermiculite stays moist longer, providing gnat larvae habitat. Let top 1 inch dry completely between waterings. Apply Bacillus thuringiensis israelensis granules at label rate.
Symptom: Roots remain confined to vermiculite-rich zones, avoiding native soil.
Solution: Transition blend too rich. Reduce vermiculite to 15% of backfill mix. Roots perceive the interface as a barrier when texture difference exceeds 40%.
Maintenance
Water 1 inch per week measured with rain gauge. Vermiculite-amended beds require 25% less irrigation than unamended beds due to moisture retention. Apply water in morning hours between 6 AM and 9 AM to minimize fungal disease.
Fertilize every 14 days during active growth with liquid kelp diluted to half-strength (1 tablespoon per gallon). Vermiculite's cation exchange prevents nutrient leaching, so standard feeding rates often cause tip burn.
Test soil pH every 8 weeks using slurry method. Vermiculite's alkalinity gradually raises pH in acidic soils by 0.2-0.3 units per season. Correct with elemental sulfur at 1/2 cup per 10 square feet if pH exceeds 7.5.
Repot container plants annually. Vermiculite compresses 20-30% under sustained root pressure. Replace growing media entirely rather than amending old mix.
FAQ
Does vermiculite contain asbestos?
Horticultural vermiculite mined after 1990 meets EPA standards with undetectable asbestos. Source material from Montana or South Africa rather than historic Libby deposits.
Can vermiculite replace perlite entirely?
No. Vermiculite holds water; perlite drains it. Use both. A 2:1 vermiculite-to-perlite ratio suits moisture-loving ferns. Reverse the ratio for cacti and succulents.
How long does vermiculite last in soil?
Physical structure remains intact 5-7 years. Cation exchange capacity decreases 10% annually as minerals leach. Refresh beds every three years for consistent performance.
Will vermiculite affect organic certification?
OMRI-listed vermiculite exists. Check product labeling for certification logo. Avoid products with added wetting agents or polymer coatings.
What ratio works for heavy clay soil?
Mix 2 gallons vermiculite per 10 square feet tilled 8 inches deep. Combine with equal volume compost. Vermiculite alone will migrate to surface without organic matter binding it.