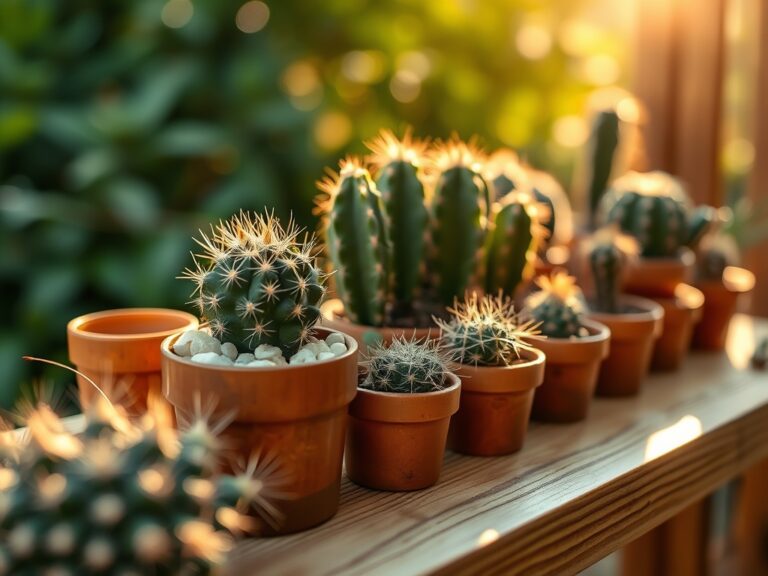
7 Year-Round Steps to Prepare a DIY Plant Light Setup
Turgor pressure defines the structural integrity of a botanical specimen; it is the force of water pushing against the cell wall that keeps a leaf rigid and functional. When you master the indoor environment, you control this pressure by manipulating light intensity and duration. Learning how to prepare a DIY plant light requires more than just hanging a bulb; it involves calculating the Photosynthetic Photon Flux Density (PPFD) to ensure your seedlings do not become leggy or weak. The smell of damp peat moss and the sight of a perfectly unfurled cotyledon are the rewards of precise engineering. A successful setup balances light spectrum with ambient temperature to prevent cellular stress. This guide provides the technical framework to build a lighting system that mimics solar radiation, ensuring your indoor garden thrives regardless of the season or external weather conditions. By focusing on the intersection of physics and botany, you can sustain a productive rhizosphere and maximize carbon fixation within your home or greenhouse.
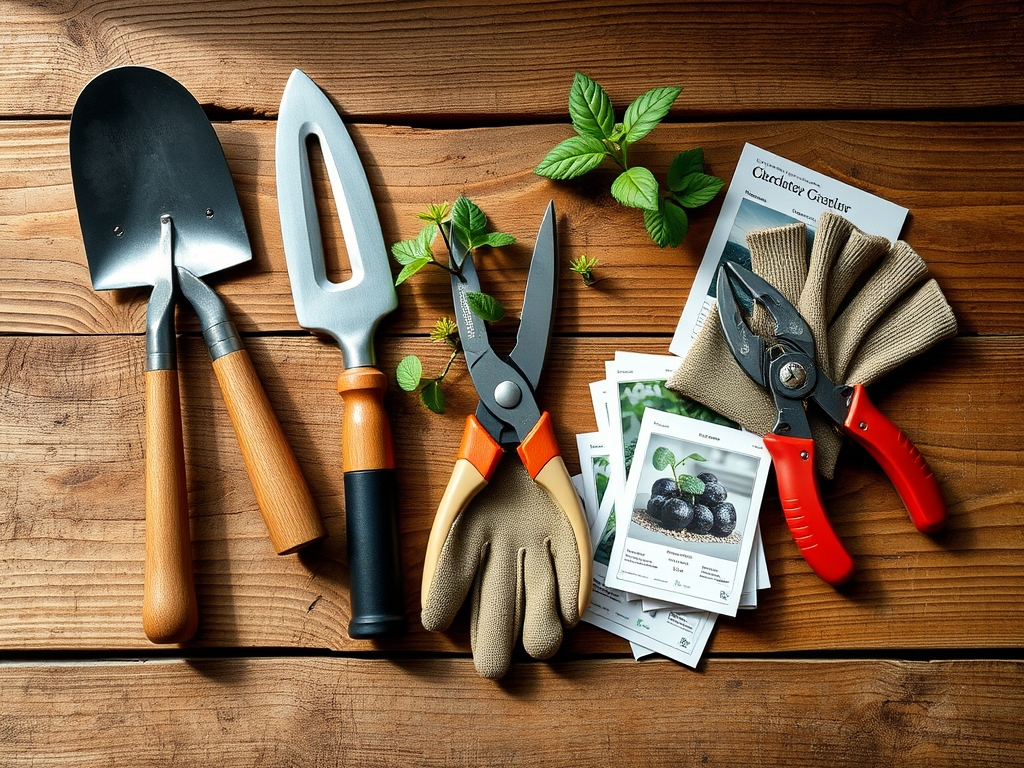
Materials:
The foundation of any indoor grow operation is the substrate. For seed starting under artificial lights, use a **friable loam** or a sterile peat-perlite mix. The ideal soil pH for most indoor ornamentals and edibles ranges between **6.0 and 6.8**, which optimizes the Cation Exchange Capacity (CEC). This measurement dictates the soil’s ability to hold onto essential nutrients like Potassium (K+) and Magnesium (Mg2+).
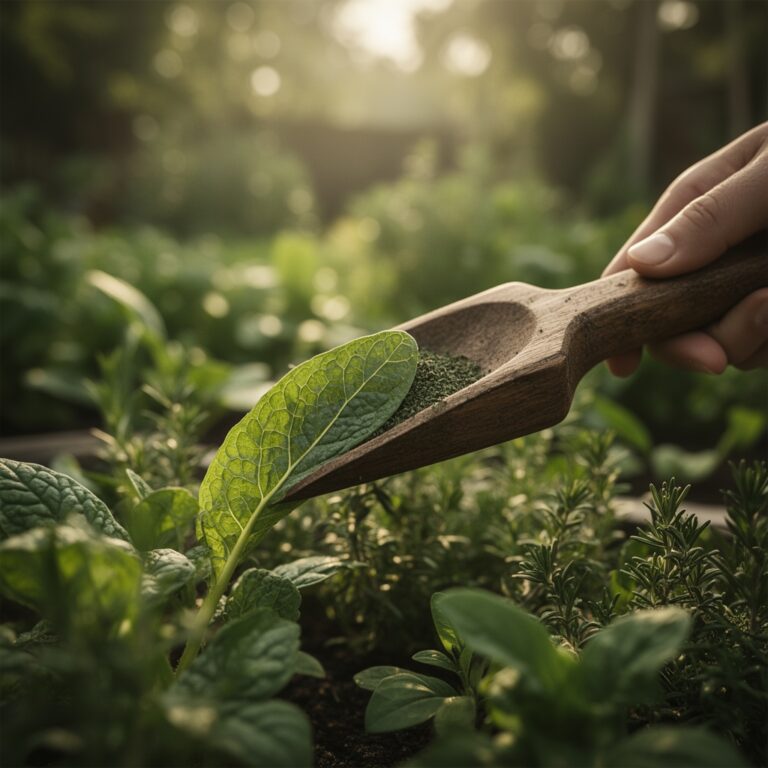
For the initial vegetative stage, look for a fertilizer with an NPK ratio of 10-5-5. The high nitrogen content supports chlorophyll production and leaf expansion. As plants transition to flowering, shift to a 5-10-10 ratio to encourage root development and reproductive growth. Your lighting hardware should consist of Full-Spectrum LED bars or T5 fluorescent fixtures capable of delivering at least 2,000 to 3,000 lumens per square foot. Use a 14-gauge grounded power strip and a digital programmable timer to automate the photoperiod.
Timing:
Indoor lighting allows you to bypass the constraints of Hardiness Zones, though your internal ambient temperature should remain between 65 and 75 degrees Fahrenheit. In Zones 4 through 6, you must initiate your DIY light setup at least 8 to 10 weeks before the last expected frost date if you plan to transplant. The "Biological Clock" of the plant is governed by the photoperiod. Most vegetative plants require 14 to 16 hours of light to prevent premature senescence. If you are growing short-day plants, you must reduce the light cycle to 12 hours to trigger the transition from vegetative to reproductive stages. Observe the apical meristem for changes in growth patterns; this indicates the plant is shifting its energy from leaf production to bud formation.
Phases:
Sowing
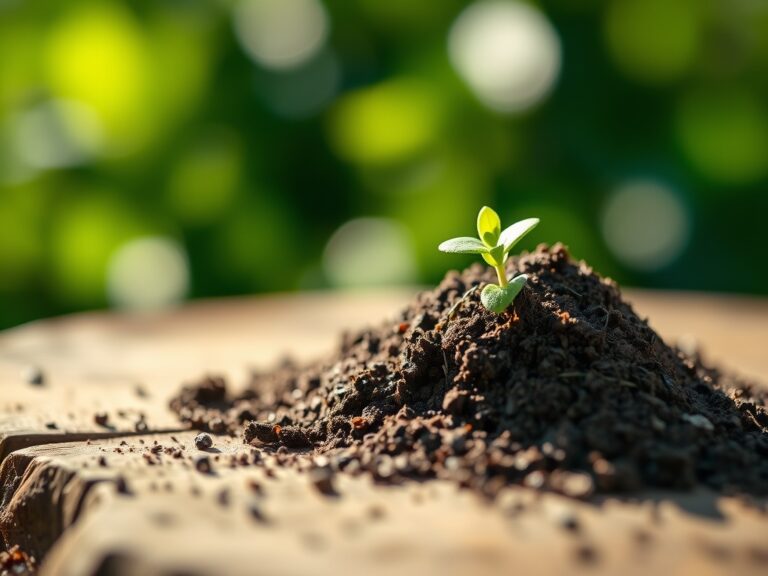
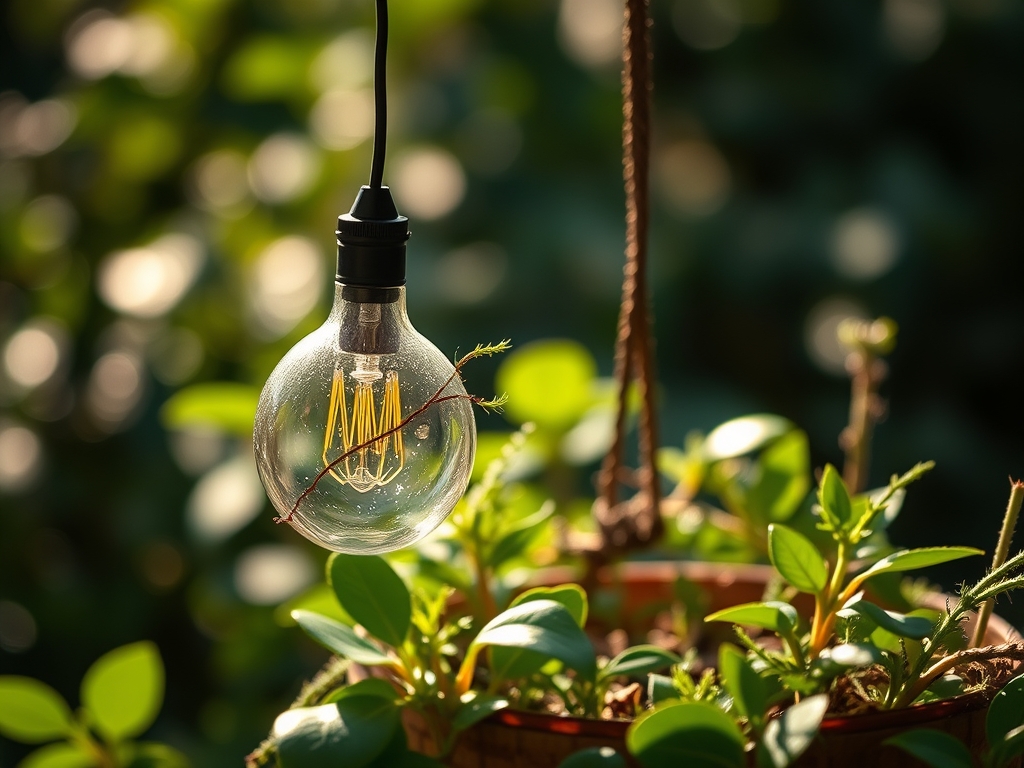
Place seeds at a depth of twice their diameter in pre-moistened substrate. Position your DIY light exactly 2 to 4 inches above the soil surface. This proximity prevents "stretching," where the hypocotyl elongates excessively in search of light.
Pro-Tip: Maintaining close proximity utilizes the Inverse Square Law of light; doubling the distance from the plant reduces the light intensity to one-fourth. This prevents the suppression of auxins at the tip, ensuring a stocky, resilient stem.
Transplanting
Once the plant develops its second set of "true leaves," move it to a larger vessel. Ensure the new container has adequate drainage to prevent anaerobic conditions in the rhizosphere. Check the root ball for a healthy white color; brown or slimy roots indicate Pythium or other fungal pathogens.
Pro-Tip: Inoculate the new soil with mycorrhizal fungi. This symbiotic relationship expands the root's surface area, allowing for significantly higher absorption of phosphorus and micronutrients.
Establishing
As the plant grows, raise the light fixture to maintain a gap of 6 to 12 inches from the canopy. Use a small oscillating fan to create a gentle breeze. This mechanical stress strengthens the cell walls through a process called thigmomorphogenesis.
Pro-Tip: Air movement prevents the boundary layer of air around the leaf from becoming saturated with water vapor. This maintains a high rate of transpiration, which is the engine that pulls nutrients from the soil up into the foliage.
The Clinic:
Physiological disorders in indoor plants are often mistaken for pests. Monitor these specific symptoms:
-
Symptom: Interveinal Chlorosis. The leaf remains green near the veins but turns yellow elsewhere.
Solution: This is typically a Magnesium deficiency. Apply a foliar spray of 1 tablespoon Epsom salts per gallon of water to restore chlorophyll function. -
Symptom: Edema. Small bumps or blisters appear on the underside of leaves.
Solution: This is caused by high humidity and overwatering. Increase airflow and reduce watering frequency to allow the plant to transpire efficiently. -
Symptom: Tip Burn. The edges of new leaves appear scorched.
Solution: This indicates Calcium immobility or "nutrient burn" from high EC (Electrical Conductivity) levels. Flush the substrate with pH-balanced water and ensure the humidity is above 40 percent. -
Fix-It: Nitrogen Chlorosis. If the oldest leaves at the bottom of the plant turn uniform pale yellow, the plant is scavenging nitrogen for new growth. Apply a liquid fish emulsion with a 5-1-1 NPK ratio for immediate uptake.
Maintenance:
Precision is the difference between a surviving plant and a thriving one. Use a soil moisture meter to ensure the substrate stays at a "moist but not saturated" level. For most 5-gallon containers, apply approximately 1.5 inches of water per week at the drip line. Avoid wetting the foliage, which can invite powdery mildew.
Keep your bypass pruners sterilized with 70 percent isopropyl alcohol to prevent the spread of pathogens. Use a hori-hori knife to occasionally probe the soil and check for compaction; if the soil is too dense, the roots cannot access oxygen. Clean the dust off your LED or fluorescent bulbs every 30 days. Dust accumulation can reduce light output by up to 20 percent, significantly impacting the rate of photosynthesis.
The Yield:
For leafy greens and herbs, harvest in the early morning when turgor pressure is at its peak. Use sharp shears to take no more than one-third of the plant's total biomass at a time. For fruiting plants like indoor peppers or tomatoes, harvest when the fruit reaches its full "breaker stage" color.
To maintain "day-one" freshness, immediately submerge the cut ends of herbs in cool water or place produce in a high-humidity crisper drawer at 40 degrees Fahrenheit. This slows down the respiration rate and prevents the degradation of sugars and volatile oils. Proper post-harvest handling ensures the cellular structure remains intact for maximum nutritional value.
FAQ:
What is the best color temperature for seed starting?
Use bulbs rated at 6500K. This "cool" blue spectrum mimics spring sunlight, which suppresses apical dominance and encourages compact, bushy growth rather than tall, spindly stems. This is ideal for the vegetative stage.
How far should DIY lights be from plants?
Keep LED or fluorescent lights 3 to 6 inches from the canopy. Monitor for leaf curling or bleaching. If the foliage feels hot to the touch, increase the distance immediately to prevent thermal tissue damage.
Can I use regular household LED bulbs?
Yes, provided they have a high lumen output and the correct Kelvin rating. However, they lack the specific PAR (Photosynthetically Active Radiation) peaks found in dedicated grow lights, which may result in slower overall growth rates.
How long should I leave the lights on?
Standard practice is 14 to 16 hours of light followed by 8 hours of darkness. Plants require a dark period for cellular respiration and to process the carbohydrates produced during the daylight hours through photosynthesis.
How do I know if my light is too bright?
Observe the leaves for "photoinhibition." If leaves begin to point upward at a sharp angle or show yellow patches while the veins remain green, the light intensity is likely exceeding the plant's ability to process photons.