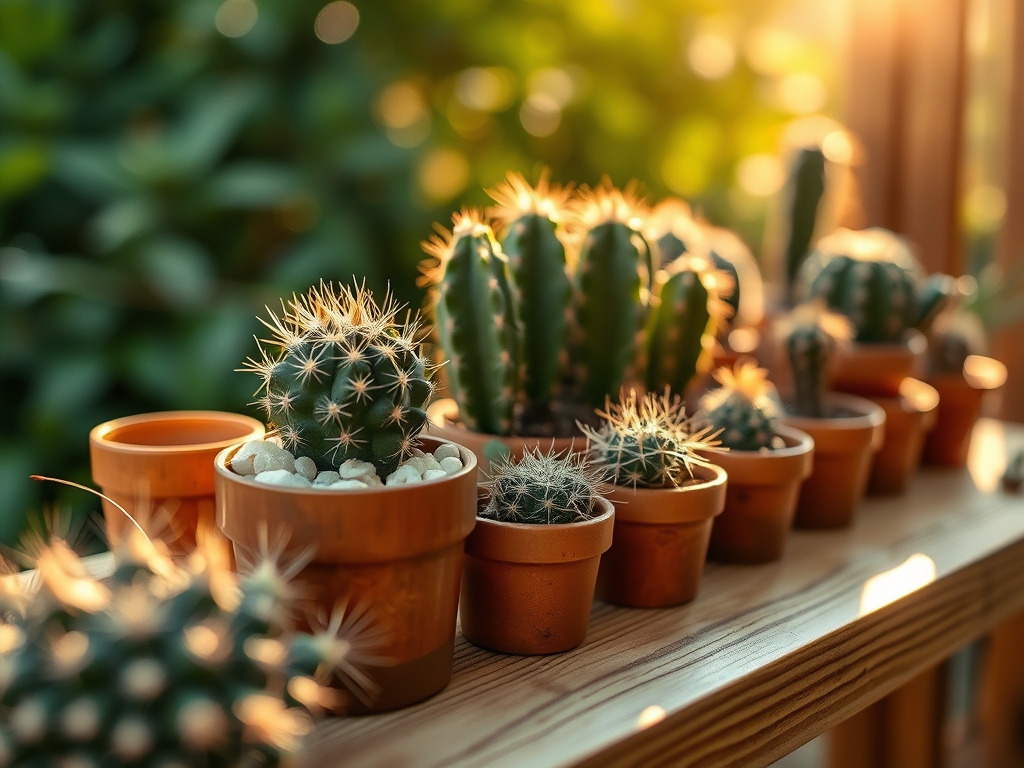
8 Arid Steps to Prepare a Desert Cactus Plant Shelf
The scent of dry mineral dust and the crisp snap of a turgid epidermis define the high stakes of succulent cultivation. When you learn how to prepare a plant shelf for cacti, you are not merely arranging pots; you are engineering a microclimate that mimics high-altitude deserts or scrublands. Success depends on managing the osmotic potential of the root zone and ensuring gas exchange remains high. A cactus that loses its turgor pressure becomes a victim of cellular collapse. To prevent this, your shelf must be a controlled environment where light intensity, drainage, and air movement work in concert. Most failures occur because of stagnant air or poor substrate choices that trap moisture against the caudex. By focusing on the structural integrity of your shelving and the chemical composition of your potting media, you create a system that supports long-term botanical health.
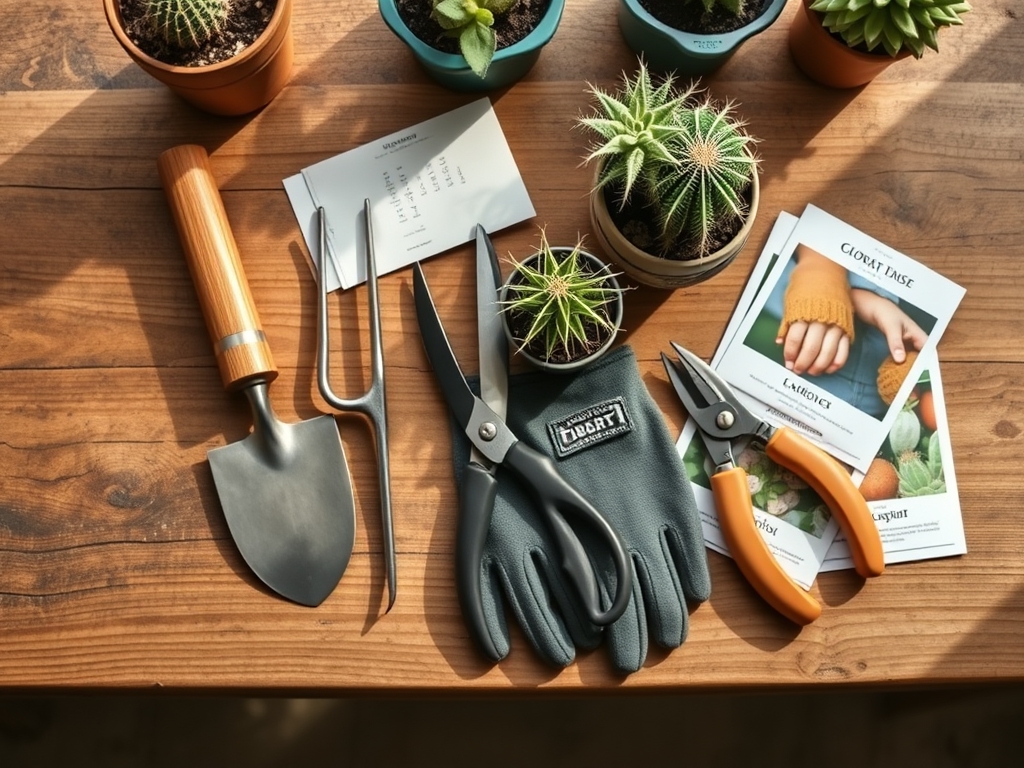
Materials:
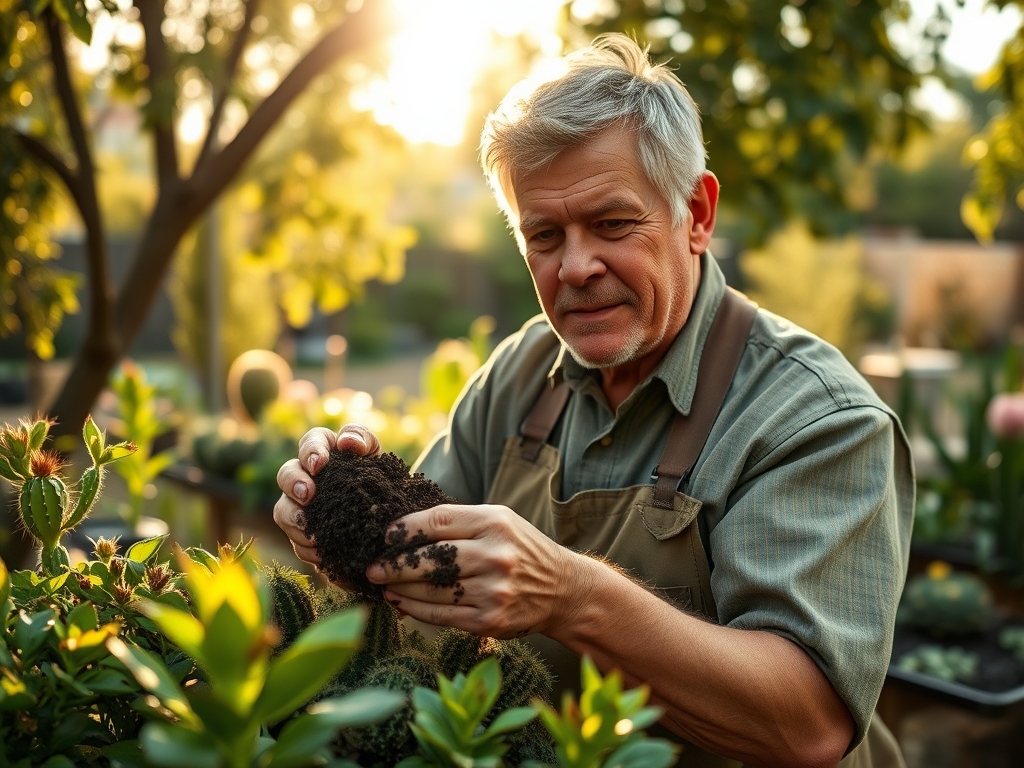
Your substrate must be a friable mix that prioritizes drainage over water retention. Aim for a **soil pH between 5.5 and 6.5**. A high Cation Exchange Capacity (CEC) is necessary to hold nutrients while allowing excess water to flush. Use a base of 50 percent inorganic matter such as pumice or expanded shale. For the organic component, use composted bark or coco coir. Avoid peat moss as it becomes hydrophobic when dry.
The NPK ratio for your initial fertilization should be low in nitrogen to prevent weak, etiolated growth. Use a diluted 5-10-10 or 2-7-7 NPK fertilizer. High phosphorus levels encourage root development and future flowering. Ensure the shelf material is non-porous, such as powder-coated steel or sealed cedar, to prevent fungal spores from colonizing the wood grain.
Timing:
Timing follows the biological clock of the plant, which is governed by the photoperiod and temperature fluctuations. In Hardiness Zones 8 through 11, outdoor shelves can be utilized year-round, but for indoor shelves, you must synchronize with the spring equinox. Most cacti enter a period of senescence during the winter months when light levels drop.
Wait until the risk of the last frost has passed and night temperatures consistently stay above 50 degrees Fahrenheit (10 degrees Celsius) before moving plants to an outdoor shelf. The transition from the vegetative stage to the reproductive stage is triggered by an increase in light duration. If you are repotting as part of your shelf preparation, do so in late February or early March to allow the root system to establish before the peak summer heat.
Phases:
Sowing and Propagation
If starting from seed on your shelf, use a sterilized gritty mix. Maintain a constant temperature of 70 to 80 degrees Fahrenheit. Use a heat mat if the shelf is located in a basement or cool room. Cover the trays with a clear dome to maintain humidity during the first few weeks of germination.
Pro-Tip: Monitor for phototropism. Cacti seedlings will lean toward the light source if the intensity is insufficient. This is a survival mechanism where the plant redirects auxins to the shaded side of the stem, causing the cells to elongate and the plant to bend.
Transplanting and Spacing
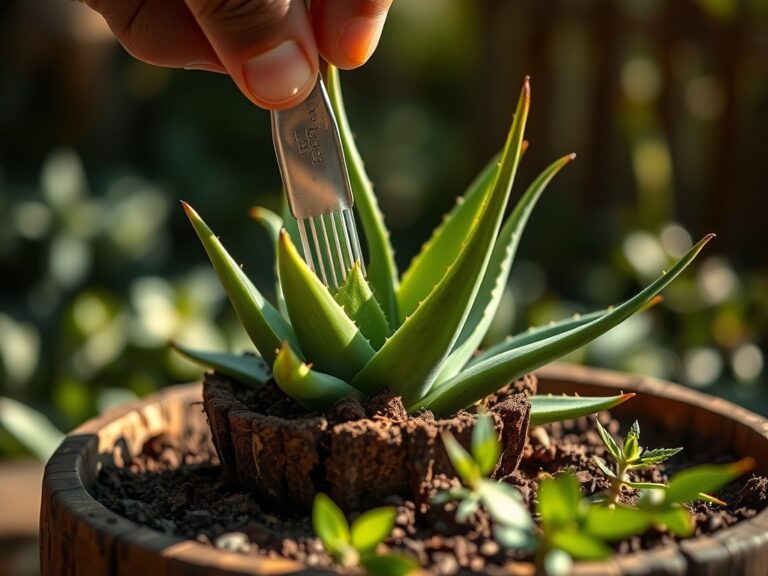
When moving plants to the shelf, ensure each pot has at least 3 inches of clearance from its neighbor. This allows for adequate airflow, which is critical for preventing the buildup of humidity around the stomata. Use a hori-hori knife to gently loosen roots if they have become pot-bound.
Pro-Tip: Always leave the roots exposed to air for 24 to 48 hours after pruning or transplanting before watering. This allows for the formation of callus tissue, which prevents opportunistic pathogens from entering the vascular system through open wounds.
Establishing the Microclimate
Position your shelf to receive 6 to 8 hours of bright, indirect light. If using artificial lights, place LED panels approximately 12 inches above the apical meristem of the plants. Use a small oscillating fan to simulate desert breezes.
Pro-Tip: Air movement strengthens the plant through thigmomorphogenesis. The mechanical stress of moving air causes the plant to produce more lignin, resulting in a sturdier, more resilient stem structure.
The Clinic:
Physiological disorders in cacti are often the result of environmental stress rather than pathogens.
- Symptom: Etiolation (pale, stretched, skinny growth).
Solution: Increase light intensity immediately. This occurs when the plant lacks sufficient photons for photosynthesis, forcing it to burn energy reserves to "reach" for light. - Symptom: Corking (brown, bark-like skin at the base).
Solution: This is often a natural sign of aging or a response to past physical stress. If the tissue is firm, no action is needed. If soft, it indicates rot. - Symptom: Epidermal cracking.
Solution: Reduce watering frequency. This happens when the plant takes up water faster than the skin can expand, causing the cells to rupture under high turgor pressure.
Fix-It for Nutrient Deficiencies:
- Nitrogen Chlorosis: Yellowing of the entire plant. Apply a balanced fertilizer at half strength.
- Magnesium Deficiency: Yellowing between the ribs while veins stay green. Apply 1 tablespoon of Epsom salts per gallon of water.
- Iron Deficiency: Yellowing of new growth. Check soil pH; if it is above 7.0, iron becomes chemically locked and unavailable to the rhizosphere.
Maintenance:
Maintenance requires precision. Use a soil moisture meter to verify that the substrate is completely dry through the bottom third of the pot before adding water. When you do water, saturate the soil until it runs freely from the drainage holes. For most desert species on an indoor shelf, this equates to watering once every 14 to 21 days depending on ambient humidity.
Use bypass pruners to remove any dead or necrotic tissue. Clean your tools with 70 percent isopropyl alcohol between every plant to prevent cross-contamination. Every six months, wipe down the shelf surfaces to remove dust, which can harbor mites and reduce the reflective quality of the shelf.
The Yield:
While most cacti are grown for their structural form, some species like Mammillaria or Opuntia produce fruit and flowers. To maximize flowering, ensure the plant experiences a distinct "cool and dry" winter rest period with temperatures around 55 degrees Fahrenheit.
When harvesting fruit, use tongs to avoid glochids. Harvest when the fruit color is deep purple or red and it yields slightly to pressure. For "day-one" freshness, store harvested cactus pears in a cool, dry place; do not wash them until immediately before consumption to avoid triggering premature decay.
FAQ:
How much light do cacti need on a shelf?
Most species require 10,000 to 20,000 lux for healthy growth. If your shelf is not near a south-facing window, use full-spectrum LED grow lights for 12 to 14 hours daily to maintain proper photosynthetic rates.
What is the best shelf material?
Steel or wire shelving is superior because it allows for 360-degree airflow around the pots. Avoid solid wood shelves unless they are treated, as trapped moisture under the pots will eventually lead to rot and fungal growth.
Why is my cactus turning yellow?
Yellowing, or chlorosis, usually indicates overwatering or poor drainage. When the rhizosphere stays saturated, roots cannot breathe, leading to hypoxia. Check the soil moisture levels and ensure your pot has adequate drainage holes.
Can I use regular potting soil?
No. Standard potting soil contains too much organic matter and retains water for too long. This leads to root rot. Use a specialized cactus mix with a 50 percent inorganic grit ratio to ensure rapid drainage.
How do I clean my cactus shelf?
Remove all plants and wipe surfaces with a 10 percent bleach solution or isopropyl alcohol. This sanitizes the area and removes mineral deposits. Ensure the shelf is completely dry before replacing the pots to prevent humidity spikes.