8 Exotic Steps to Prepare an Exotic Orchid Plant Shelf
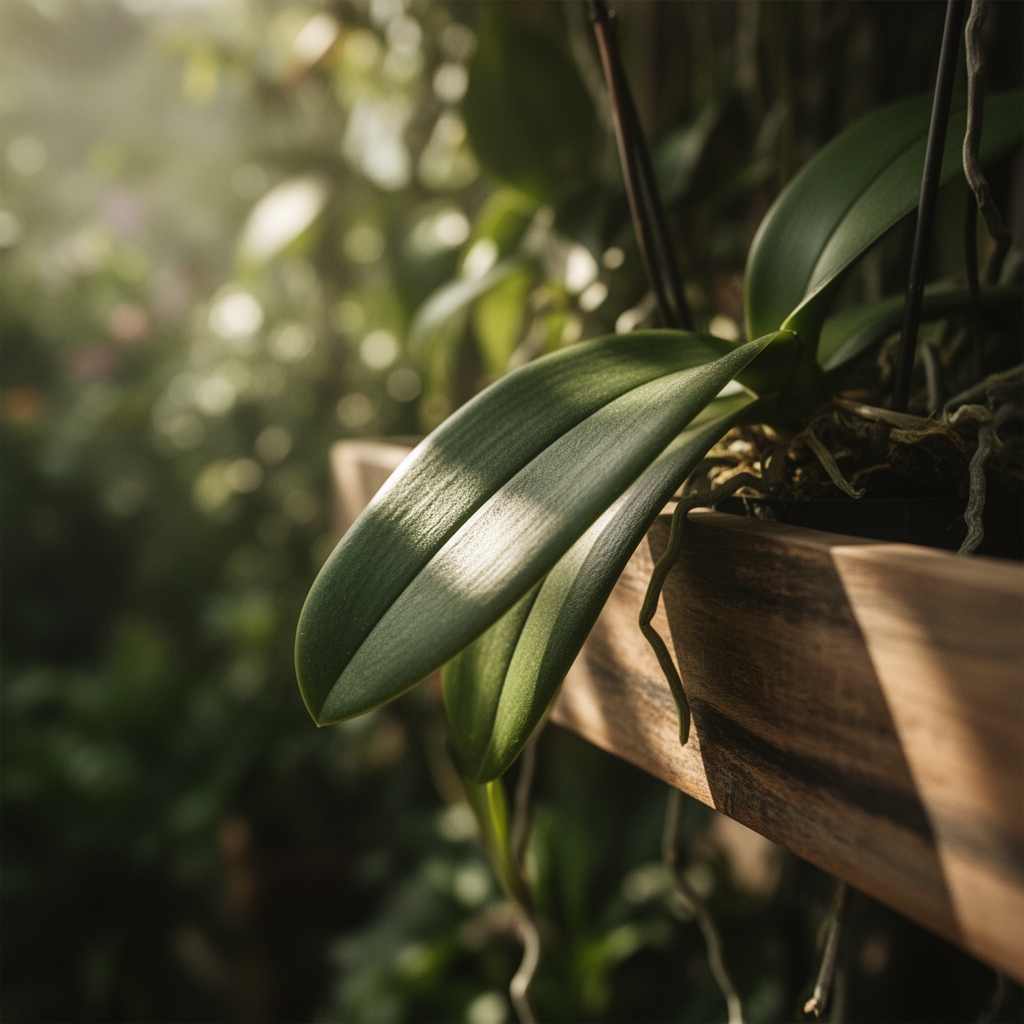
Learning how to prepare a plant shelf for orchids transforms a simple storage unit into a precision-controlled microhabitat. The humid forests of Southeast Asia and Central America hold the secret: epiphytic orchids cling to bark, their roots exposed to air and intermittent moisture. Replicating this environment indoors demands structural modifications, substrate chemistry, and climate manipulation that differ sharply from conventional houseplant care. A proper shelf setup addresses light intensity, vapor pressure deficit, and mycorrhizal colonization rates.
Materials
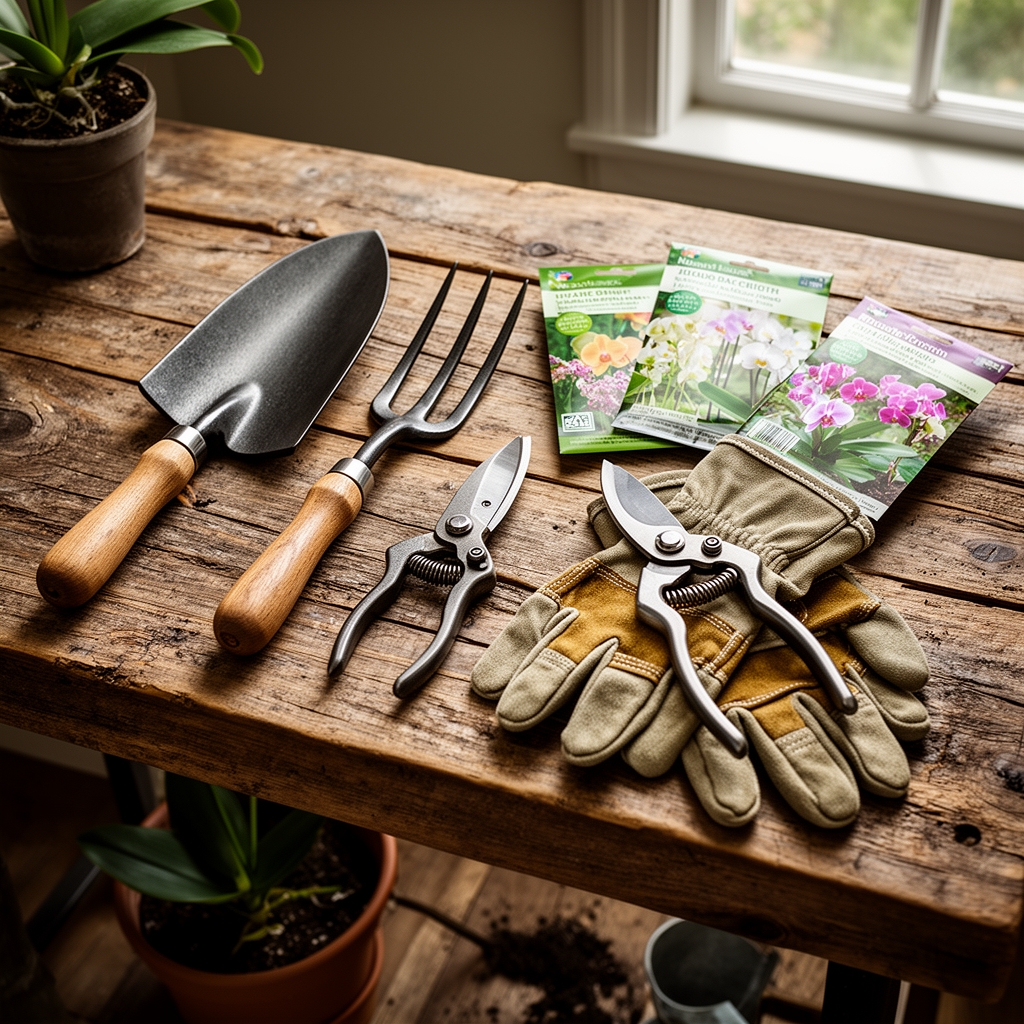
Structural Components:
Wire shelving units with 1-inch grid spacing allow maximum air circulation. Powder-coated steel resists corrosion at 70-80% relative humidity. Mount LED grow lights with a photosynthetic photon flux density of 200-400 micromoles per square meter per second, suspended 8-12 inches above pot rims.
Growing Media (pH 5.5-6.5):
Fir bark chips (medium grade, 3/8 to 1/2 inch) provide the base. Perlite improves drainage at a 4:1 bark-to-perlite ratio. Sphagnum moss retains moisture for humidity-dependent genera. Charcoal chunks (horticultural grade, 1/4 inch) buffer pH and adsorb dissolved salts.
Fertilizer (NPK Ratios):
Use 20-10-10 during active growth (spring through summer). Orchid-specific formulations contain micronutrients: iron chelate at 0.10%, manganese at 0.05%, and boron at 0.02%. Organic alternatives include fish emulsion at 5-1-1 diluted to one-quarter strength. Avoid urea-based nitrogen; orchid roots metabolize nitrate forms more efficiently.
Climate Control:
Hygrometer with data logging tracks vapor pressure deficit. Humidifier maintains 60-75% relative humidity. Oscillating fan runs continuously at low speed to prevent fungal stagnation. Thermometer monitors the 10-15 degree F nighttime temperature drop required for Phalaenopsis flower spike initiation.
Timing
Most orchids enter active root growth in USDA Hardiness Zones 9-11 from March through May, when ambient temperatures stabilize above 60 F at night. Indoor shelf preparation should begin 4-6 weeks before acquisition to stabilize microbial populations in potting media.
In Zones 3-8, prepare shelves in late February. This allows adjustment of photoperiod timers (12-14 hours for vegetative growth, 10-12 hours for reproductive phases) before spring light intensity increases. Monitor last frost dates; orchids moved outdoors for summer require acclimation when nighttime lows exceed 55 F consistently for 14 days.
Cattleya and Dendrobium species respond to seasonal cues. Prepare separate shelf zones for cool-growing (55-65 F night) and warm-growing (65-75 F night) genera.
Phases
Phase 1: Sowing (Media Inoculation)
Soak bark chips in distilled water for 24 hours. Drain and mix with mycorrhizal fungi inoculum (Rhizoctonia species, 5 grams per gallon of media). These fungi colonize orchid roots, increasing phosphorus uptake by 300%. Layer media in net pots or slotted containers; avoid solid-walled pots that trap water against roots.
Pro-Tip: Add 2 tablespoons of dolomitic limestone per gallon of media to buffer cation exchange capacity. This prevents rapid pH swings when fertilizing.
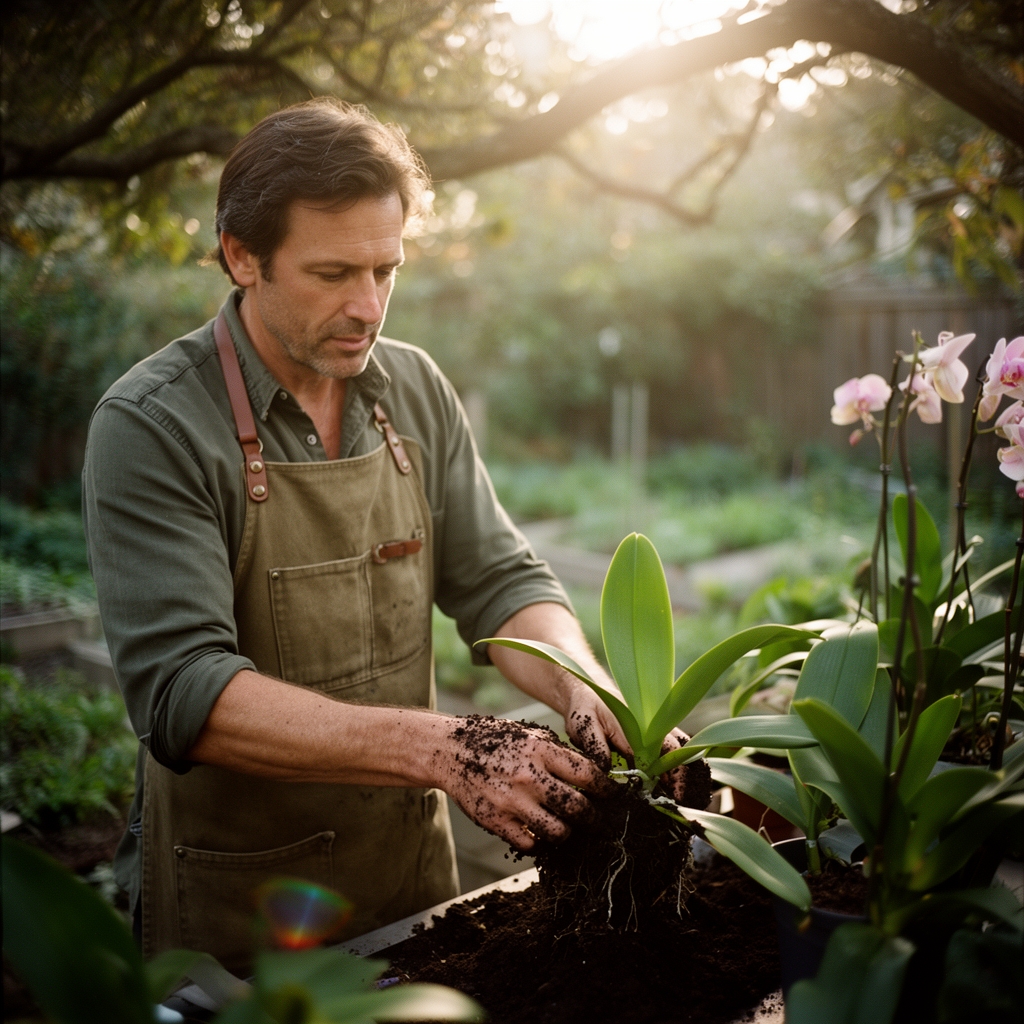
Phase 2: Transplanting (Positioning and Potting)
Position orchids with new growth facing the light source. Pseudobulbs should sit at media surface level, not buried. Pack bark loosely around roots; compression reduces oxygen availability. Secure tall plants with rhizome clips attached to pot edges.
Install drip trays 2 inches below pots. Fill trays with pebbles and water to the top of the stones (not touching pot bottoms). Evaporation raises localized humidity by 15-20%.
Pro-Tip: Tilt Phalaenopsis pots 15 degrees forward. This angle prevents water from pooling in crown crevices where bacterial soft rot initiates.
Phase 3: Establishing (Root Activation)
Water sparingly for the first 10 days. Roots damaged during repotting require low moisture to callus and resist fungal invasion. Mist foliage daily with distilled water at 7 a.m. when stomata open. After 10 days, resume normal watering: drench media until water streams from drainage holes, then allow complete drying before the next cycle.
Apply rooting hormone powder (0.1% indole-3-butyric acid) to cut root tips during transplant. Auxin distribution stimulates lateral root branching within 3-4 weeks.
Pro-Tip: Run fans 24 hours daily. Air movement strengthens cell walls through mechanical stress response and prevents anaerobic pockets in media.
Troubleshooting
Symptom: Black root tips with hollow texture.
Solution: Root rot from Pythium or Phytophthora. Remove affected roots with sterilized shears. Drench remaining media with fosetyl-aluminum fungicide at 2 grams per liter. Reduce watering frequency by 30%.
Symptom: Yellowing lower leaves with green veins.
Solution: Iron chlorosis from high substrate pH. Test media; if above 6.8, apply chelated iron foliar spray (0.1% concentration) weekly for 3 weeks. Repot in acidified bark media.
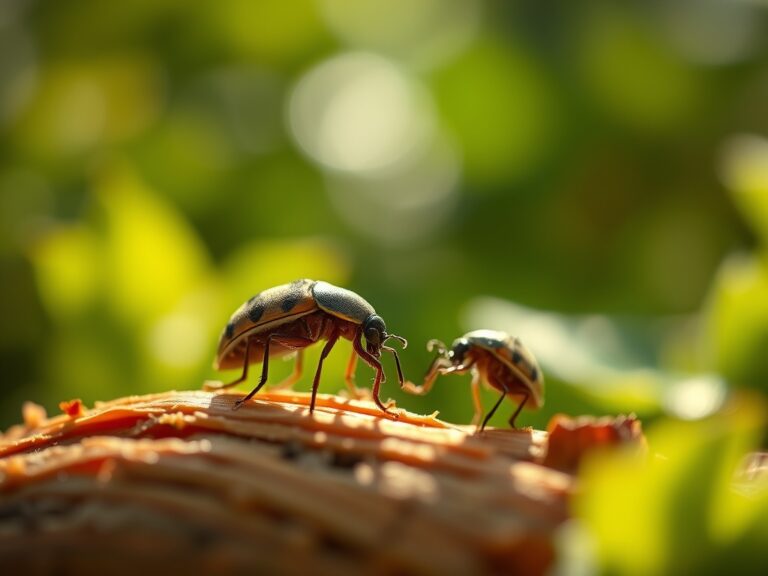
Symptom: Silver stippling on leaf undersides, fine webbing.
Solution: Two-spotted spider mite infestation. Increase humidity above 60% immediately; mites reproduce poorly in moist conditions. Spray insecticidal soap (potassium salts of fatty acids, 2% solution) every 3 days for 2 weeks.
Symptom: White cottony masses in leaf axils.
Solution: Mealybugs secreting protective wax. Swab colonies with 70% isopropyl alcohol on cotton. Follow with horticultural oil (2% emulsion) applied weekly until no new egg sacs appear (typically 6 weeks).
Symptom: Brown leaf tips progressing inward.
Solution: Salt accumulation from over-fertilization. Flush pots with distilled water (volume equal to 3 times pot capacity) monthly. Reduce fertilizer concentration to one-eighth strength.
Maintenance
Water Phalaenopsis every 7 days, Cattleya every 5 days, Dendrobium every 10 days during winter dormancy. Deliver 1 inch of water per watering event, measured by placing an empty pot beneath the plant and quantifying runoff.
Fertilize every other watering during active growth. Flush pots with plain water on alternate cycles to prevent salt buildup. Reduce fertilizer applications to monthly during winter when light levels drop below 150 micromoles per square meter per second.
Repot every 18-24 months when bark decomposes into particles smaller than 1/4 inch. Decomposed media retains excessive moisture and collapses air pockets critical for root respiration.
Prune flower spikes after blooms fade. Cut Phalaenopsis spikes above the third node from the base to encourage secondary spikes. Remove Cattleya spikes at the pseudobulb junction.
Rotate pots 90 degrees weekly. Uniform light exposure prevents phototropic lean and encourages symmetrical growth.
FAQ
How often should I adjust shelf lighting schedules?
Change photoperiod every 8 weeks to mimic seasonal progression. Spring and summer require 14 hours of light. Fall and winter need 10 hours to trigger flowering in photoperiod-sensitive species like Phalaenopsis and Oncidium.
Can I use tap water for orchids?
Only if total dissolved solids measure below 150 ppm. Hard water with calcium carbonate concentrations above 100 ppm raises substrate pH beyond orchid tolerance. Use reverse osmosis or distilled water in areas with alkaline municipal supplies.
What temperature differential triggers flowering?
Most orchids require a 10-15 degree F drop between day and night temperatures for 4-6 consecutive weeks. Phalaenopsis initiate spikes when nights reach 60-65 F. Cymbidium demand cooler conditions: 50-55 F nights for 8 weeks.
Do orchids need dormancy periods?
Deciduous species like Catasetum and Dendrobium nobile require complete dormancy. Withhold water for 8-12 weeks after leaf drop. Evergreen orchids (Phalaenopsis, Paphiopedilum) grow year-round but benefit from reduced watering and fertilization during short winter photoperiods.
How do I sterilize tools between plants?
Flame pruning shears with a propane torch for 5 seconds, heating metal to dull red. Alternatively, soak blades in 10% bleach solution (1 part bleach to 9 parts water) for 60 seconds, then rinse with distilled water. Viruses like Cymbidium mosaic spread through contaminated cutting tools.