8 Handling Steps for Repotting a ZZ Plant
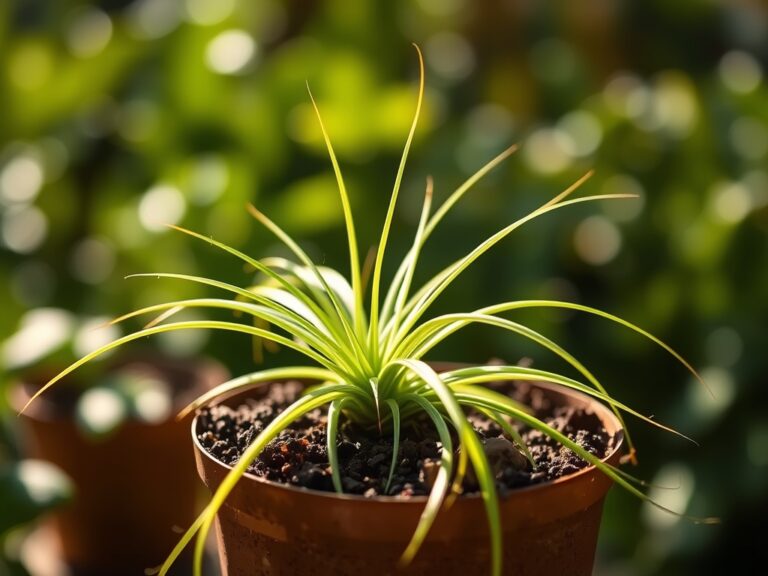
The scent of damp, mineral-heavy substrate and the tactile snap of a turgid Zamioculcas zamiifolia leaf define the professional workspace. A healthy ZZ plant maintains high turgor pressure within its succulent stems; however, when the underground rhizomes begin to deform the plastic nursery pot, the plant has exceeded its available rhizosphere. Mastering the steps for repotting a ZZ plant requires a technical understanding of its unique water-storage anatomy and its slow metabolic rate. Failure to provide a well-draining environment leads to anaerobic conditions and subsequent cellular collapse. Success depends on precise timing, substrate chemistry, and structural handling to ensure the specimen continues its architectural growth without the onset of transplant shock or root necrosis.
Materials
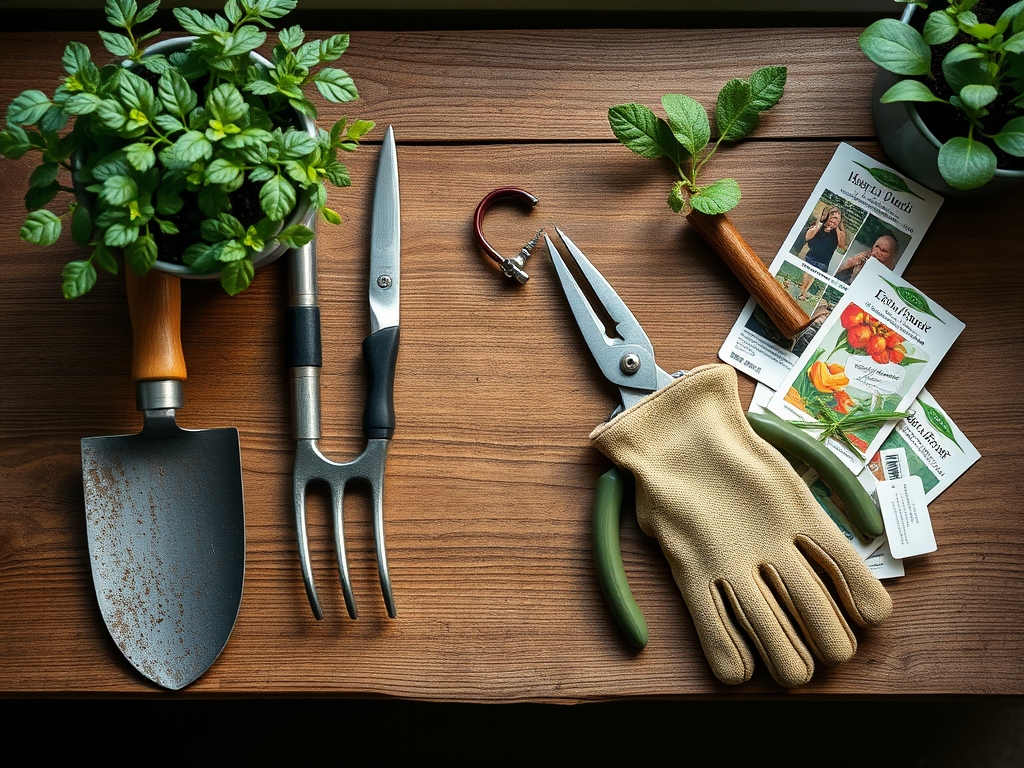
Substrate selection is the most critical variable for a plant that evolved in the rocky, well-drained soils of Eastern Africa. The ideal medium is a friable loam with high porosity and a pH range between 6.0 and 7.0. Avoid heavy peat-based mixes that retain excessive moisture and lower the Cation Exchange Capacity (CEC).
The nutrient profile should be lean. Incorporate a slow-release granular fertilizer with an NPK ratio of 10-10-10 or 20-20-20 at half the manufacturer's recommended strength. The physical components must include 30 percent perlite or pumice, 20 percent coarse horticultural sand, and 50 percent aged pine bark or coconut coir. This mixture ensures a high oxygen diffusion rate to the roots. Select a container only 1 to 2 inches larger in diameter than the current one; oversized pots lead to "perched water tables" where the bottom layer of soil remains saturated, suffocating the lower root system.
Timing
While the ZZ plant is primarily grown indoors, its biological clock remains synchronized with external seasonal shifts. In Hardiness Zones 9 through 11, these plants can survive outdoors, but for most cultivators, the repotting window opens in early spring. This coincides with the end of the winter dormancy period and the beginning of the vegetative growth phase.
Wait until the danger of frost has passed and indoor ambient temperatures consistently reside between 65 and 75 degrees Fahrenheit. Repotting during the active growth window allows the plant to utilize its peak metabolic rate to repair damaged root hairs and establish itself in the new medium. Attempting this procedure during the winter senescence phase increases the risk of fungal pathogens as the plant lacks the energy reserves to colonize new soil quickly.
Phases

Sowing and Extraction
The extraction phase requires a delicate touch to preserve the starch-storing rhizomes. If the plant is root-bound, use a hori-hori knife to slice along the inner perimeter of the pot. Invert the plant while supporting the base of the stems. If the pot is plastic and severely deformed, it is safer to cut the container away than to pull the plant by its foliage.
Pro-Tip: Minimizing mechanical damage to the rhizomes prevents the leakage of sap. From a biological perspective, preserving the integrity of the rhizome surface prevents the entry of opportunistic pathogens that thrive on the sugars released during tissue rupture.
Transplanting
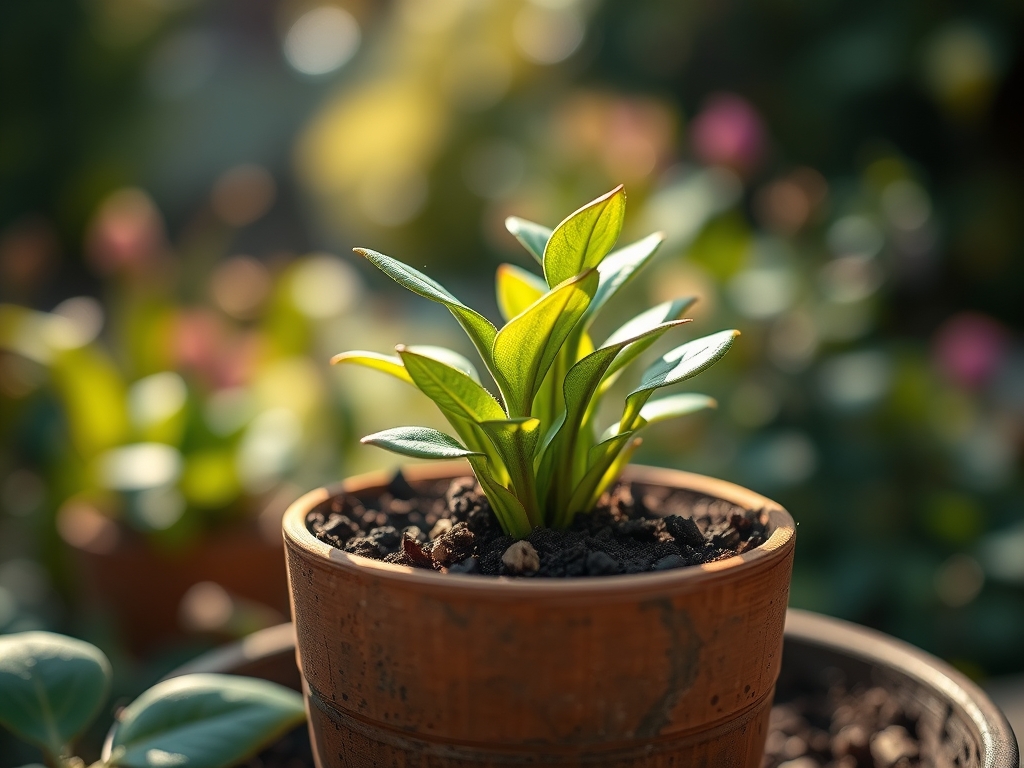
Once the plant is free, inspect the root mass. Use sterilized bypass pruners to remove any soft, brown, or odorous roots. Position the plant in the new container so that the top of the rhizomes sits approximately 1 inch below the rim. Fill the voids with your prepared substrate, tapping the sides of the pot to settle the soil. Do not pack the soil tightly; excessive compaction reduces the macropores necessary for gas exchange.
Pro-Tip: The ZZ plant exhibits gravitropism; ensure the rhizomes are oriented horizontally to allow for natural upward stem emergence. Proper orientation ensures that new shoots do not have to expend excess energy navigating around their own root structure.
Establishing
Immediately after repotting, do not water the plant. Wait three to five days before the first irrigation. This allows any micro-fractures in the root system to callus over, preventing water-borne fungi from entering the vascular system. Place the plant in bright, indirect light to stimulate photosynthesis without causing scorched leaves.
Pro-Tip: This "dry period" encourages the plant to seek out moisture, stimulating the growth of new root hairs through a process called hydrotropism. This search for water creates a more robust and expansive root system in the long term.
The Clinic
Physiological disorders in ZZ plants often manifest through foliage color changes. Identifying these early is key to survival.
- Symptom: Yellowing lower leaves (Nitrogen Chlorosis).
- Solution: Check for soil saturation. If the soil is dry, apply a balanced liquid fertilizer at quarter-strength to restore nitrogen levels.
- Symptom: Mushy, brown stem bases (Rhizome Rot).
- Solution: This is an emergency. Remove the plant from the soil, excise all necrotic tissue with a sterile blade, and repot in 100 percent dry perlite for two weeks to stabilize.
- Symptom: Wrinkled stems (Dehydration).
- Solution: Increase irrigation frequency. Use a soil moisture meter to ensure the root zone reaches a "3" or "4" on a 10-point scale before re-watering.
- Fix-It for Tip Burn: Often caused by fluoride or chlorine in municipal water. Switch to distilled water or rainwater to prevent salt accumulation in the leaf margins.
Maintenance
Post-repotting maintenance requires discipline. The ZZ plant thrives on neglect but dies from over-attentiveness. Use a soil moisture meter to verify that the substrate is 90 percent dry before adding more water. In a standard 10-inch pot, this usually equates to roughly 12 to 16 ounces of water every three to four weeks.
Wipe the pinnate leaves with a damp cloth every month to remove dust. Dust accumulation inhibits the stomata, reducing the plant's ability to perform gas exchange and transpiration. If the plant becomes top-heavy, use bamboo stakes to provide structural support, but avoid piercing the underground rhizomes. Maintain ambient humidity between 40 and 50 percent; while the plant tolerates dry air, extreme aridity can lead to leaf drop.
The Yield
While the ZZ plant is not an edible crop, its "yield" is measured in biomass and the production of new "pups" or rhizome offsets. To harvest these for propagation, use your hori-hori knife to cleanly sever a rhizome clump that has at least one healthy stem and a developed root system.
To maintain "day-one" freshness in a newly divided plant, treat the cut surface with activated charcoal or cinnamon to act as a natural fungicide. Allow the division to air-dry for 24 hours before placing it into a small pot with the same high-porosity mix used for the parent plant. This ensures the vascular system remains pressurized and the foliage stays upright.
FAQ
How do I know when to repot a ZZ plant?
Observe the drainage holes and pot shape. If roots emerge from the bottom or the plastic sides bulge and crack, the rhizomes have exhausted the available space. This typically occurs every two to three years.
What is the best soil for a ZZ plant?
Use a well-draining, gritty mix with a pH of 6.0 to 7.0. A combination of 50 percent potting soil and 50 percent inorganic matter like perlite or coarse sand prevents the anaerobic conditions that cause root rot.
Can I use a pot without drainage holes?
No. ZZ plants require rapid drainage to prevent moisture from lingering around the starch-heavy rhizomes. Without drainage, the perched water table will cause cellular senescence and total plant failure within weeks.
Why are my ZZ plant leaves turning yellow?
This is usually a sign of overwatering leading to root dysfunction. The plant cannot uptake nutrients because the roots are suffocating. Check the soil moisture levels and ensure the substrate is completely dry before the next irrigation.