8 Moisture-Maintenance Steps for Repotting a Spider Plant
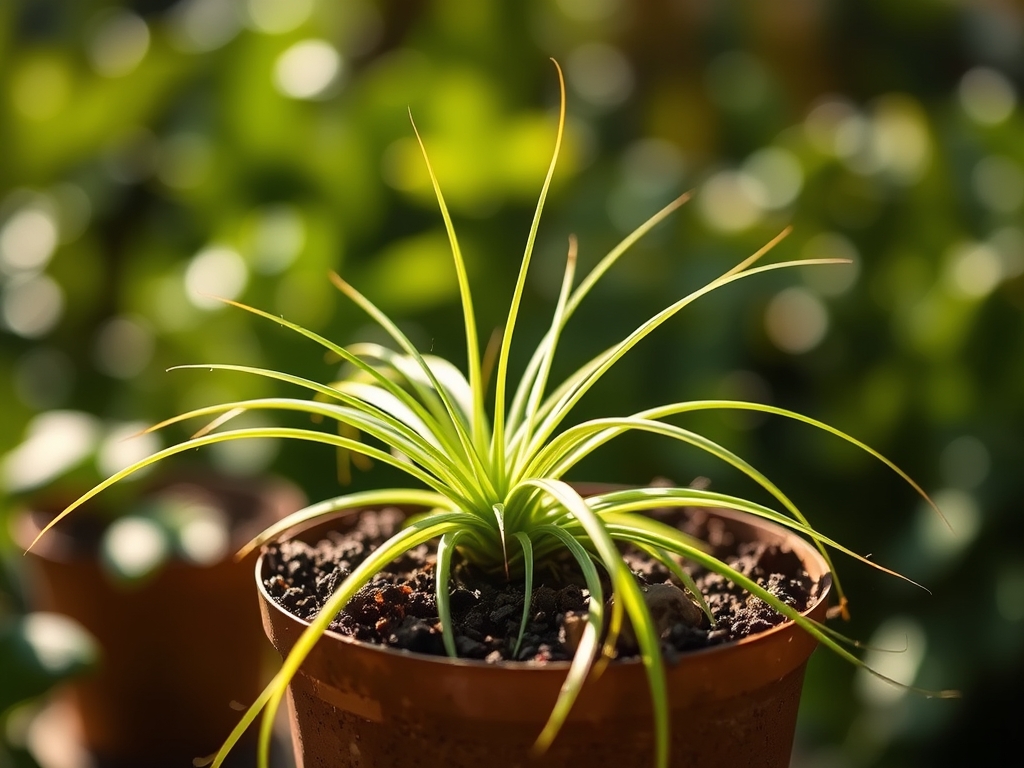
The tuber-like rhizomes of Chlorophytum comosum split their nursery pots with surprising force, pressing against rigid plastic until drainage suffers and roots circle inward. Observing this pattern signals the moment to intervene. The steps for repotting a spider plant prioritize moisture regulation because these South African natives store water in fleshy roots that rot quickly in compacted, anaerobic media yet desiccate when substrate drains too rapidly.
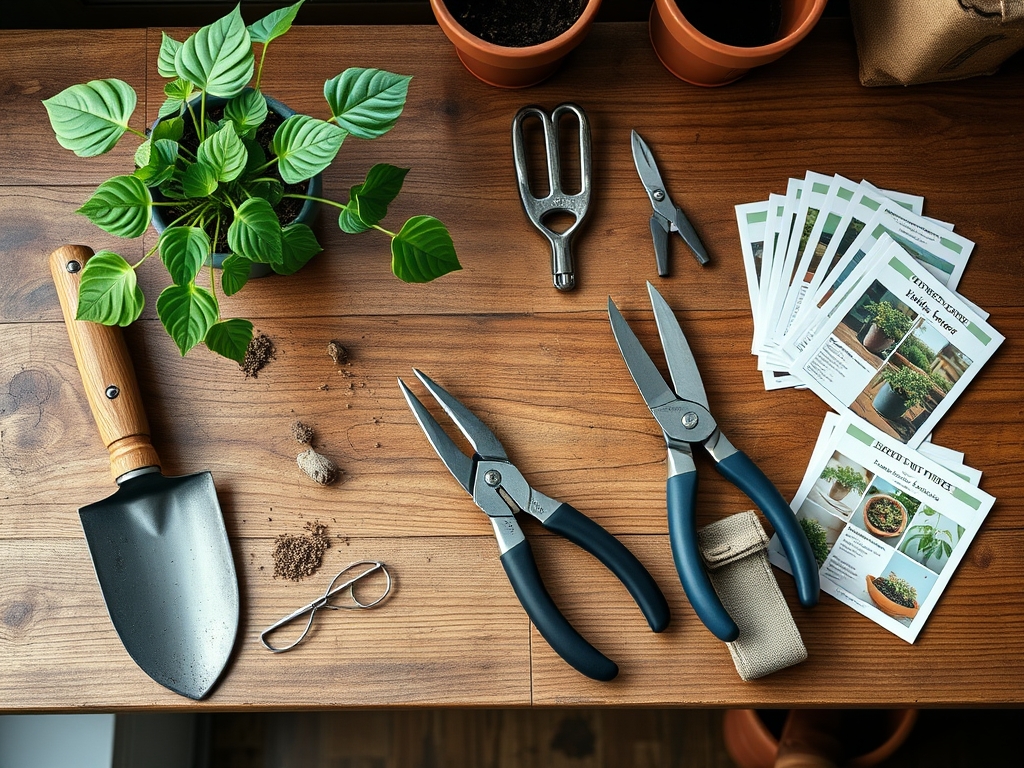
Materials
Select a container 2 inches wider than the current pot, with at least four drainage holes per 6 inches of diameter. Clay pots offer superior gas exchange at the root zone but require more frequent irrigation. Plastic retains moisture longer yet limits oxygen diffusion.
Prepare a soilless mix at pH 6.0 to 6.5 for optimal nutrient availability. Combine equal parts peat moss, perlite, and aged pine bark. Incorporate 1 tablespoon of dolomitic lime per gallon of mix to buffer acidity and supply calcium.
Add a balanced organic amendment at 4-4-4 NPK ratio, such as feather meal, bone meal, and kelp blend. Apply at 2 tablespoons per gallon of substrate. This slow-release formula supports vegetative growth without stimulating excessive offsets that tax the root system.
Inoculate with endomycorrhizal fungi (Glomus species) at manufacturer-recommended rates. These symbionts colonize spider plant roots and extend phosphorus uptake radius by 10 to 100 times, critical in low-phosphorus potting mixes.
Timing
Execute repotting in USDA Hardiness Zones 9 through 11 during the active growth window between late March and early June, when soil temperatures exceed 60 degrees Fahrenheit. In Zones 3 through 8, where spider plants remain houseplants year-round, repot from April through July to align with peak auxin distribution and root regeneration capacity.
Avoid repotting during winter dormancy. Even in heated indoor environments, Chlorophytum comosum reduces metabolic activity when day length drops below 10 hours. Root repair mechanisms slow, and transplant shock extends for weeks.
Phases

Sowing Phase (Root Inspection and Preparation)
Water the spider plant 24 hours before removal to consolidate the root ball and reduce mechanical damage. Invert the pot and tap the rim against a solid edge while supporting the crown. Slide the root mass free.
Examine rhizomes for soft, brown sections indicating Pythium rot. Excise damaged tissue with sterilized pruning shears at a 45-degree angle to maximize cut-surface area for callus formation. Dust wounds with sulfur powder at 1 gram per square inch of exposed tissue.
Tease apart circling roots longer than 6 inches, cutting them back by one-third to stimulate lateral branching. This intervention resets the root architecture and prevents girdling as the plant matures.
Pro-Tip: Soak trimmed roots in a 100 ppm indole-3-butyric acid solution for 30 seconds to accelerate adventitious root initiation at wound sites.
Transplanting Phase (Medium and Positioning)
Fill the new container one-third full with moistened substrate. Create a central mound to support the root crown at the same depth it occupied previously. Planting too deep smothers the crown and invites basal rot.
Spread roots radially over the mound, ensuring no major root doubles back or crosses another. Backfill with substrate, tamping gently every 2 inches to eliminate air pockets without compressing the medium. Leave 1 inch of headspace below the rim for irrigation.
Saturate the pot until water streams from drainage holes. This first irrigation settles particles around roots and establishes hydraulic continuity between root surfaces and substrate pores.
Pro-Tip: Add 1 tablespoon of hydrated polymer crystals per gallon of mix if ambient humidity stays below 40 percent. These crystals buffer moisture fluctuations by absorbing excess water and releasing it as substrate dries.
Establishing Phase (Moisture Calibration)
Place the repotted spider plant in bright, indirect light at 200 to 400 foot-candles for 10 days. Direct sun increases transpiration demand before roots regenerate adequately, causing leaf-tip necrosis.
Maintain substrate at 50 to 60 percent field capacity during establishment. Insert a moisture meter to the pot's midpoint. Irrigate when readings drop to 4 on a 10-point scale, delivering 0.5 quarts per gallon of pot volume.
Monitor for new growth after 14 days. White root tips visible at drainage holes confirm establishment. Resume normal positioning and fertility.
Pro-Tip: Mist foliage once daily during establishment only if relative humidity drops below 30 percent. Excess foliar moisture promotes Botrytis cinerea on stressed plants.
Troubleshooting
Symptom: Brown, crispy leaf tips progressing from apex downward.
Solution: Excess soluble salts from municipal water or over-fertilization. Leach pots with distilled water at three times container volume monthly. Reduce fertilizer to half strength.
Symptom: Yellowing leaves with green veins (interveinal chlorosis).
Solution: Iron deficiency induced by high substrate pH. Drench with chelated iron (Fe-EDDHA) at 1 teaspoon per gallon every two weeks until symptoms reverse.
Symptom: Wilting despite moist substrate.
Solution: Root rot from Phytophthora or Pythium species. Unpot immediately, remove all soft roots, repot in fresh sterile medium, and drench with fosetyl-aluminum fungicide at label rate.
Symptom: Sticky residue on leaves with stunted growth.
Solution: Aphid infestation. Spray with insecticidal soap at 2 percent concentration, covering all leaf surfaces. Repeat at five-day intervals for three applications.
Maintenance
Irrigate when the top 2 inches of substrate feel dry to touch, approximately every 7 to 10 days in moderate indoor conditions. Provide 1 to 1.5 inches of water per session, measuring by placing the pot on a kitchen scale before and after irrigation.
Feed every four weeks during active growth with liquid fertilizer at 10-10-10 NPK ratio diluted to 150 ppm nitrogen. Cease fertilization from November through February.
Prune dead foliage at the base with cuts angled 30 degrees from horizontal. Remove spent flower stalks to redirect energy toward root and foliage development.
FAQ
How often do spider plants need repotting?
Every 18 to 24 months when roots occupy 80 percent of pot volume or when growth slows despite adequate fertility and light.
Can I divide spider plants during repotting?
Yes. Separate crowns with at least three leaves and proportional root mass. Each division establishes independently within three weeks.
What substrate pH prevents brown tips?
Maintain 6.0 to 6.5. Higher pH reduces micronutrient availability. Lower pH increases aluminum toxicity in sensitive cultivars.
Do spider plants require special fertilizer?
No. Standard balanced formulas suffice. Avoid high-nitrogen blends exceeding 20 percent nitrogen, which promote soft growth and reduce stress tolerance.
Why do leaves pale after repotting?
Temporary reduction in root surface area limits nitrogen uptake. Symptoms resolve as new roots develop, typically within 21 days.