9 Drainage Steps for Repotting an Aloe Vera
Damp earth and the sharp, metallic scent of broken roots define the workspace of a serious gardener. A healthy Aloe barbadensis miller demonstrates its vigor through high turgor pressure; the leaves should feel rigid and heavy with stored water. When the plant becomes root-bound, its growth slows and the lower leaves may show signs of senescence. Mastering the steps for repotting an aloe vera is essential to maintaining its physiological health and preventing the onset of root rot caused by anaerobic conditions. This process requires more than a simple container swap. It demands an understanding of soil physics and the specific drainage requirements of succulent species. By optimizing the rhizosphere, you ensure the plant can continue to synthesize aloin and complex polysaccharides without the stress of waterlogged substrate. Successful repotting transitions the specimen into a larger volume of porous media, allowing the root system to expand and increase its nutrient uptake capacity. This guide provides the technical framework for executing a professional-grade transplant that prioritizes drainage and long-term vitality.
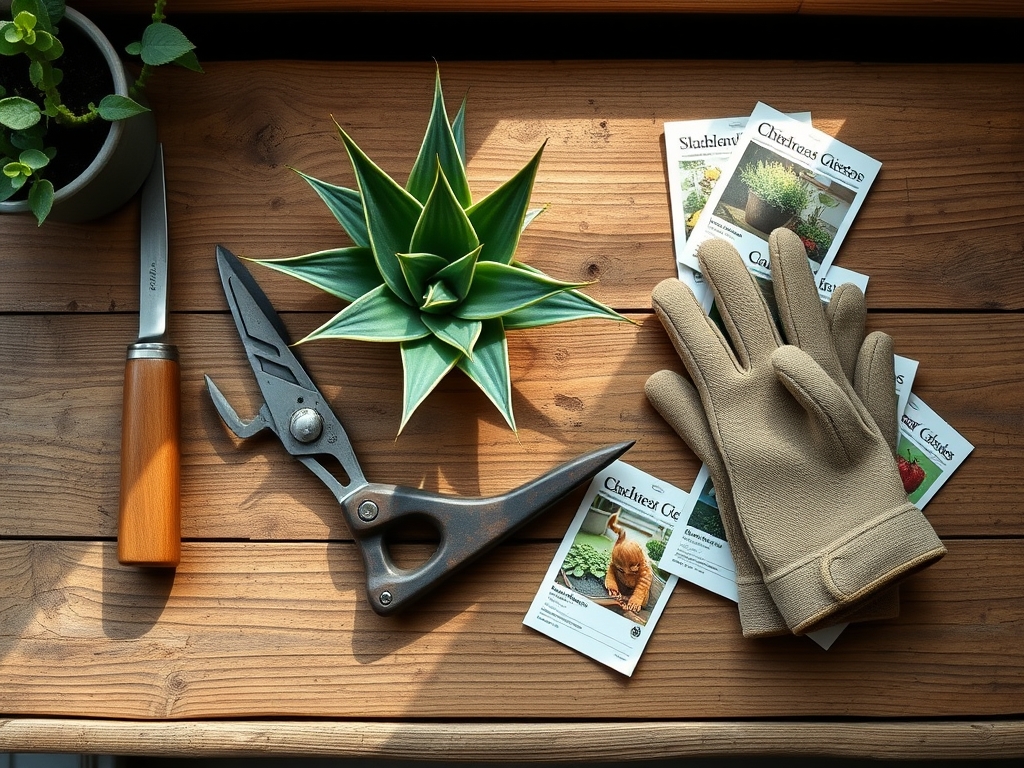
Materials:
The success of the steps for repotting an aloe vera depends entirely on the chemical and physical properties of the substrate. Aloe vera requires a soil pH between **6.0 and 8.5**. The ideal medium is a friable loam mixed with inorganic aggregates to ensure a high infiltration rate.
- Substrate Composition: A blend of 40 percent coarse horticultural sand, 30 percent perlite or pumice, and 30 percent organic compost. This creates a high-porosity environment that prevents compaction.
- NPK Ratios: Use a low-nitrogen fertilizer with an NPK ratio of 10-40-10 or 5-10-10. Excessive nitrogen can lead to weak, leggy growth and increased susceptibility to pathogens.
- Cation Exchange Capacity (CEC): Incorporate a small amount of calcined clay to improve the CEC, allowing the soil to hold onto essential nutrients like potassium and magnesium without retaining excess water.
- Container: Select a terracotta or unglazed ceramic pot with at least one drainage hole. These materials allow for gas exchange through the sidewalls, aiding in the evaporation of surplus moisture.
Timing:
Aloe vera is most resilient in Hardiness Zones 8 through 11. The optimal window for repotting occurs during the spring or early summer, coinciding with the plant's transition from semi-dormancy to its active vegetative stage. In most regions, this falls between March and May, after the final frost date has passed and ambient temperatures consistently remain above 55 degrees Fahrenheit.
Repotting during this growth surge allows the plant to utilize its peak metabolic rate to repair damaged root tissue. The biological clock of the aloe is sensitive to the photoperiod; as day length increases, the plant increases its production of auxins, which are hormones that stimulate root elongation. Avoid repotting during the winter months when the plant enters a state of quiescence, as the lack of active growth makes the roots highly susceptible to fungal infections in new, moist soil.
Phases:
Sowing and Preparation
Before the transplant, allow the aloe to dry out completely for 5 to 7 days. This reduces the weight of the plant and makes the roots less brittle. Prepare the new container by placing a small piece of mesh over the drainage hole to prevent substrate loss while maintaining a high flow rate.
Pro-Tip: Ensure the new pot is only 1 to 2 inches wider than the current root ball. A container that is too large creates a "perched water table" where the bottom layer of soil stays saturated because the roots cannot reach it to draw up moisture.
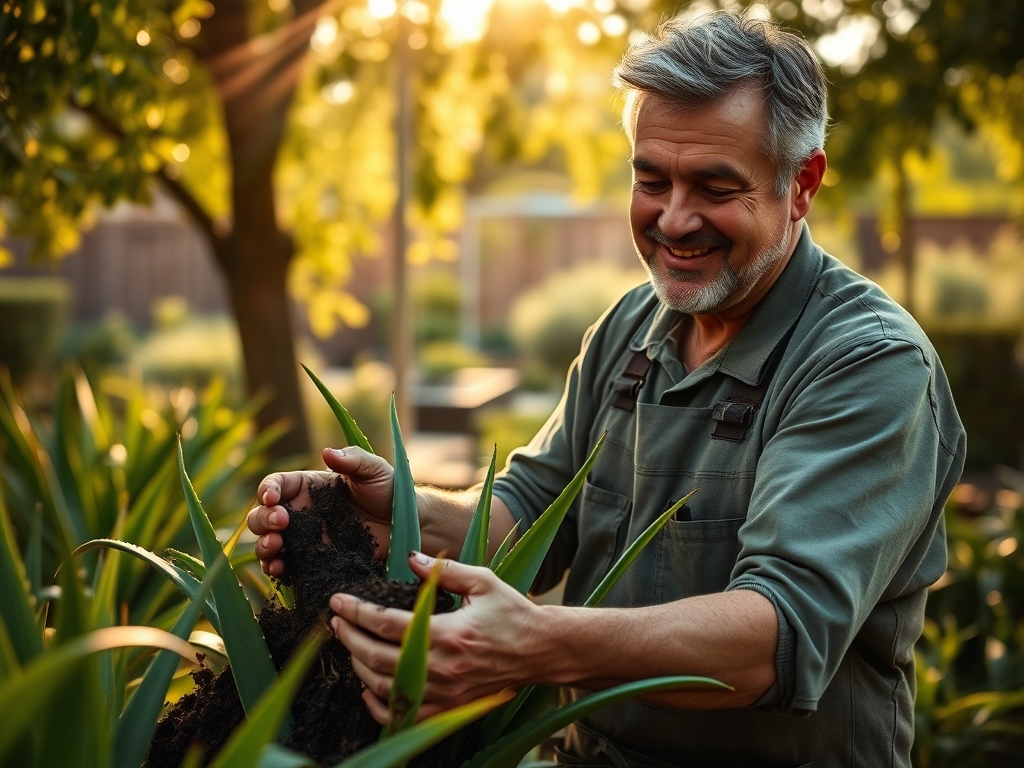
Transplanting
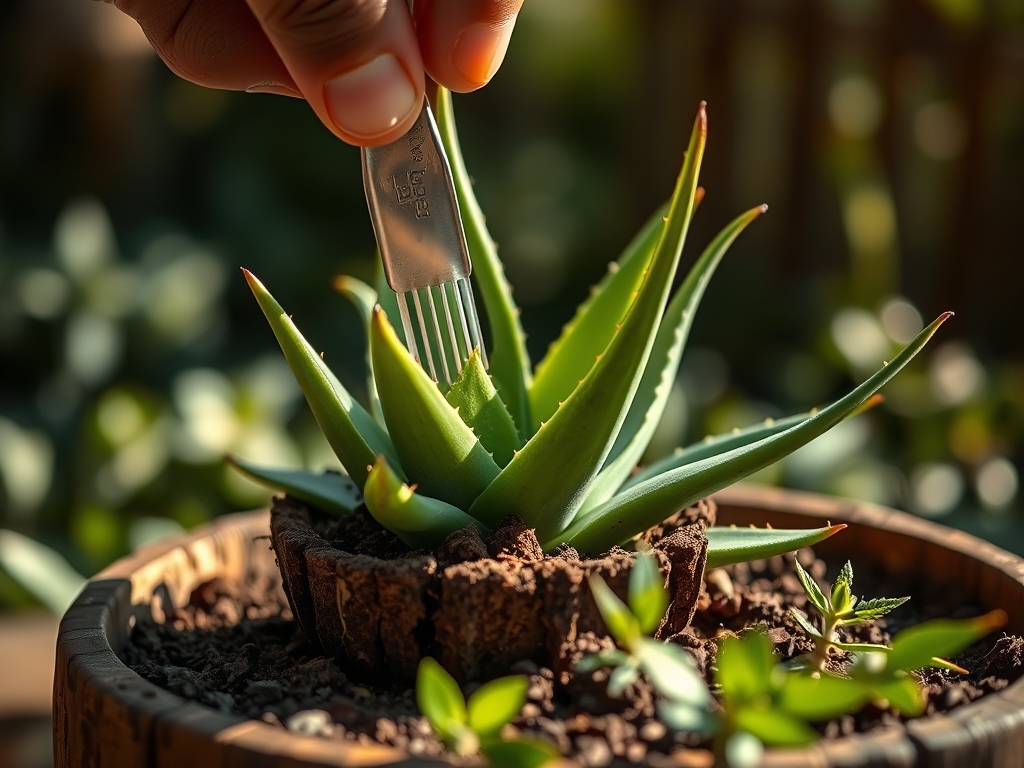
Gently invert the plant and tap the sides of the old pot. Use a hori-hori knife to circle the inner perimeter if the roots are adhered to the walls. Once removed, inspect the root architecture. Healthy roots are firm and tan; black or mushy roots indicate decay and must be excised with sterilized bypass pruners. Spread the roots outward rather than leaving them in a tight coil.
Pro-Tip: When trimming roots, you trigger auxin suppression at the tips, which actually stimulates the plant to produce new, lateral feeder roots once it is settled in the new medium.
Establishing
Position the aloe in the center of the new pot, ensuring the soil line remains at the same level as the previous container. Burying the stem too deep can lead to crown rot. Fill the voids with the prepared substrate, tapping the pot on a hard surface to settle the particles without manual compression.
Pro-Tip: Do not water the plant for at least 3 to 5 days after repotting. This allows any micro-fractures in the root tissue to callous over, preventing soil-borne pathogens from entering the vascular system through open wounds.
The Clinic:
Physiological disorders in aloe vera often stem from improper drainage or nutrient imbalances.
- Symptom: Soft, translucent leaves.
- Solution: This indicates waterlogging and cellular collapse. Immediate cessation of irrigation is required. Check the drainage hole for blockages.
- Symptom: Reddish-brown leaf tint.
- Solution: This is a stress response to excessive UV radiation or phosphorus deficiency. Move the plant to filtered light and apply a 0-10-0 bone meal supplement.
- Symptom: Nitrogen Chlorosis (Yellowing of older leaves).
- Fix-It: Apply a diluted liquid fertilizer with a 10-10-10 ratio at half strength. Nitrogen is a mobile nutrient; the plant moves it from old leaves to new growth when soil levels are depleted.
- Symptom: Tip burn.
- Solution: Often caused by fluoride or chlorine in municipal water. Switch to distilled water or rain water to prevent salt accumulation in the leaf apex.
Maintenance:
Precision is the hallmark of professional aloe care. Use a soil moisture meter to verify that the substrate is dry to a depth of 3 inches before adding water. Under typical indoor conditions, this equates to roughly 0.5 to 1.0 inches of water every 14 to 21 days.
During the summer, if the plant is outdoors, irrigation may increase to 1.5 inches per week applied at the drip line. Always avoid getting water into the central rosette, as trapped moisture promotes the growth of Erwinia soft rot. Use a hori-hori knife annually to probe the soil and check for compaction. If the soil becomes hydrophobic, use a wetting agent or soak the pot in a basin for 20 minutes to restore capillary action.
The Yield:
Harvesting aloe vera leaves should be done with a sharp, sterile blade. Select the outermost, mature leaves first. Cut as close to the main stem as possible to prevent leaving a "stub" that could rot.
To maintain "day-one" freshness, stand the harvested leaf upright in a container for 10 minutes to allow the yellow aloin sap to drain out. After draining, wrap the leaf in parchment paper and refrigerate. The gel remains biologically active for up to two weeks when kept at temperatures between 35 and 40 degrees Fahrenheit.
FAQ:
How do I know when to repot my aloe?
Repot when roots emerge from drainage holes or the plant becomes top-heavy. This typically occurs every two to three years. Observe the growth rate; a significant slowdown often indicates the root system has exhausted the available substrate volume.
What is the best soil for aloe vera?
Use a well-draining mixture with a pH of 6.0 to 8.5. A combination of 70 percent inorganic matter (perlite, sand) and 30 percent organic matter is ideal. This ensures a high infiltration rate and prevents lethal anaerobic conditions.
Can I use regular potting soil?
Standard potting soil retains too much moisture for succulents. If you must use it, amend it with 50 percent coarse grit or perlite. This modification increases the macropore space, allowing for necessary gas exchange within the rhizosphere.
How much light does a repotted aloe need?
Provide six to eight hours of bright, indirect sunlight. Avoid direct afternoon sun immediately after repotting to prevent desiccation. Once established, the plant can tolerate higher light intensities, provided the transition is gradual to prevent photo-oxidation of the tissues.