9 Training Steps to Prepare an Indoor Bonsai Tree Shelf
Learning how to prepare a plant shelf for bonsai transforms ordinary indoor space into a microenvironment calibrated for miniature tree cultivation. The surface must withstand repeated watering, support precise weight distribution, and provide adequate air circulation beneath each pot. Indoor bonsai shelving differs fundamentally from ornamental display units because it functions as active horticultural infrastructure rather than passive furniture. The shelf becomes an extension of your rootball management strategy, directly influencing stomatal conductance and auxin distribution within each specimen.
Materials
Select marine-grade plywood or solid hardwood rated for moisture exposure. Avoid particleboard, which delaminates under humidity spikes common during misting cycles. Apply three coats of polyurethane sealant to all surfaces, including undersides and cut edges, ensuring a pH-neutral barrier between wood tannins and substrate.
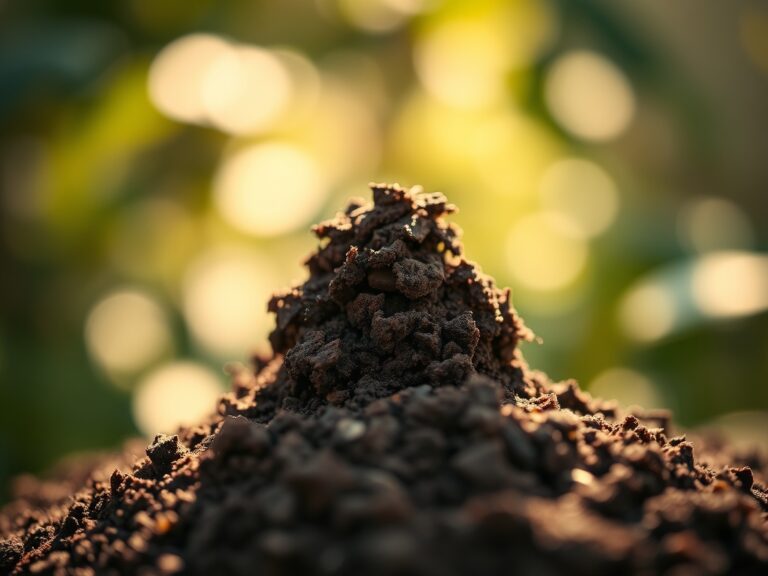
For substrate preparation, blend akadama, pumice, and lava rock in 1:1:1 ratios to achieve optimal cation exchange capacity. Amend with 4-4-4 organic fertilizer at 2 tablespoons per gallon of mix, delivering balanced nitrogen, phosphorus, and potassium without salt accumulation. Source sphagnum moss with pH between 3.5 and 4.0 for moisture retention layers.
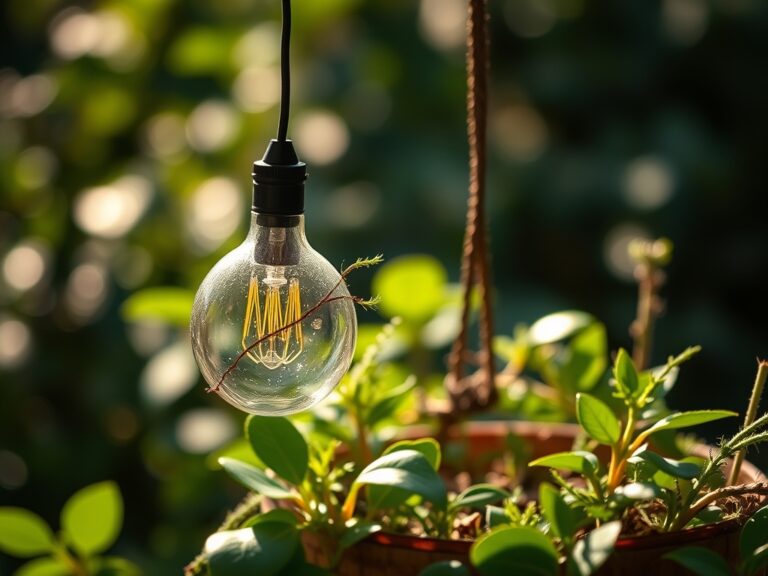
Install full-spectrum LED grow lights delivering 200-400 foot-candles at canopy level. Measure intensity with a PAR meter rather than estimating by eye. Purchase humidity trays sized 2 inches larger than pot diameter, filled with pea gravel to elevate containers above standing water. Acquire wire mesh shelving inserts with 1-inch grid spacing to promote air circulation and prevent fungal colonization on shelf undersides.
Stock chelated iron solution and mycorrhizal fungi inoculant for root establishment phases. Keep pH testing strips calibrated for the 5.5-7.0 range, specific to most temperate bonsai species.
Timing
Execute shelf preparation during late winter, targeting hardiness zones 6-9 between February 15 and March 30. This window precedes the spring root-growth flush when trees transition from dormancy to active metabolism. Indoor preparation bypasses outdoor frost-date restrictions, but aligning with natural photoperiod extension improves acclimatization success.
In zones 10-11, prepare shelves between November and January to capitalize on mild temperature oscillations that stimulate rootlet production without heat stress. Tropical species such as Ficus require shelf readiness before monsoon analog periods when you increase watering frequency from twice weekly to daily.
Check your last expected frost date and subtract 8 weeks. This buffer allows shelf curing, light acclimation testing, and substrate pH stabilization before introducing living specimens.
Phases
Shelf Construction and Sealing
Cut shelves to 16-inch depth, allowing 4 inches behind pot placement for air movement. Sand all surfaces to 220-grit smoothness, removing splinters that puncture irrigation lines. Apply sealant in thin coats separated by 4-hour drying intervals. Test water beading after final coat cures for 72 hours.
Pro-Tip: Install wire brackets 12 inches above each shelf to mount grow lights at adjustable heights, accommodating canopy growth without repositioning heavy fixtures.
Environmental Calibration
Mount a digital hygrometer and thermometer combination unit at mid-shelf height. Stabilize ambient conditions at 60-70°F with 40-60% relative humidity for temperate species. Run lights for 14 hours daily, mimicking spring day length. Fill humidity trays and monitor evaporation rates over one week without plants present.
Pro-Tip: Place a fan 6 feet from the shelf on oscillating mode, set to low speed. This prevents stagnant air pockets that encourage powdery mildew while strengthening trunk taper through mild mechanical stress.
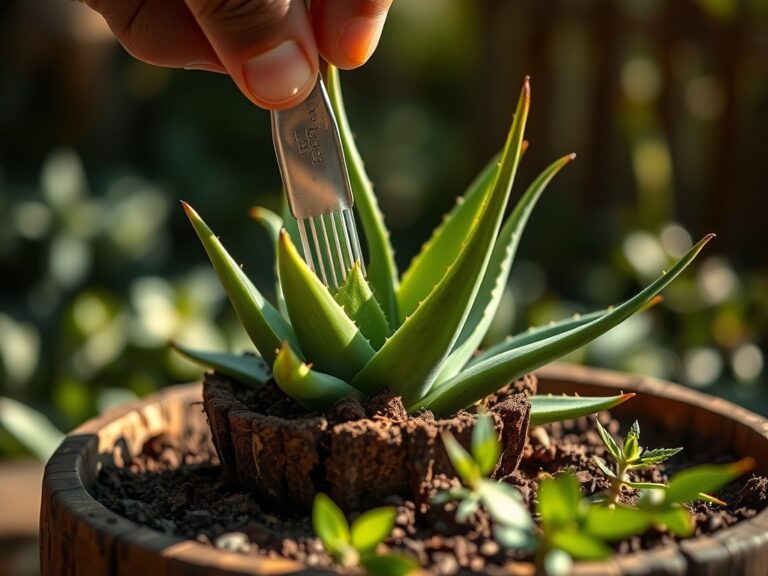
Root Establishment Protocol
Position trees in humidity trays without direct pot-to-water contact. Water until 10% runoff emerges from drainage holes, testing substrate saturation depth. Apply mycorrhizal fungi by dusting root surfaces during initial potting, establishing symbiotic networks that increase phosphorus uptake by 300%.
Pro-Tip: Trim tap roots at 45-degree angles during transplant to encourage lateral feeder root proliferation, maximizing nutrient absorption within shallow bonsai containers.
Troubleshooting
Symptom: Yellowing leaves with green veins (interveinal chlorosis).
Solution: Apply chelated iron at 1 teaspoon per gallon weekly for three weeks. Test substrate pH; adjust with sulfur if above 7.0.
Symptom: White cottony masses on branch crotches (mealybug infestation).
Solution: Swab with 70% isopropyl alcohol on cotton applicators. Repeat every 5 days for three cycles to disrupt reproductive phases.
Symptom: Black, mushy root tips (Pythium root rot).
Solution: Remove affected roots with sterilized shears. Repot in fresh substrate with improved drainage. Reduce watering frequency by 40%.
Symptom: Elongated internodes with pale growth (insufficient light).
Solution: Lower grow lights to 8 inches above canopy. Increase photoperiod to 16 hours daily.
Symptom: Leaf edges browning and crispy (salt accumulation from overfertilization).
Solution: Flush substrate with distilled water at 3x pot volume. Suspend fertilization for 6 weeks.
Maintenance
Water when the top 0.5 inches of substrate feels dry to touch, typically every 2-3 days under standard indoor conditions. Deliver 1 inch of water per session measured by volume, not duration. Fertilize with half-strength 10-10-10 liquid solution every 14 days during active growth, ceasing from November through February.
Rotate pots 90 degrees weekly to ensure even light distribution and prevent phototropic lean. Prune new shoots when they extend 2 inches beyond desired silhouette, cutting back to the second node at a 60-degree angle. This promotes back-budding along older wood.
Clean humidity trays monthly, scrubbing algae buildup with diluted hydrogen peroxide at 1 part peroxide to 4 parts water. Replace pea gravel annually to prevent mineral crust formation that impedes evaporation.
FAQ
How often should I test shelf humidity?
Test daily during the first month, then weekly after environmental stability is confirmed. Adjust by adding or removing water from humidity trays.
Can I use fluorescent bulbs instead of LEDs?
T5 fluorescent tubes work adequately but generate excess heat. Maintain 12-inch minimum distance to prevent leaf scorch.
What shelf spacing accommodates growth?
Allocate 18 inches vertical clearance per shelf for species under 12 inches tall. Larger specimens require 24-inch spacing.
Do I need different setups for tropical versus temperate bonsai?
Tropical species require consistent 70-80°F temperatures and no dormancy period. Temperate trees need 6-8 weeks at 35-45°F annually, achieved via garage cold-stratification or unheated room placement.
How do I prevent pest migration between shelves?
Isolate new acquisitions on a separate quarantine shelf for 30 days. Inspect undersides of leaves weekly with a hand lens for early detection.