5 Best Files for Shovel Edges
Damp earth releases a sharp, metallic scent when a spade shears through a dense root mat. Maintaining this level of efficiency requires a blade that maintains its bevel against abrasive mineral particles and high clay content. To achieve a clean cut that preserves plant turgor and minimizes cellular trauma to the root system, you must select the best files for shovel edges. A dull shovel does not cut; it crushes, leading to ragged wounds that invite opportunistic pathogens into the rhizosphere. Professional horticulturalists rely on 8 to 10 inch mill bastard files to restore a 45 degree angle to their carbon steel tools. This maintenance ensures that every strike into the soil profile is surgical and efficient. Using the best files for shovel edges reduces the physical force required for excavation, allowing for precise placement of root balls and minimizing the disruption of existing soil structures. Proper sharpening is the foundation of effective site preparation and long term plant health.
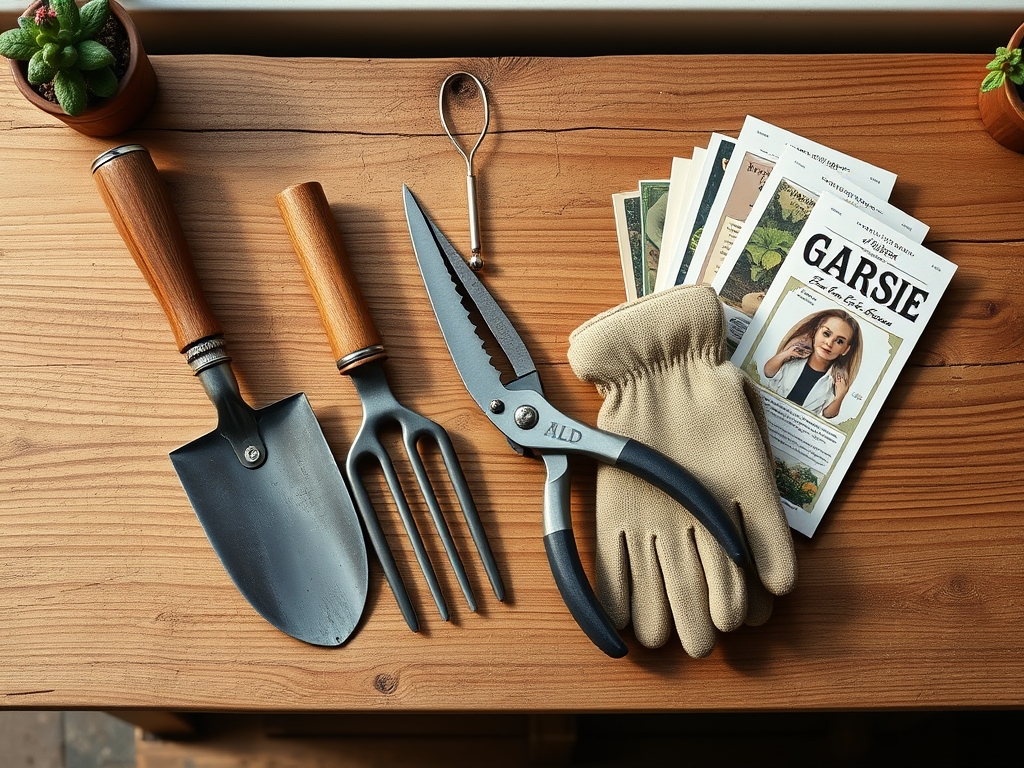
Materials:
Before engaging your sharpened spade, analyze the substrate. Ideal growing conditions for most temperate species require a friable loam with a **pH between 6.0 and 7.0**. This range optimizes the Cation Exchange Capacity (CEC), ensuring that essential nutrients like ammonium and potassium are available to the root hairs. For heavy feeders, a pre-planting NPK ratio of **10-10-10** incorporated at a rate of **2 pounds per 100 square feet** provides a baseline of primary macronutrients. The physical texture should consist of approximately **40 percent sand, 40 percent silt, and 20 percent clay**. This balance prevents compaction and maintains an aerobic environment within the pore spaces, which is critical for preventing root rot and supporting beneficial microbial activity.
Timing:
Successful cultivation depends on aligning the biological clock of the plant with local climate data. In Hardiness Zones 5 through 7, the primary planting window opens when soil temperatures consistently reach 50 degrees Fahrenheit. Monitor the transition from the vegetative stage to the reproductive stage by tracking Growing Degree Days (GDD). For woody perennials, transplanting must occur during the dormant phase, typically six weeks before the first autumn frost or four weeks before the average last spring frost. This timing allows the root system to establish itself without the metabolic demand of supporting active foliage. As the photoperiod shifts, the plant redirects energy from apical meristems to root development, a process driven by the seasonal decline in auxin production and the increase in abscisic acid.
Phases:

Sowing
Direct sow seeds at a depth approximately three times their diameter. Maintain a consistent moisture level to ensure the seed coat softens and allows the radicle to emerge. For small seeds, a light dusting of vermiculite can prevent crusting of the soil surface.
Pro-Tip: Proper sowing depth prevents premature exposure to light, which can trigger phytochrome responses that inhibit germination in species requiring darkness.
Transplanting
When moving a specimen, use your sharpened shovel to excavate a hole twice as wide as the root ball but no deeper. This prevents the plant from settling too deep, which can lead to stem rot. Ensure the flare of the trunk or the crown of the perennial is level with the soil surface.
Pro-Tip: Roughing up the sides of the planting hole breaks the "glazing" effect caused by smooth shovel blades in clay soils; this facilitates mycorrhizal symbiosis as fungal hyphae penetrate the surrounding soil more easily.
Establishing
The first 21 days post-transplant are critical for survival. Monitor turgor pressure daily. If leaves begin to wilt, it indicates that the transpiration rate exceeds the rate of water uptake by the compromised root system. Mulch with 2 to 3 inches of organic matter to regulate soil temperature and reduce evaporation.
Pro-Tip: Minimize nitrogen applications during the first two weeks to suppress excessive top growth; this allows the plant to focus its limited energy on root regeneration through auxin suppression in the lower nodes.
The Clinic:
Physiological disorders often mimic disease but are usually rooted in environmental or nutritional imbalances.
Symptom: Interveinal chlorosis on young leaves.
Solution: This typically indicates an Iron (Fe) deficiency, often caused by a soil pH above 7.5. Apply chelated iron or lower the pH using elemental sulfur at a rate of 5 pounds per 1,000 square feet.
Symptom: Necrosis of leaf margins on older foliage.
Solution: This is a classic sign of Potassium (K) deficiency. Potassium is mobile within the plant, so the organism pulls the nutrient from old growth to support new meristems. Apply a 0-0-60 fertilizer to rectify the deficit.
Symptom: Blossom end rot in fruiting crops.
Solution: This is caused by a Calcium (Ca) transport issue, often exacerbated by inconsistent irrigation. Ensure even moisture to facilitate the transpiration stream that carries calcium to the distal ends of the fruit.
Fix-It for Nitrogen Chlorosis: If the entire plant appears pale green or yellow, it lacks Nitrogen (N). Apply a quick release high nitrogen fertilizer (21-0-0) at the base of the plant and water in immediately to a depth of 6 inches.
Maintenance:
Precision maintenance extends the life of both the plant and the tool. Provide 1.5 inches of water per week delivered directly to the drip line to ensure deep root penetration. Surface sprinkling encourages shallow roots that are susceptible to drought stress. Use a soil moisture meter to verify that the water is reaching the 8 to 12 inch depth where the majority of active root hairs reside.
Keep your tools in peak condition by cleaning them after every use. Use a hori-hori knife for weeding in tight spaces and bypass pruners for clean cuts on woody stems. When the spade edge becomes rounded, use one of the best files for shovel edges to restore the bevel. Store tools in a bucket of sand mixed with a small amount of mineral oil to prevent oxidation. Regular maintenance of the cutting edge ensures that every soil entry is clean, reducing the risk of cross contaminating different areas of the garden with soil borne pathogens.
The Yield:
Harvesting at the peak of physiological maturity ensures maximum nutrient density and shelf life. For leafy greens, harvest in the early morning when turgor pressure is at its maximum. Use a sharp knife to make a clean cut, leaving the crown intact for subsequent growth. For root crops, use your sharpened spade to lift the soil from the side, avoiding direct contact with the vegetable to prevent bruising.
Post-harvest handling is critical. Immediately submerge leafy greens in 40 degree Fahrenheit water to remove field heat and slow the rate of senescence. For fruiting bodies, store in a cool, dark environment with high humidity to prevent shriveling. Proper technique at this stage preserves the cellular integrity and flavor profile of the harvest.
FAQ:
What is the best file for sharpening a shovel?
An 8 or 10 inch mill bastard file is the industry standard. It provides a medium to fine cut that is ideal for removing nicks and restoring a sharp 45 degree bevel to carbon steel blades.
How often should I sharpen my garden spade?
Sharpen your spade after every 10 to 15 hours of heavy use. If you are working in rocky or highly abrasive sandy soil, you may need to touch up the edge more frequently to maintain cutting efficiency.
Does a sharp shovel really help plant health?
Yes. A sharp blade creates clean cuts on roots rather than crushing them. Clean wounds heal faster and are significantly less likely to be colonized by soil-borne pathogens or fungi during the establishment phase.
What angle should I use when filing a shovel?
Maintain a 45 degree angle on the front side of the blade only. Filing the back side creates a "knife edge" that is too thin and will curl or chip when it strikes stones or hard clay.