6 Quick Steps to Sanitize Pruning Saws
The scent of damp earth and the firm turgor of a healthy leaf define the success of a garden; however, a single contaminated blade can introduce pathogens that collapse an entire orchard. Pruning saws are primary vectors for bacterial canker and fungal spores. To maintain the integrity of the vascular system, every gardener must master the steps to sanitize pruning saws before moving between specimens. Pathogens like Erwinia amylovora can survive on steel surfaces for hours. Effective sanitation requires a systematic approach to eliminate microscopic threats without compromising the structural integrity of the high-carbon steel teeth. This process ensures that every cut remains a surgical intervention rather than a death sentence for the plant. By following a rigorous protocol, you preserve the plant's ability to compartmentalize wounds and prevent the systemic spread of disease through the xylem and phloem.
Materials:
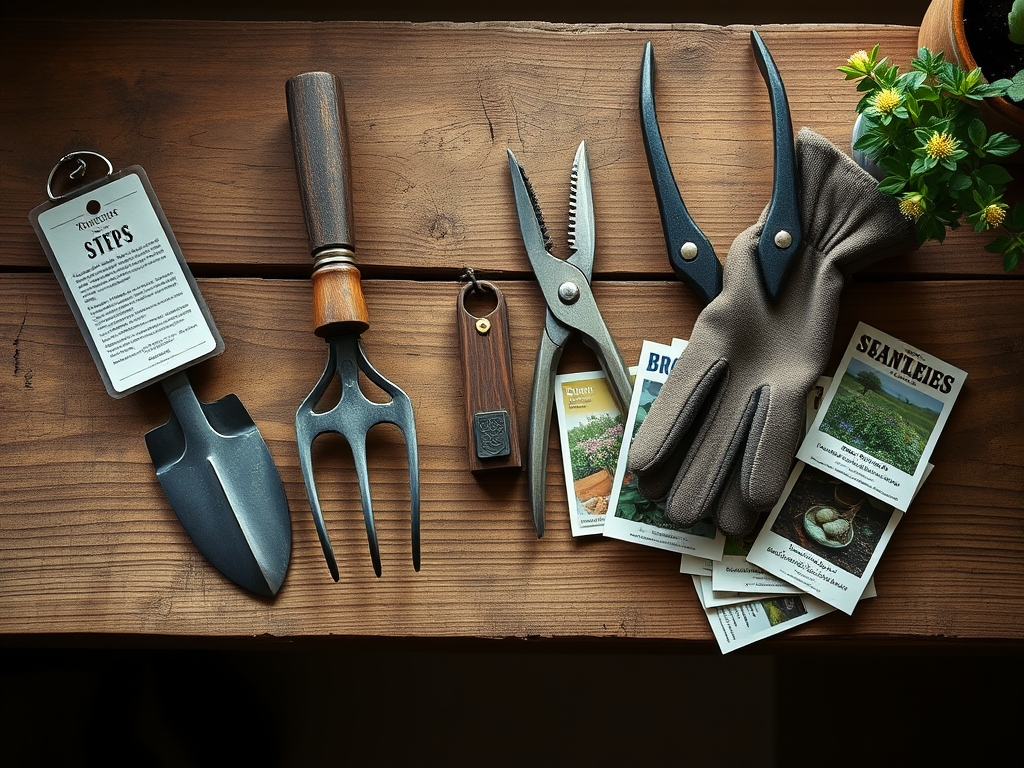
Sanitation is not merely about the tool; it is about the environment where the tool operates. The ideal substrate for most woody perennials is a **friable loam** with a **pH range of 6.0 to 7.0**. This acidity level optimizes the Cation Exchange Capacity (CEC), allowing the plant to pull essential nutrients like Magnesium and Calcium from the soil. When preparing your sanitation kit, include a solution of **70 percent isopropyl alcohol** or a **10 percent bleach dilution**. For the surrounding soil, ensure an NPK ratio of **10-10-10** for general maintenance or **5-10-10** for root development in phosphorus-hungry species. The physical texture of the soil must allow for rapid drainage to prevent anaerobic conditions that foster root rot, which often necessitates pruning in the first place.
Timing:
Timing your pruning and sanitation depends heavily on your Hardiness Zone. In Zones 5 through 7, the primary pruning window occurs during the dormant season, typically from late January to early March. This precedes the "Biological Clock" transition from the vegetative state to the reproductive stage. Pruning during dormancy minimizes sap loss and reduces the risk of attracting insect vectors. You must monitor the last frost date; pruning too early can expose tender internal tissues to sub-freezing temperatures, causing cell lysis. Conversely, pruning after the spring flush of growth can deplete the plant of stored carbohydrates, leading to stunted development and increased susceptibility to opportunistic pathogens.
Phases:

Sowing and Preparation
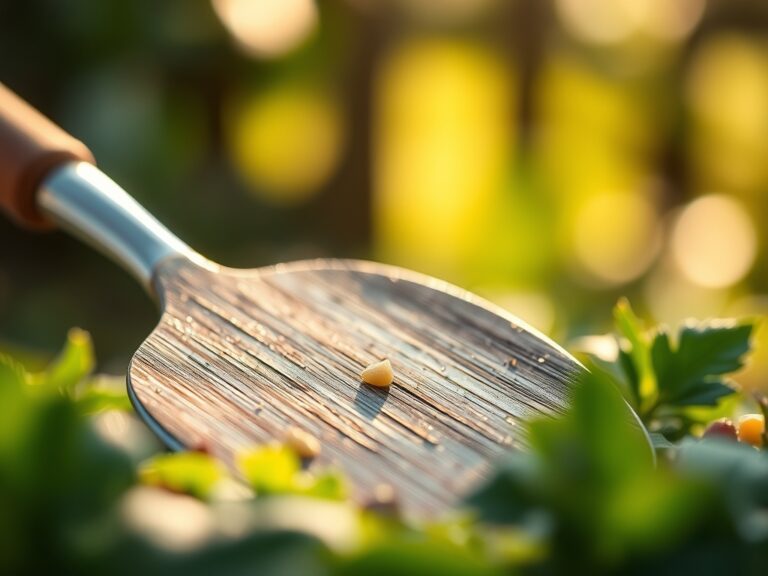
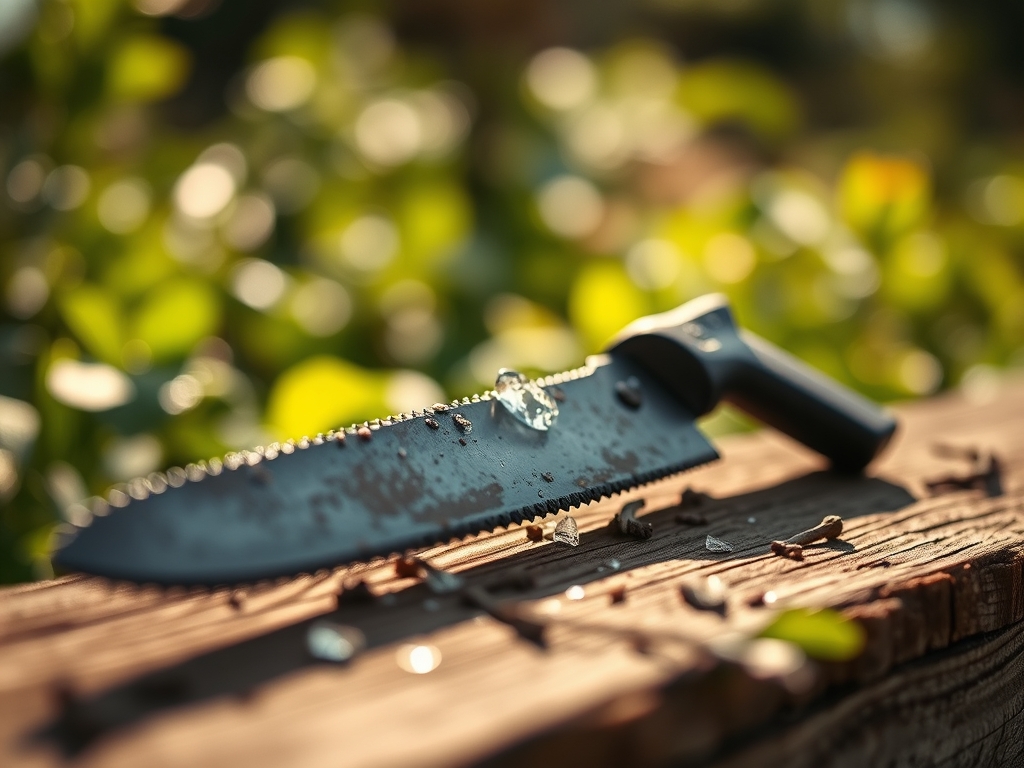
Before the first cut, mechanical cleaning is mandatory. Use a stiff wire brush to remove resin, sawdust, and dried sap from the gullets of the saw teeth. These organic materials can shield pathogens from chemical disinfectants. Submerge the blade in your chosen solution for at least two minutes to ensure total microbial eradication.
Pro-Tip: Proper sanitation prevents the disruption of mycorrhizal symbiosis. If a saw introduces pathogens to the root zone during low-level pruning, it can kill the beneficial fungi that assist in nutrient uptake.
Transplanting and Initial Cuts
When moving a plant or removing a major limb, ensure the cut is made just outside the branch bark ridge. This preserves the branch collar, which contains the chemically defended zone necessary for wound occlusion. A sanitized saw ensures that no necrotic tissue is introduced to this sensitive area.
Pro-Tip: Maintaining tool sharpness reduces tissue crushing. Sharp blades preserve turgor pressure at the cellular level, allowing the plant to seal the wound faster through the production of callus tissue.
Establishing Long-Term Health
After the initial heavy pruning, monitor the plant for signs of stress. Ensure the soil remains at a consistent moisture level to support the metabolic demands of healing. A soil moisture meter should read between 40 and 60 percent for most temperate species during the recovery phase.
Pro-Tip: Strategic pruning can manipulate auxin suppression. By removing the apical meristem with a clean saw, you encourage lateral branching, leading to a denser and more structurally sound canopy.
The Clinic:
Physiological disorders often mimic disease, but their roots are frequently nutritional.
- Symptom: Interveinal chlorosis on young leaves.
- Solution: This typically indicates an Iron deficiency. Apply a chelated iron foliar spray or adjust soil pH to below 7.0 to increase bioavailability.
- Symptom: Marginal leaf burn and weak stems.
- Solution: This is a classic sign of Potassium deficiency. Supplement with sulfate of potash at a rate of 0.5 pounds per 100 square feet.
- Symptom: Stunted growth and pale green foliage (Nitrogen chlorosis).
- Solution: Apply a high-nitrogen fertilizer with an NPK of 21-0-0 (Ammonium Sulfate) to rapidly boost chlorophyll production.
- Symptom: Blossom end rot in fruiting wood.
- Solution: This is caused by Calcium localized deficiency. Ensure consistent irrigation of 1.5 inches per week to facilitate Calcium transport through the transpiration stream.
Maintenance:
Precision is the hallmark of a professional horticulturist. Use a soil moisture meter daily during the first two weeks post-pruning. Apply exactly 1.5 inches of water per week at the drip line; avoid wetting the foliage, as this encourages fungal sporulation. For fine detail work, utilize bypass pruners for stems under 0.5 inches and a hori-hori knife for weeding around the root flare. Inspect the saw blade after every ten cuts for resin buildup. If the blade drags, re-sanitize and lubricate with a food-grade mineral oil to prevent oxidation of the steel.
The Yield:
For fruit-bearing trees, harvest timing is determined by the "Brix level" or sugar content. Use a refractometer to ensure peak ripeness. When harvesting, use a sanitized hori-hori knife to make clean snips, leaving the pedicel attached to the fruit. This prevents the entry of rot-inducing bacteria. For "day-one" freshness, move the harvest immediately to a cooling zone at 34 to 40 degrees Fahrenheit to slow the rate of respiration and senescence. This preserves the cellular structure and flavor profile of the yield.
FAQ:
How often should I sanitize my pruning saw?
Sanitize your saw between every single tree or shrub. If you are working on a plant with known infections, sanitize the blade between every individual cut to prevent the internal spread of pathogens through the vascular system.
Can I use rubbing alcohol to clean my tools?
Yes, 70 percent isopropyl alcohol is highly effective. It acts quickly to denature proteins in bacteria and fungi. It also evaporates rapidly, which helps prevent the steel blade from rusting over time compared to water-based bleach solutions.
What is the best way to remove rust from a saw?
Use a medium-grit sanding block or steel wool soaked in white vinegar. Once the oxidation is removed, neutralize the acid with a baking soda solution, dry the blade completely, and apply a thin layer of protective oil.
Why is my plant wilting after I pruned it?
Wilting indicates a loss of turgor pressure. This may be due to excessive tissue removal, which disrupts the transpiration stream, or the introduction of a pathogen via unsanitized tools. Ensure the plant receives adequate hydration and monitor for localized necrosis.
Does bleach damage pruning saw blades?
Bleach is corrosive to high-carbon steel. If you use a 10 percent bleach solution, you must rinse the tool thoroughly with fresh water and oil the blade immediately after use to prevent pitting and structural weakening of the metal.