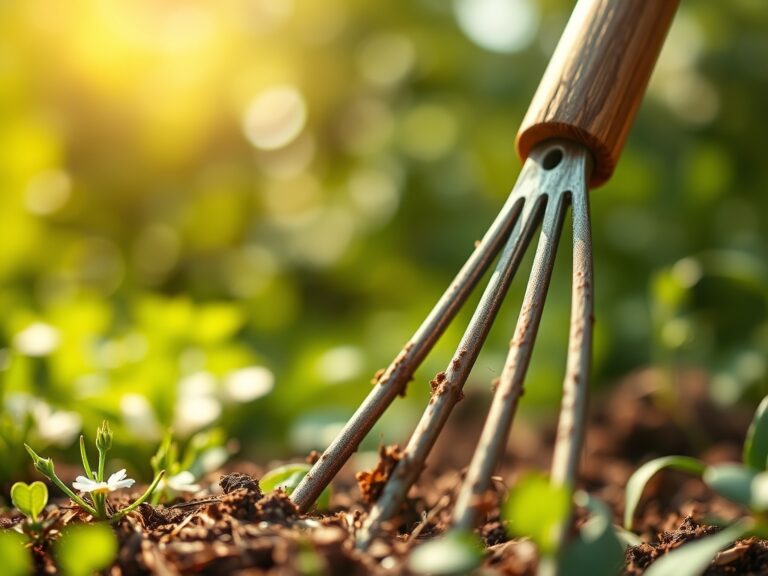
9 Basic Steps to Clean a Hand Trowel
Damp earth clings to the steel blade of a hand trowel; it is the scent of Geosmin and active microbial decomposition. This residue contains pathogens and abrasive silicates that compromise the integrity of your tool. Implementing precise steps for cleaning a garden trowel after use prevents the transmission of soil-borne diseases such as Fusarium oxysporum. Proper maintenance ensures the blade maintains a sharp edge to minimize root damage during transplanting. Maintaining turgor pressure in high-value specimens requires clean cuts that only a well-maintained tool can provide.
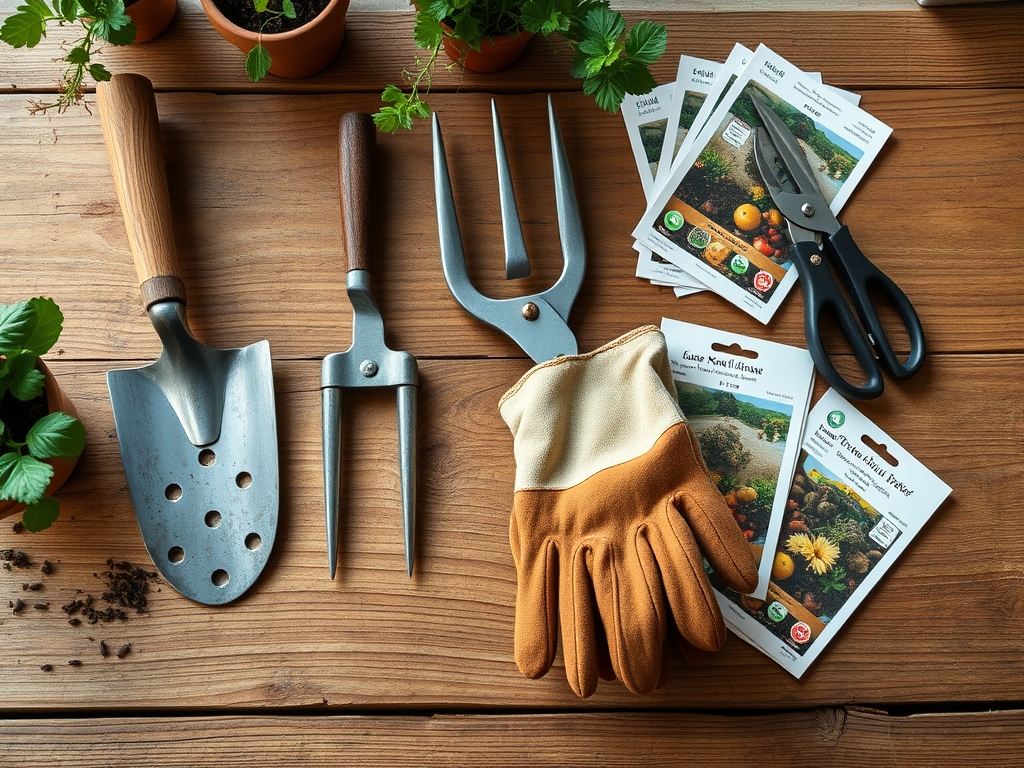
Materials:
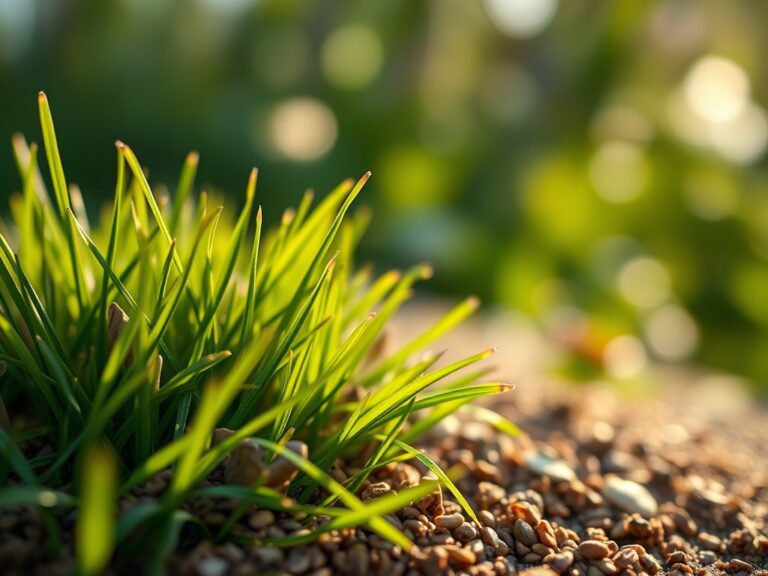
While cleaning involves external maintenance; the longevity of the tool is directly impacted by the substrate it penetrates. Ideal gardening occurs in **friable loam** with a **pH of 6.2 to 6.8**. This acidity level is gentle on carbon steel compared to alkaline soils. For container gardening; use a mix with a **Cation Exchange Capacity (CEC) of 15 to 25 meq/100g**. When preparing the site; integrate a balanced **NPK ratio of 10-10-10** for general maintenance or **5-10-10** for root development. Avoid high-nitrogen fertilizers (e.g. 21-0-0) if the tool will remain uncleaned; as ammonium nitrates accelerate oxidation and pitting on the metal surface.
Timing:
Maintenance schedules must align with local climate data. In Hardiness Zones 3 through 5; tool cleaning is critical before the ground freezes; typically by late October. In warmer Zones 8 through 10; the "Biological Clock" of the garden moves faster. As plants transition from the vegetative stage to the reproductive stage; the risk of cross-contamination increases. Perform deep cleaning during the transition from the photoperiod-heavy summer months to the shorter days of autumn. This prevents dormant fungal spores from overwintering on the tool handle or blade.
Phases:

Sowing
Before the first seed enters the furrow; the trowel must be sterile. Use a 10 percent bleach solution or 70 percent isopropyl alcohol to wipe the blade. This prevents the introduction of Pythium; which causes damping-off in seedlings.
Pro-Tip: Sterilizing tools protects the rhizosphere. Young seedlings lack a developed immune system; and sterile tools ensure that beneficial mycorrhizal symbiosis can establish without competition from pathogenic fungi.
Transplanting
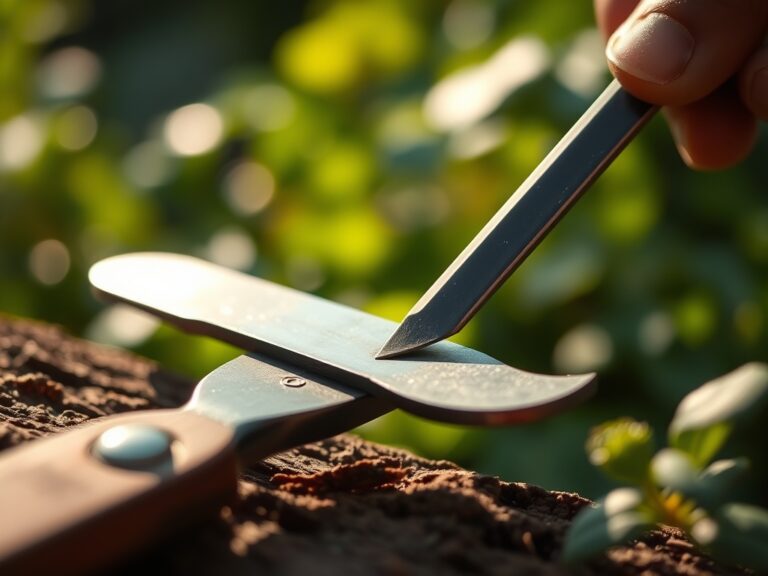
When moving a plant from a nursery pot to the field; the trowel must be free of jagged burrs. Use a mill file at a 20-degree angle to sharpen the edge. A sharp trowel cuts through roots cleanly rather than crushing them.
Pro-Tip: Clean cuts facilitate rapid healing by maintaining turgor pressure. Crushed tissues leak cytoplasm; which attracts pests and slows the plant's ability to transport water through the xylem.
Establishing
As the plant enters its rapid growth phase; the trowel is used for side-dressing fertilizer. After each use; scrub the tool with a stiff brush to remove encrusted minerals.
Pro-Tip: Removing fertilizer salts prevents auxin suppression. Chemical buildup on tools can cause localized salt burn if it contacts tender stems; disrupting the hormonal signals that govern apical dominance.
The Clinic:
Physiological disorders often stem from poor tool hygiene or soil imbalances. Monitor these symptoms closely.
Symptom: Interveinal chlorosis in new leaves.
Solution: This indicates an Iron deficiency; often caused by a pH above 7.0. Adjust soil acidity with elemental sulfur.
Fix-It: For Nitrogen chlorosis (yellowing of older leaves); apply a blood meal amendment at a rate of 1 pound per 100 square feet.
Symptom: Sudden wilting despite moist soil.
Solution: Likely Bacterial Wilt (Ralstonia solanacearum). Dig out the infected plant and immediately disinfect your trowel with a phenolic disinfectant.
Fix-It: If the tool shows rust; use grade 0000 steel wool and linseed oil to restore the finish.
Symptom: Stunted growth and purplish leaves.
Solution: Phosphorus deficiency. This is common when soil temperatures are below 55 degrees Fahrenheit.
Fix-It: Apply bone meal (0-12-0) to the root zone using a clean trowel to avoid introducing pathogens to the stressed plant.
Maintenance:
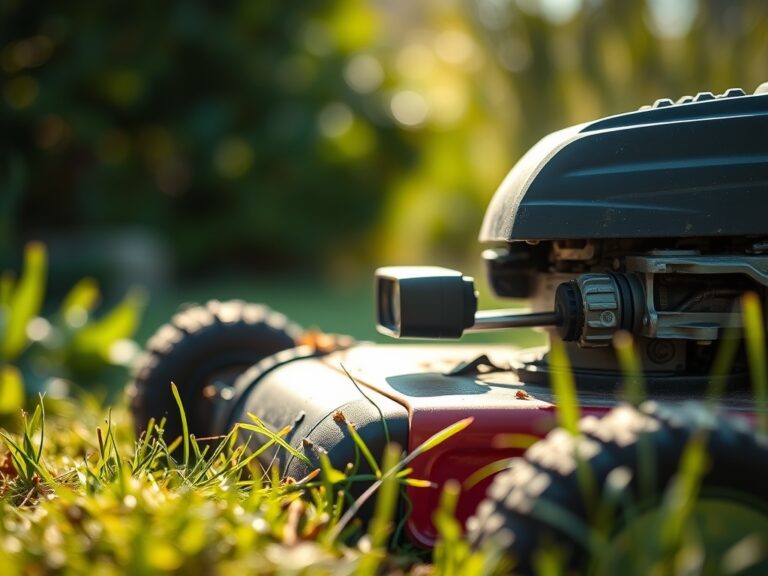
Precision in the garden requires data. Use a soil moisture meter to ensure the root zone receives 1.5 inches of water per week delivered at the drip line. For heavy-duty tasks; supplement your trowel with a hori-hori knife for deep weeding and bypass pruners for woody stems. After every session; wash the trowel with a high-pressure hose to remove all organic matter. Dry the tool thoroughly with a lint-free cloth. Store the trowel in a bucket of silica sand mixed with motor oil or vegetable oil to create an oxygen-free barrier that prevents rust.
The Yield:
Harvesting root crops like carrots or garlic requires a clean trowel to prevent bruising the skin. Harvest during the cool of the morning when turgor pressure is highest. For flowers; cut the stems at a 45-degree angle and plunge them into 40-degree Fahrenheit water immediately. This "cold chain" management slows senescence and preserves the plant's metabolic state for maximum shelf life. A clean tool ensures that the vascular bundles remain open for water uptake.
FAQ:
How do I remove stubborn rust from my trowel?
Submerge the metal blade in white vinegar for 12 to 24 hours. Scrub the surface with a wire brush to remove oxidized layers. Rinse with water; dry completely; and apply a thin coat of mineral oil to prevent recurrence.
Can I use dish soap to clean my garden tools?
Yes; mild dish soap effectively removes grease and organic residues. However; soap does not sterilize against viruses or persistent fungi. Follow soap cleaning with a 70 percent isopropyl alcohol wipe to ensure the tool is biologically inert.
How often should I sharpen my hand trowel?
Sharpen the blade every 5 to 10 hours of active use. Use a medium-grit whetstone or a mill file. A sharp edge reduces the physical force required for excavation and ensures cleaner cuts through densified soil and root mats.
Why is linseed oil recommended for wooden handles?
Boiled linseed oil penetrates the wood grain to prevent drying and cracking. This maintains the structural integrity of the handle. Apply a light coat once per season; allowing 24 hours for absorption before returning the tool to service.
What is the best way to store tools for winter?
Clean all soil from the blade and sand off any rust. Coat the metal in lithium grease or heavy oil. Store the tool in a low-humidity environment; ideally hanging on a rack to prevent moisture accumulation on the handle or blade.