8 Best Professional Racks for Event Management
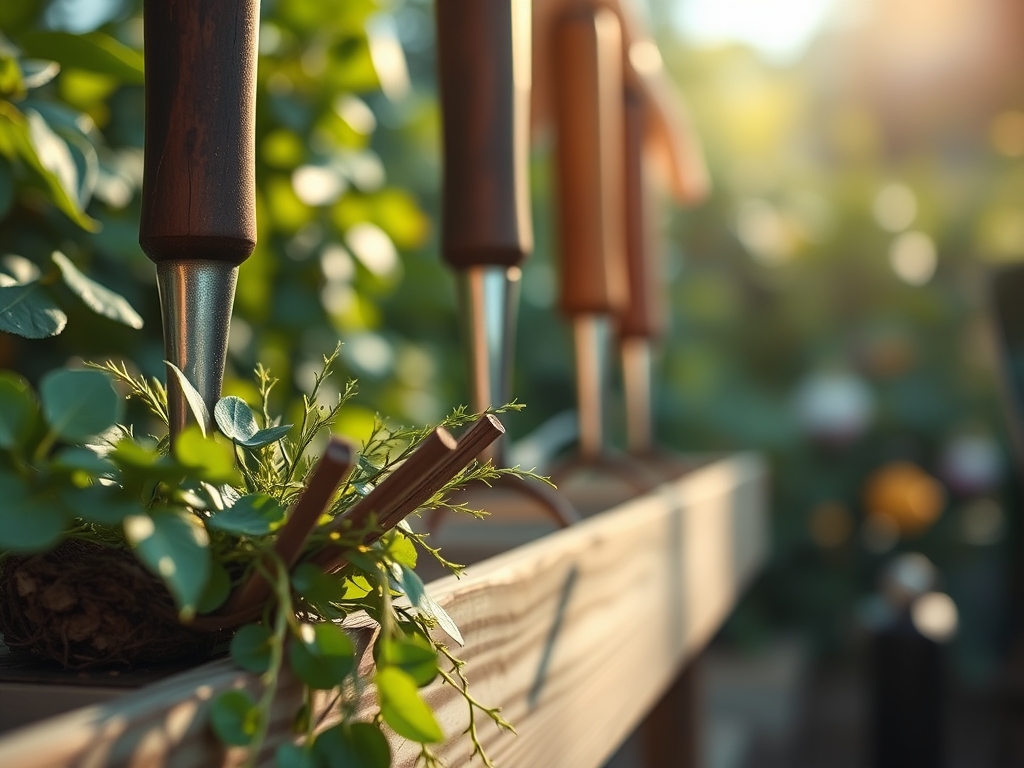
Crushing a handful of damp earth reveals the true state of your rhizosphere; the smell of geosmin indicates active microbial life while the turgor of a healthy leaf proves the vascular system is functioning at peak hydraulic pressure. In high-stakes garden management, organization is not a luxury but a physiological necessity. The Best tool racks for garden maintenance act as the central nervous system for an operation, ensuring that every bypass pruner and soil probe is accessible the moment the photoperiod dictates action. When managing large-scale botanical events or maintaining expansive estates, the transition from vegetative growth to senescence happens rapidly. You cannot afford to lose ten minutes searching for a sharpening stone when the dew point is rising and fungal pathogens are ready to colonize open pruning wounds. Efficiency in the tool shed translates directly to plant health in the field. A systematic approach to storage prevents cross-contamination of pathogens and ensures that every cut is clean, minimizing the risk of necrosis in high-value specimens.
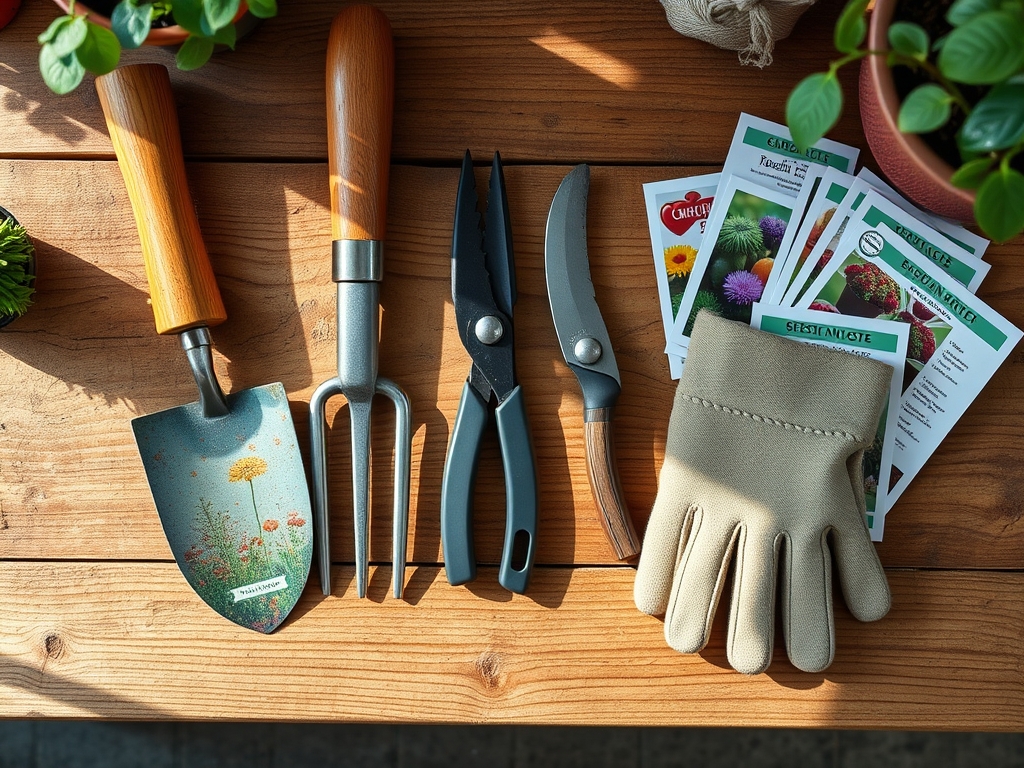
Materials:
The foundation of any successful planting begins with the substrate. A **friable loam** with a Cation Exchange Capacity (CEC) of **15 to 25 meq/100g** is the gold standard for nutrient retention. Before organizing your tool rack, you must analyze your soil pH. Most ornamental and vegetable crops thrive in a range of **6.2 to 6.8**, where nutrient bioavailability is maximized.
If your soil tests below 5.5, aluminum toxicity becomes a risk; if it exceeds 7.5, iron and manganese become chemically locked and unavailable to the roots. For heavy feeders, maintain an NPK ratio of 10-10-10 for general maintenance, or a high-phosphorus 5-10-5 ratio when transitioning plants into their reproductive phase. The physical texture should be granular enough to allow 25 percent air porosity, ensuring that oxygen reaches the root hairs to prevent anaerobic respiration and root rot.
Timing:
Successful horticulture is governed by the biological clock and the specific constraints of your USDA Hardiness Zone. In Zones 5 through 7, the window for spring transplanting typically opens between late March and early May, precisely when the soil temperature consistently reaches 55 degrees Fahrenheit. This temperature threshold is critical for the activation of soil microbes that convert organic matter into plant-available nitrogen.
The transition from the vegetative stage (foliar expansion) to the reproductive stage (flowering) is often triggered by the photoperiod, the ratio of light to darkness in a 24-hour cycle. Short-day plants require a continuous dark period of at least 12 hours to initiate budding. Monitoring the frost-date window is mandatory; a single late-season dip below 32 degrees Fahrenheit can rupture cell walls via ice crystal formation, leading to immediate loss of turgor and eventual tissue death.
Phases:

Sowing
Begin by sterilizing your seed trays to eliminate Pythium spores. Sow seeds at a depth generally equal to two times their diameter. Maintain a consistent substrate temperature of 70 degrees Fahrenheit using bottom heat to accelerate metabolic enzymes.
Pro-Tip: Proper sowing depth ensures the emerging hypocotyl does not exhaust its endosperm energy before reaching the surface to begin photosynthesis.
Transplanting
Move seedlings when they have developed at least two sets of true leaves. At this stage, the root system is robust enough to handle the mechanical stress of relocation. Use a hori-hori knife to slice through any circling roots, which prevents the plant from becoming root-bound in its new environment.
Pro-Tip: Mycorrhizal symbiosis is established during this phase. Inoculating the root zone with beneficial fungi increases the surface area for water absorption by up to 100 times.
Establishing
During the first 14 to 21 days, the plant focuses on root architecture rather than upward growth. Ensure the soil remains at field capacity without reaching saturation. This balance prevents the leaching of mobile nutrients like nitrates while maintaining the hydrostatic pressure required for cell elongation.
Pro-Tip: Suppressing the apical meristem through strategic pinching redirects auxins to lateral buds, creating a bushier, more structurally sound plant.
The Clinic:
Physiological disorders often mimic infectious diseases but are rooted in environmental or nutritional imbalances.
- Symptom: Interveinal chlorosis on young leaves.
- Solution: This indicates an Iron (Fe) deficiency, often caused by high pH. Lower the pH to 6.5 or apply chelated iron foliar spray.
- Symptom: Blossom end rot in fruit.
- Solution: This is a Calcium (Ca) transport issue. It is rarely a lack of calcium in the soil but rather inconsistent moisture preventing calcium from moving through the xylem. Maintain a steady 1.5 inches of water per week.
- Symptom: Purpling of older foliage.
- Solution: This is a classic Phosphorus (P) deficiency. Check soil temperatures; if the soil is below 50 degrees Fahrenheit, phosphorus becomes immobile regardless of its concentration in the substrate.
- Symptom: Leaf tip burn or marginal necrosis.
- Solution: This often results from Potassium (K) deficiency or high salinity. Flush the root zone with distilled water to leach excess salts and restore osmotic balance.
Maintenance:
Precision is the hallmark of professional maintenance. Use a soil moisture meter to verify that the root zone at a 6-inch depth is at 70 percent of its water-holding capacity. Apply water directly at the drip line (the perimeter of the leaf canopy) to encourage outward root expansion.
Sharpen your bypass pruners daily using a diamond file to ensure every cut is a clean shear rather than a crush. A crushed stem collapses the xylem and phloem, inviting opportunistic pathogens. For heavy pruning, use a hori-hori knife to remove invasive taproots or divide perennial crowns. Always clean tools with a 10 percent bleach solution or isopropyl alcohol between different plants to prevent the systemic spread of viral loads.
The Yield:
Harvesting is the culmination of the plant's energy expenditure. For most fruiting bodies, harvest when the abscission layer (the point where the fruit meets the stem) begins to weaken. For leafy greens, harvest in the early morning when turgor pressure is at its maximum; this ensures the leaves are crisp and have the highest nutrient density.
Post-harvest handling is critical for maintaining "day-one" freshness. Immediately reduce the field heat of the produce by placing it in a shaded, cool environment. For flowers, a clean cut at a 45-degree angle increases the surface area for water uptake, extending the vase life by preventing air embolisms in the vascular tissue.
FAQ:
How do I choose the best tool rack?
Select a rack constructed from powder-coated steel or heavy-duty polymers to resist oxidation. It must support at least 50 pounds of vertical weight and feature individual slots to prevent tool heads from touching and dulling.
What is the best way to prevent tool rust?
Store tools in a rack located in a low-humidity environment. After each use, wipe metal surfaces with a silicone-based lubricant or mineral oil. This creates a hydrophobic barrier that prevents oxygen from reacting with the steel.
Why is tool organization important for plant health?
Organized racks prevent the accidental use of contaminated tools on healthy specimens. It also allows for rapid identification of missing equipment, ensuring that maintenance tasks like pruning or weeding are performed exactly when the biological window is open.
How often should I calibrate my soil moisture meter?
Calibrate your meter at the start of every growing season using a distilled water and salt solution or a standardized soil sample. Accurate readings are essential to prevent over-irrigation, which leads to root hypoxia and nutrient leaching.