7 Expert Tips for Cleaning Garden Equipment
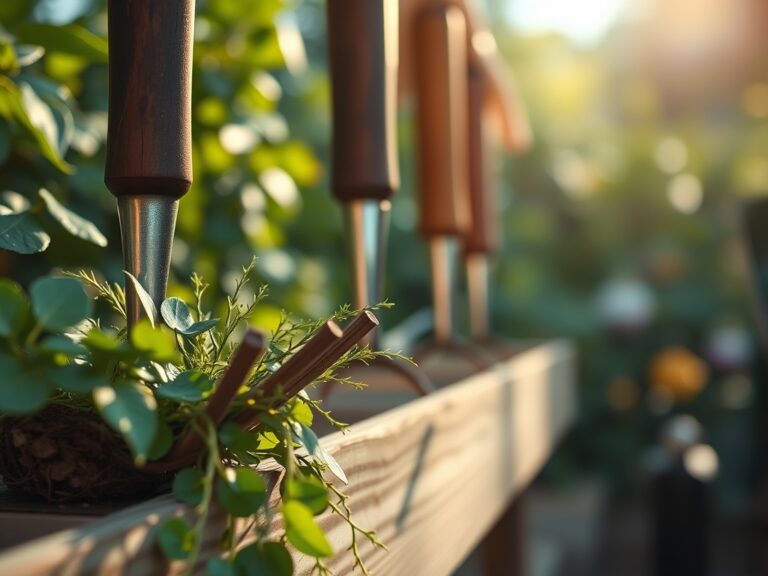
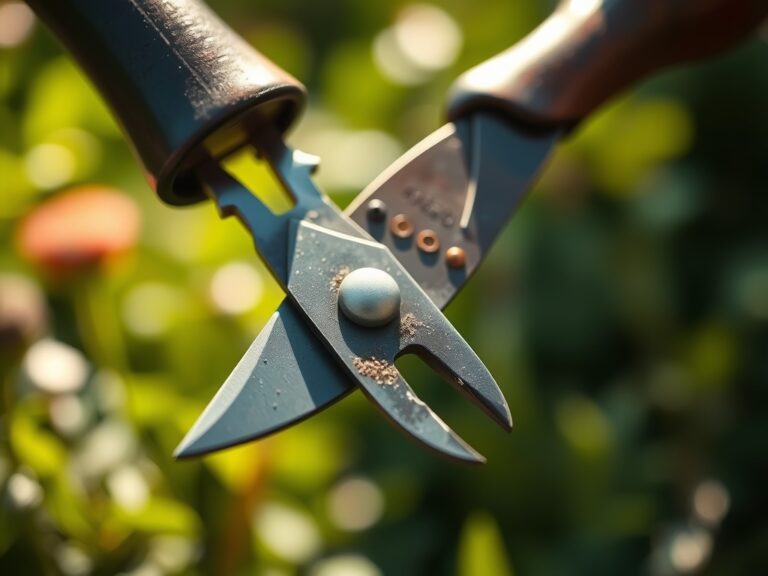
The scent of damp earth and the crisp snap of high turgor pressure in a healthy leaf are the rewards of precise horticultural discipline. Neglecting the steel that shapes your landscape is a tactical error that invites pathogenic fungi and structural failure. Using a cleaning workshop for garden tools ensures that your equipment remains an extension of your intent rather than a vector for disease. When sap dries into a hardened resin on bypass pruners, it increases friction and creates jagged cuts that delay the plant's natural compartmentalization of decay. A dedicated space for maintenance prevents the cross-contamination of the rhizosphere across different garden beds. This process is not about aesthetics; it is about maintaining the mechanical integrity of the blades and the biological safety of the vascular tissue they penetrate. Systematic cleaning allows for the early detection of stress fractures or rust before they compromise the safety of the operator or the health of the botanical specimen.
Materials:
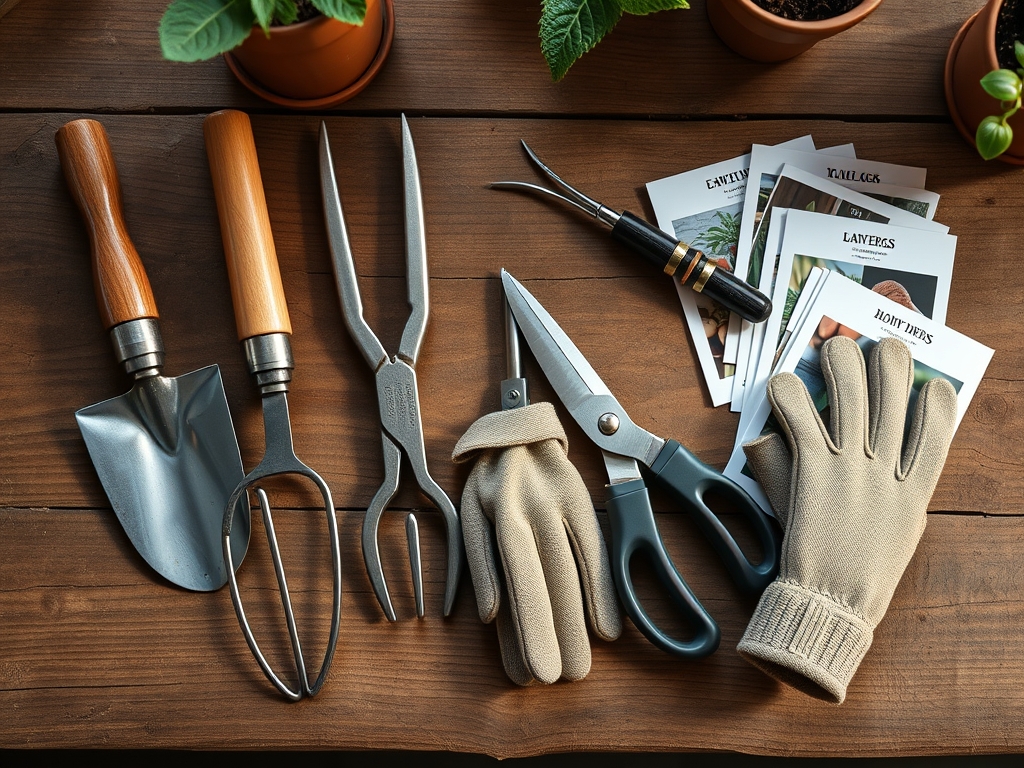
While the workshop focuses on steel, the materials used must respect the soil chemistry of your site. If you are working in **friable loam** with a **pH of 6.5**, your tools must be free of alkaline residues. The ideal substrate for a productive garden consists of 40 percent sand, 40 percent silt, and 20 percent clay. To support this environment, your cleaning kit should include a 70 percent isopropyl alcohol solution for sterilization. Avoid using harsh detergents that can alter the **Cation Exchange Capacity (CEC)** of your soil if they leach from the tools. When preparing containers for transplants, utilize a balanced **NPK ratio of 10-10-10** to ensure primary macronutrients are available. For heavy feeders, a **nitrogen-rich 20-10-10** blend supports rapid vegetative growth, while a **5-10-10** ratio promotes root development and fruit production without excessive foliage.
Timing:
Maintenance schedules must align with your specific USDA Hardiness Zone. In Zones 5 through 7, the primary tool overhaul should occur during the winter dormancy period, typically between the first hard frost in November and the spring thaw in March. This window prevents the interruption of the plant's biological clock as it transitions from the reproductive stage back to vegetative growth. For those in Zones 8 through 10, the maintenance cycle is continuous due to the lack of a true hard freeze. You must sharpen and sanitize equipment before the "spring flush," when auxin suppression is at its lowest and the plant is most vulnerable to pruning stress. Timing your cleaning workshop sessions to coincide with the end of the harvest ensures that pathogens do not overwinter on your equipment.
Phases:

Sowing
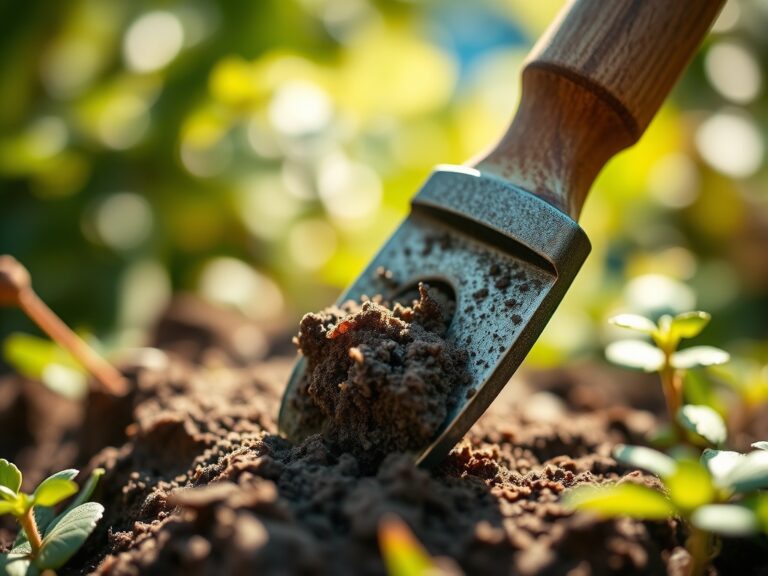
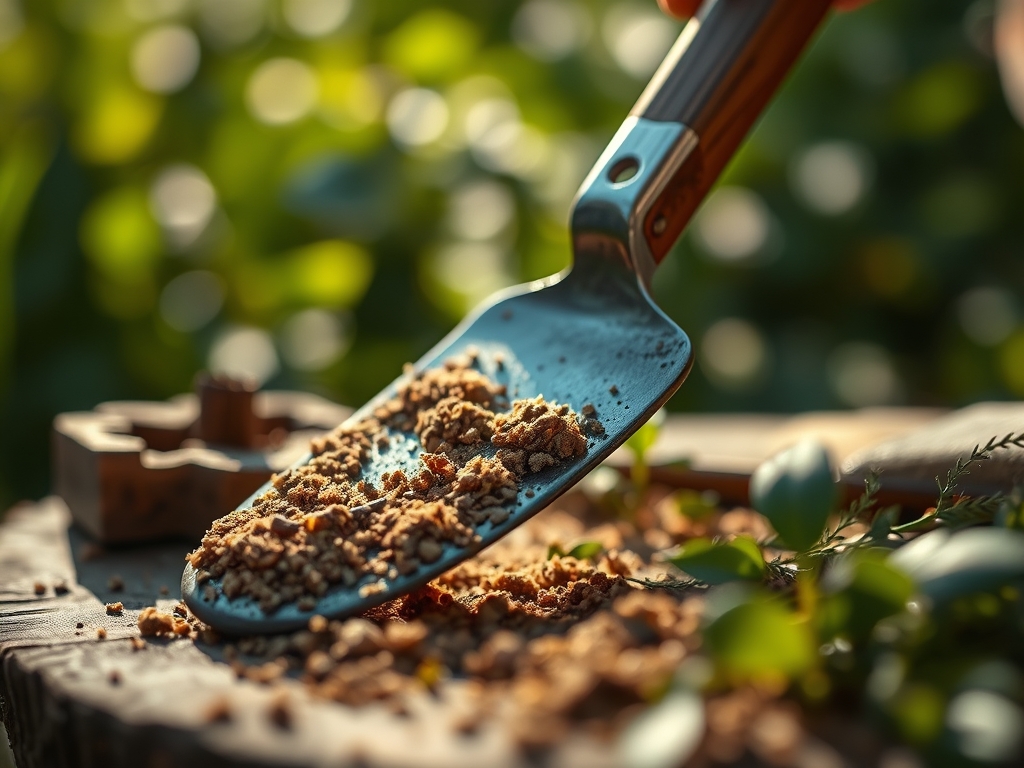
Before the first seed hits the soil, every hand trowel and dibber must be stripped of residual organic matter. Soil particles can harbor Pythium spores, which cause damping-off in seedlings. Scour the metal surfaces with a wire brush until the steel is bright.
Pro-Tip: Sterilizing tools before sowing prevents the disruption of the rhizosphere. This protects the emerging radicle from soil-borne pathogens that thrive in the high-moisture environment required for germination.
Transplanting
When moving a plant from a nursery pot to the field, use a hori-hori knife that has been honed to a razor edge. A sharp blade ensures clean cuts on any circling roots, which stimulates new growth through the release of specific growth hormones.
Pro-Tip: Clean cuts facilitate faster mycorrhizal symbiosis. The beneficial fungi can colonize the root system more effectively when the plant is not diverted by the high metabolic cost of healing ragged, crushed tissue.
Establishing
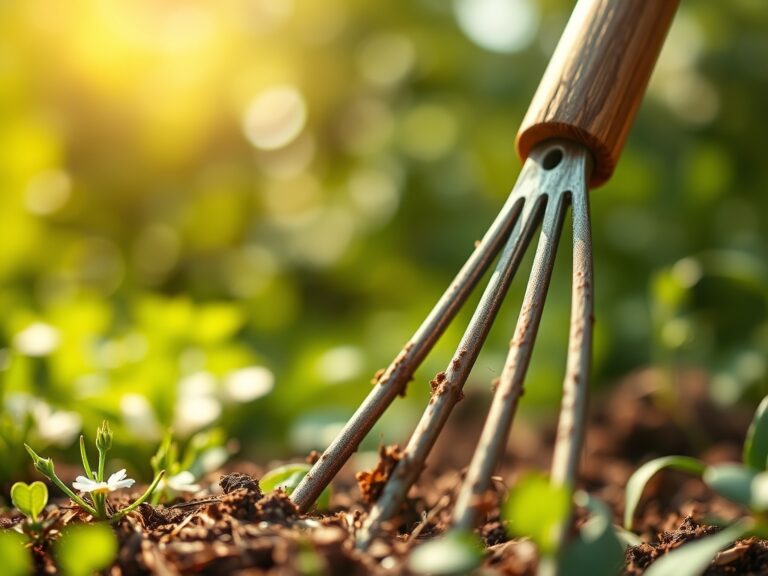
As the plant enters its rapid growth phase, maintenance shifts to precision instruments like bypass pruners. These tools must be lubricated with food-grade mineral oil to ensure the pivot point moves without resistance. This prevents hand fatigue and ensures every cut is perpendicular to the stem.
Pro-Tip: Maintaining sharp blades reduces the risk of phototropism interference. A clean cut allows the plant to direct its energy toward light-seeking growth rather than attempting to seal a large, jagged wound site.
The Clinic:
Physiological disorders often stem from poor tool hygiene or improper soil management. Observe the root structure and foliage for these specific symptoms.
Symptom: Interveinal chlorosis (yellowing between leaf veins).
Solution: This is often a sign of Iron deficiency, common in soils with a pH above 7.0.
Fix-It: Apply chelated iron and recalibrate your soil pH toward 6.5. Ensure your soil moisture meter reads between 40 and 60 percent to allow for nutrient uptake.
Symptom: Necrotic spots on foliage after pruning.
Solution: Bacterial blight or fungal infection.
Fix-It: Dip your tools in a 10 percent bleach solution between every single cut. This stops the mechanical transmission of the pathogen through the vascular system.
Symptom: Stunted growth and purple-tinted lower leaves.
Solution: Phosphorus deficiency, often caused by cold soil temperatures or high clay content.
Fix-It: Incorporate a high-phosphate fertilizer (0-20-0) into the root zone. Ensure your tools are clean to prevent the introduction of root-knot nematodes which mimic these symptoms.
Maintenance:
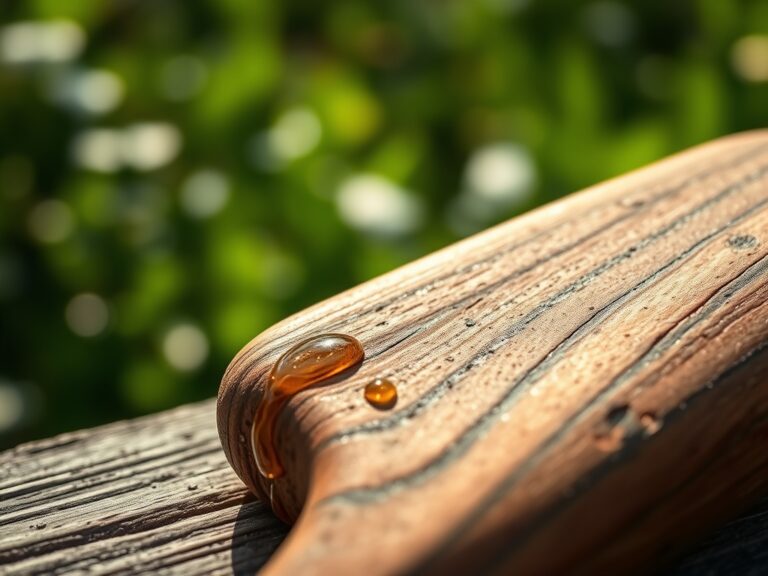
Precision in maintenance extends to the field. Provide exactly 1.5 inches of water per week at the drip line to maintain cellular turgor. Use a soil moisture meter daily at a depth of 6 inches to avoid anaerobic conditions in the root zone. Your hori-hori knife should be stored in a sheath with a light coating of oil to prevent oxidation. For wooden handles, sand them with 120-grit paper and apply linseed oil annually to prevent splintering. If you notice a drop in cutting efficiency, use a diamond file to reset the bevel on your bypass pruners at a 20-degree angle. This technical rigor ensures that the tool performs its function with minimal force, protecting the structural integrity of the plant.
The Yield:
Harvesting is the culmination of the vegetative and reproductive cycles. For leafy greens, harvest in the early morning when turgor pressure is at its peak. Use a sanitized harvesting knife to make a single, swift cut. For fruiting crops, wait for the physiological maturity indicators specific to the cultivar. Once harvested, remove the field heat immediately by placing the produce in a shaded, cool environment. This slows the rate of senescence and preserves the sugars and acids within the plant tissue. Proper post-harvest handling can extend the shelf life of the yield by 40 percent compared to crops left in the sun.
FAQ:
How often should I sanitize my garden tools?
Sanitize tools with 70 percent isopropyl alcohol after every use. If you are working with diseased plants, you must disinfect the blades between every individual cut to prevent the mechanical transmission of pathogens through the plant's vascular system.
What is the best way to remove rust from steel?
Soak the tool in a 50/50 solution of white vinegar and water for 24 hours. Use steel wool or a wire brush to scrub the oxidized layers. Rinse thoroughly, dry completely, and apply mineral oil to prevent further oxidation.
Why is tool sharpness important for plant health?
Sharp tools create clean incisions that the plant can seal quickly through compartmentalization. Dull blades crush the tissue, creating a larger surface area for pathogens to enter and forcing the plant to divert energy away from growth to repair.
Can I use motor oil to lubricate my garden shears?
No. Motor oil contains heavy metals and additives that can be toxic to plants. Use food-grade mineral oil or camellia oil. These are chemically stable and will not contaminate the soil or the plant's internal transport system.