8 Strategic Steps to Organize a Tool Maintenance Event
The smell of damp earth and the high turgor pressure of a healthy leaf signify a garden at its peak. When the soil reaches a consistent 55 degrees Fahrenheit, it is time to evaluate your equipment. Learning how to prepare a garden for a tool maintenance event requires clearing debris to create a sterile workspace while ensuring your plants remain undisturbed. This process demands a focus on the mechanical efficiency of the tools that manage the rhizosphere.
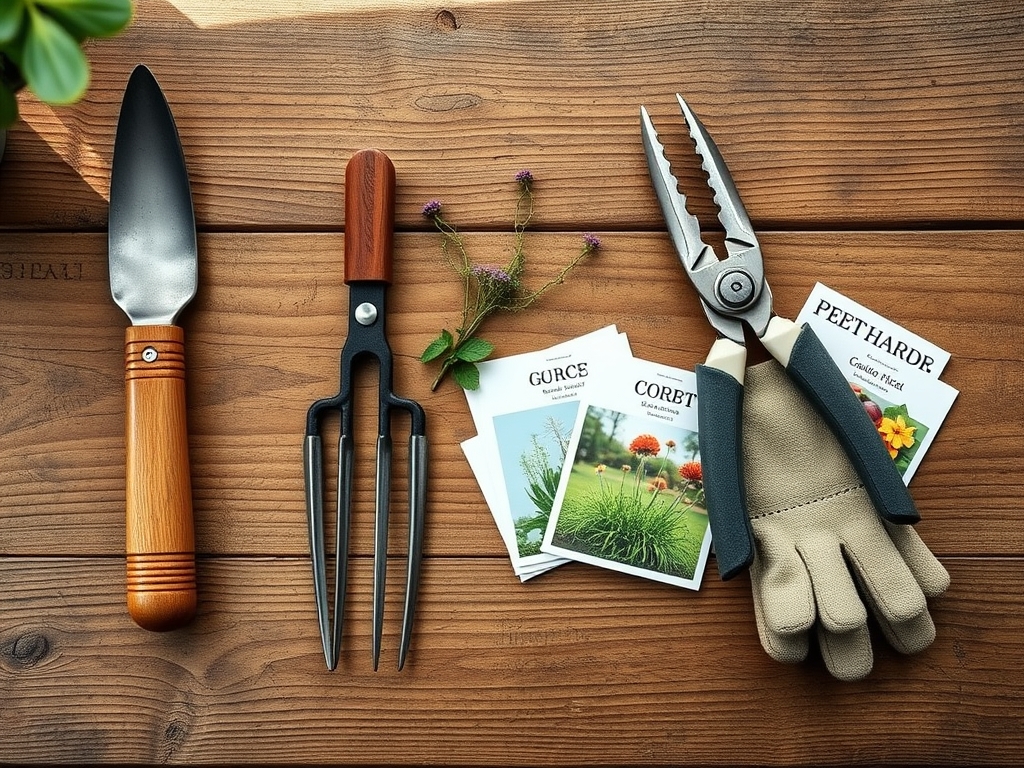
Materials:
A successful maintenance event begins with the substrate underfoot. The ideal workspace consists of a **friable loam** with a **pH of 6.5**. This acidity level prevents the rapid oxidation of metal tools left on the surface. For the surrounding vegetation, maintain a nutrient profile of **10-10-10 NPK** for general ornamentals or a **5-10-10 ratio** for root crops to ensure cellular stability. High Cation Exchange Capacity (CEC) in the soil ensures that any accidental runoff from cleaning agents does not immediately strip essential ions like **Calcium (Ca2+)** and **Magnesium (Mg2+)** from the root zone.
Timing:
In Hardiness Zones 5 through 7, the window for tool maintenance opens precisely between the last hard frost and the first sign of bud swell. This period aligns with the plant's transition from dormancy to the vegetative stage. You must act before the "Biological Clock" triggers the movement of sap into the xylem. Pruning tools must be sharpened and sterilized before the photoperiod reaches 12 hours of light, as this transition increases the plant's susceptibility to pathogens introduced by dull, jagged blades.
Phases:

Sowing
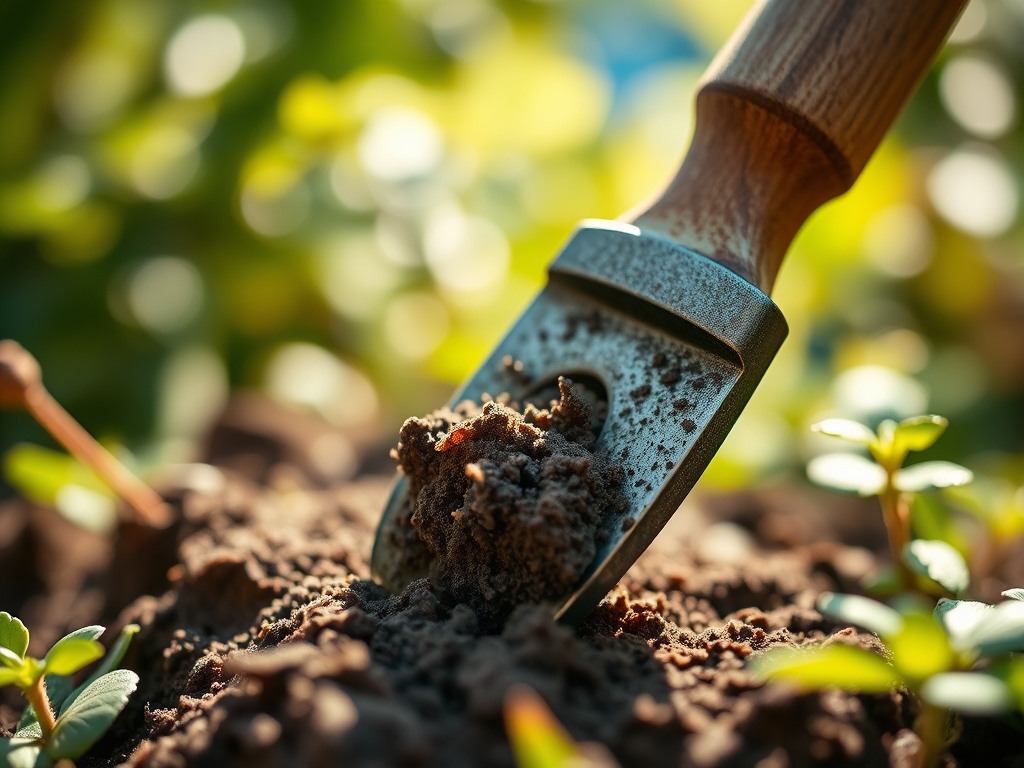
Prepare the garden by marking rows with precision. Use a soil moisture meter to ensure the ground is not oversaturated; working in mud leads to soil compaction and reduced oxygen availability.
Pro-Tip: Avoid disturbing the soil surface more than necessary to protect the existing mycorrhizal symbiosis. These fungal networks increase the surface area of roots, allowing for better phosphorus uptake.
Transplanting
Move young starts only when they have developed at least two sets of true leaves. This ensures the root system can withstand the mechanical stress of relocation.
Pro-Tip: When transplanting, maintain the same depth as the original container to prevent stem rot. This protects the vascular cambium, the tissue layer responsible for secondary growth and nutrient transport.
Establishing
Once the garden is set, clear a 10-foot by 10-foot area of all organic mulch. This prevents wood chips or straw from entering the moving parts of your machinery during the maintenance clinic.
Pro-Tip: Pinch off early flower buds on young plants to trigger auxin suppression. This redirects the plant's energy from reproduction to root and foliage development, strengthening the overall structure.
The Clinic:
Physiological disorders often stem from improper tool use or soil imbalances.
- Symptom: Ragged tears on woody stems.
Solution: Sharpen your bypass pruners to a 20-degree angle. Clean cuts allow the plant to form a callus quickly, preventing the entry of fungi. - Symptom: Interveinal chlorosis (yellowing between leaf veins).
Solution: This indicates a Magnesium deficiency. Apply Epsom salts at a rate of 1 tablespoon per gallon of water to restore chlorophyll production. - Symptom: Nitrogen chlorosis (uniform paling of older leaves).
Solution: Top-dress with a high-nitrogen fertilizer like blood meal (12-0-0) to boost vegetative growth. - Symptom: Blossom end rot in Solanaceae.
Solution: Increase Calcium availability and ensure consistent watering to maintain steady transpiration rates.
Maintenance:
Precision is the hallmark of a master horticulturist. Deliver 1.5 inches of water per week at the drip line of your plants; do not spray the foliage, as this encourages powdery mildew. Use a hori-hori knife to extract weeds by the taproot, ensuring the entire meristematic tissue is removed. After each use, wipe your bypass pruners with a 70 percent isopropyl alcohol solution to prevent the cross-contamination of viral pathogens between different species.
The Yield:
Harvesting is the final step in the maintenance cycle. For leafy greens, harvest in the early morning when turgor pressure is at its highest. This ensures the cells are fully hydrated. Use a sharp, sterilized blade to make clean cuts. Immediately submerge the produce in 40-degree Fahrenheit water to remove field heat. This slows the rate of senescence, the biological aging process, and preserves the nutritional density of the crop for several days.
FAQ:
How do I clean rusted garden tools?
Use a wire brush to remove heavy oxidation. Submerge the metal in a 50/50 vinegar and water solution for 24 hours. Scrub with steel wool, rinse, dry thoroughly, and apply a thin coat of mineral oil to prevent further corrosion.
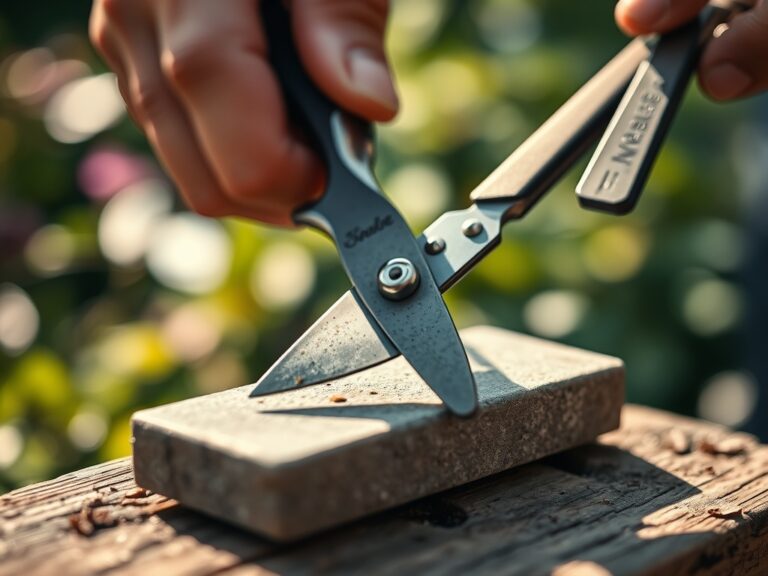
What is the best way to sharpen a hori-hori knife?
Use a medium-grit whetstone held at a 15 to 20-degree angle. Move the blade in a consistent circular motion along the serrated and smooth edges. Wipe with oil afterward to maintain the integrity of the carbon steel.
Why should I use bypass pruners instead of anvil pruners?
Bypass pruners act like scissors, using two sharp blades to make a clean slice. Anvil pruners crush the plant tissue against a flat surface. This crushing action damages the xylem and phloem, leading to slow healing and increased disease risk.
How often should I check soil pH?
Test your soil twice per year, once in early spring and once in late autumn. This allows you to adjust the acidity or alkalinity using lime or sulfur before the primary growing season begins, ensuring optimal nutrient bioavailability.
When is the best time to oil wooden tool handles?
Apply boiled linseed oil at the end of every growing season. Sand the wood with 120-grit sandpaper first to remove splinters. The oil penetrates the fibers, preventing the wood from drying out and cracking during periods of low humidity.