7 Simple Steps to Install a Water Fountain
The smell of damp earth and the cool humidity of a well-hydrated garden provide the ultimate sensory reward for a horticulturist. When the turgor pressure in your surrounding foliage is at its peak, the addition of a localized water source stabilizes the microclimate. Learning the steps to install a water fountain involves more than simple aesthetics; it requires an understanding of site stability and hydraulic pressure. Proper installation prevents soil compaction and ensures the rhizosphere of nearby specimen plants remains oxygenated.
Materials:

Before excavation, assess the soil quality. The ideal substrate for supporting a heavy water feature is a **friable loam** with a high **Cation Exchange Capacity (CEC)** to ensure nutrient availability for surrounding flora. If the fountain sits within a planting bed, the soil should maintain a **pH between 6.0 and 7.0**. Use a base of crushed limestone or compacted sand to prevent settling. For the surrounding vegetation, integrate a slow-release fertilizer with an **NPK ratio of 10-10-10** to support root establishment during the construction phase.
Timing:
Installation should occur during the dormant season or early spring to minimize stress on the surrounding ecosystem. In Hardiness Zones 4 through 7, wait until the ground has thawed and the risk of a deep freeze has passed; usually two weeks after the last recorded frost date. This timing aligns with the Biological Clock of most temperate perennials, allowing them to transition from dormancy to the vegetative stage without hydraulic interference. Installing during this window ensures that any root pruning required for the basin does not trigger premature senescence or drought stress.
Phases:

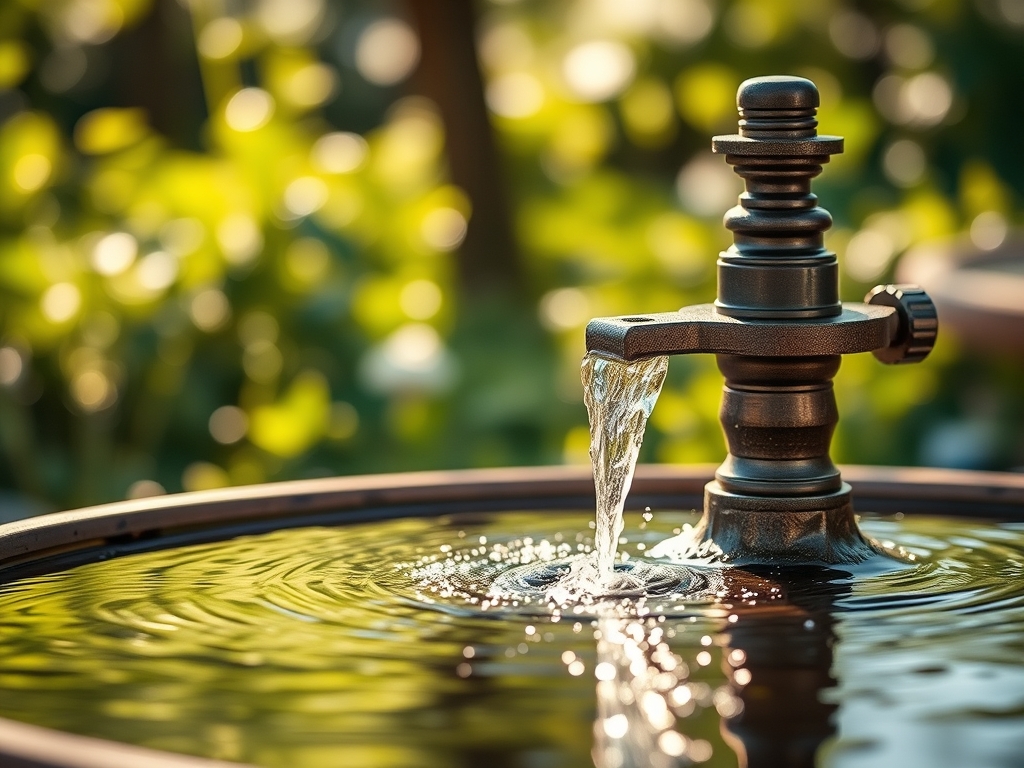
Sowing the Foundation
The first of the steps to install a water fountain is site preparation. Excavate a hole 2 inches wider than the reservoir and deep enough to allow the rim to sit slightly above the soil grade. This prevents runoff from carrying silt and organic debris into the pump system. Level the base using a transit level to ensure even water distribution across the weir or fountain head.
Pro-Tip: Maintaining a level base prevents uneven hydrostatic pressure on the fountain walls. This structural integrity ensures that the surrounding soil does not experience localized anaerobic conditions due to leaks.
Transplanting the Hardware
Place the basin and install the submersible pump. Use Schedule 40 PVC or heavy-duty kink-free tubing for all connections. If you are integrating the fountain into a rock garden, ensure the stones do not compress the water lines. Fill the area around the basin with pea gravel to facilitate drainage and prevent the soil from shifting against the reservoir walls.
Pro-Tip: When positioning the pump, elevate it 1 to 2 inches off the bottom of the basin using a brick. This prevents the intake from sucking up settled sediment; a process that mimics the way mycorrhizal symbiosis filters nutrients in the soil.
Establishing the Flow
Fill the reservoir with water and perform a "dry run" to check for leaks. Adjust the flow valve to achieve the desired height. Once the mechanical components are verified, backfill the perimeter with the original friable loam. Mulch the area with 2 inches of organic matter to regulate soil temperature and support the microbial activity necessary for a healthy garden biome.
Pro-Tip: Direct the splash pattern away from the crowns of sensitive plants. Excessive moisture on foliage can lead to fungal pathogens by disrupting the cuticular wax layer that protects the leaf.
The Clinic:
Physiological disorders in the garden often arise from improper water management during fountain installation.
- Symptom: Interveinal chlorosis in nearby shrubs.
- Solution: This indicates Nitrogen chlorosis or a pH imbalance. Test the soil; if the pH is above 7.5 due to concrete leaching from the fountain, apply elemental sulfur to lower the alkalinity.
- Symptom: Leaf wilting despite wet soil.
- Solution: This is likely root rot (Phytophthora) caused by poor drainage around the fountain basin. Increase the gravel content in the backfill to improve oxygen pore space.
- Symptom: Algae bloom in the fountain.
- Solution: Excessive nutrient runoff is entering the water. Reduce the use of high-phosphate fertilizers in the immediate vicinity and increase the photoperiod of shade-providing plants to cool the water.
Fix-It: For Magnesium deficiency (yellowing of older leaves), apply Epsom salts at a rate of 1 tablespoon per foot of plant height.
Maintenance:
A water fountain requires precise horticultural upkeep. Monitor the water level daily; evaporation can cause the pump to run dry, leading to mechanical failure. Provide surrounding plants with 1.5 inches of water per week at the drip line to compensate for any localized humidity changes. Use a hori-hori knife to remove weeds that emerge in the damp soil around the base. Every autumn, use bypass pruners to clear away overhanging deciduous foliage before it falls into the water and decomposes. Check the soil moisture with a digital moisture meter to ensure the fountain is not leaking into the primary root zones of your specimen trees.
The Yield:
While a fountain does not produce a caloric yield, it enhances the "yield" of your garden's health. Increased humidity improves the stomatal conductance of nearby ferns and mosses, leading to more robust growth. If you have planted water-loving herbs like Mentha (mint) around the splash zone, harvest them in the morning when turgor pressure is highest. Snip the top one-third of the plant to encourage lateral branching. Place the stems immediately in a bucket of cool water to maintain "day-one" freshness and prevent the rapid loss of essential oils through transpiration.
FAQ:
How deep should I dig for a fountain basin?
Excavate the hole 2 to 3 inches deeper than the height of the reservoir. This allows for a leveling layer of sand or fine gravel. Ensure the rim sits slightly above the soil line to prevent debris infiltration.
Can I install a fountain near a large tree?
Avoid digging within the Critical Root Zone (CRZ), which is usually one foot of radius for every inch of trunk diameter. Severing major lateral roots can cause dieback and destabilize the tree's structural integrity.
How do I prevent mosquitoes in my fountain?
Maintain constant water movement to disrupt the surface tension required for larvae survival. For stagnant areas, use Bacillus thuringiensis israelensis (Bti) dunks; a biological control that targets larvae without harming beneficial insects or birds.
What is the best way to winterize a fountain?
In zones with freezing temperatures, drain the reservoir and remove the pump. Store the pump in a bucket of water in a frost-free area to keep the seals from drying out. Cover the feature with a breathable waterproof shroud.