8 Best Wood Stain for Decks
The sharp scent of damp cedar mulch and the turgor of a water-heavy oak leaf define the perimeter of a well-maintained landscape. When the structural integrity of a wooden deck begins to fail due to ultraviolet degradation and moisture infiltration; the selection of the best wood stain for decks becomes a matter of botanical preservation. Wood is not a dead material; it is a porous, cellulose-based substrate that reacts to osmotic pressure and thermal expansion. Without a high-performance sealant, the lignin that binds wood fibers together breaks down under solar radiation, leading to silvering, checking, and eventual structural rot. A professional-grade stain functions as a synthetic cuticle, mimicking the protective epidermal layers of a living plant to regulate moisture vapor transmission while blocking the photolysis of cellular components. Selecting a product requires understanding the density of the timber and its ability to absorb pigments without compromising the natural grain.
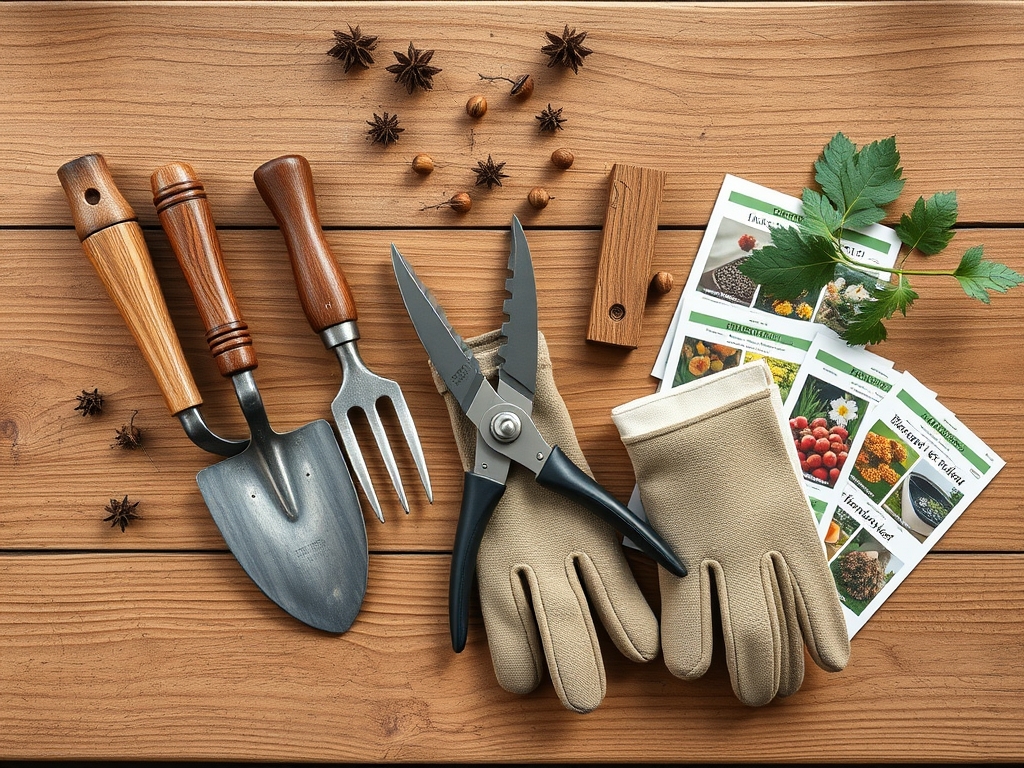
Materials:
The success of a deck treatment depends on the ground beneath it. A deck situated over a **friable loam** with a **Soil Cation Exchange Capacity (CEC) of 15 to 25** will experience different humidity microclimates than one over compacted clay. If the soil pH is acidic (below 6.0), the rising vapors can accelerate the oxidation of metal fasteners, which in turn causes “iron gall” staining on the wood. For the surrounding flora, ensure the soil maintains a balanced **NPK ratio of 10-10-10** to support root resilience during the chemical application process. The ideal substrate should have a high organic matter content to buffer any accidental runoff, preventing the desiccation of the rhizosphere.
Timing:
Application windows are dictated by the Biological Clock of the surrounding environment. In Hardiness Zones 5 through 7, the optimal window occurs between the last spring frost and the onset of high-summer humidity. Wood moisture content must be below 12 percent as measured by a digital pin meter. If the plant life in the vicinity is in a state of rapid vegetative growth (high auxin production), avoid using high-VOC oil stains that can cause localized leaf scorch. The transition from vegetative to reproductive stages in nearby perennials signals a stabilization in ambient humidity, providing a stable curing environment for the polymers to cross-link effectively.
Phases:

Sowing the Surface
Preparation is the foundation of adhesion. Use a sodium percarbonate solution to remove dead cellulose fibers and fungal spores. This process opens the "pores" of the wood, similar to how aeration improves oxygen diffusion in a root zone. Scrub with a stiff-bristled brush to ensure the mechanical removal of grayed lignin.
Pro-Tip: Proper cleaning utilizes the principle of capillary action. By removing surface oils, you increase the surface tension of the wood, allowing the stain to be pulled deeper into the tracheids for a more permanent bond.
Transplanting the Pigment
Apply the stain using a natural bristle brush or a high-volume low-pressure (HVLP) sprayer. Work in the direction of the grain to ensure even distribution. For hardwoods like Ipe or Mahogany, use a paraffin-based oil that can penetrate the dense cellular structure. For softwoods like Cedar or Pressure-Treated Pine, a water-borne alkyd resin provides superior UV protection.
Pro-Tip: Avoid application in direct sunlight to prevent flash-drying. If the carrier solvent evaporates too quickly, the resins cannot penetrate the cellular wall, leading to surface film failure and premature peeling.
Establishing the Shield
Allow the first coat to dwell for 20 to 30 minutes before back-brushing. This ensures that the pigment particles settle into the grooves of the wood. A second coat should be applied "wet-on-wet" for maximum saturation. The goal is to reach a point of refusal where the wood can no longer absorb liquid.
Pro-Tip: This method mimics mycorrhizal symbiosis in a way; the stain becomes an extension of the wood's own defense system, creating a hydrophobic barrier that prevents the colonization of wood-decaying fungi.
The Clinic:
Monitoring the physiological state of the wood and surrounding plants is critical.
- Symptom: Leaf margins turning brown (Necrosis) on nearby shrubs.
Solution: This is likely caused by chemical drift. Immediately flush the foliage with water to dilute the surfactants and restore turgor pressure. - Symptom: White, powdery residue on the wood surface (Efflorescence).
Solution: This indicates moisture trapped behind the finish. Increase ventilation beneath the deck to lower the vapor pressure. - Symptom: Yellowing of nearby turf (Nitrogen chlorosis).
Fix-It: If stain runoff has altered soil chemistry, apply a liquid fertilizer with a high Nitrogen (N) value to stimulate chlorophyll production and counteract the stress.
Maintenance:
A deck is a living extension of the garden and requires precise calibration. Use a soil moisture meter to ensure the area beneath the deck does not become a stagnant pool for pathogens. Maintain the surrounding vegetation by using bypass pruners to keep branches at least 12 inches away from the wood, ensuring adequate airflow. Clean the surface annually with a pH-neutral soap. If you notice water no longer beads on the surface, it is time for a maintenance coat. Use a hori-hori knife to clear debris from the gaps between boards, preventing "organic bridges" that allow moisture to bypass the stain's protective barrier.
The Yield:
While a deck does not produce a harvest in the traditional sense, the "yield" is the longevity of the timber and the health of the adjacent ecosystem. A properly stained deck should maintain its color and structural integrity for 36 to 60 months depending on UV exposure. When the wood retains its natural suppleness and resists checking, the surrounding landscape benefits from a stable microclimate. Post-application, monitor the site for "day-one" freshness by checking the integrity of the sealant every spring.
FAQ:
How long should I wait to stain a new deck?
New pressure-treated lumber requires a drying period. Use a moisture meter to confirm a reading below 12 percent. This usually takes 30 to 60 days of ambient weathering to allow the cellular structure to open for penetration.
Can I apply wood stain in high humidity?
No. Humidity above 65 percent prevents the carrier solvents from evaporating at the correct rate. This interferes with the polymerization of the resins, leading to a tacky surface that attracts fungal spores and atmospheric pollutants.
What is the difference between oil and water-based stains?
Oil-based stains penetrate the wood fibers to provide internal protection. Water-based stains sit closer to the surface, offering superior UV resistance and color retention. Choose based on the wood species and the local Hardiness Zone requirements.
How do I protect my plants during staining?
Hydrate all nearby plants to full turgor before starting. Cover them with breathable canvas drop cloths rather than plastic. Plastic can trap heat and cause rapid transpiration, leading to heat stress and localized wilting during the application process.