7 Basic Steps to Install a Garden Gate
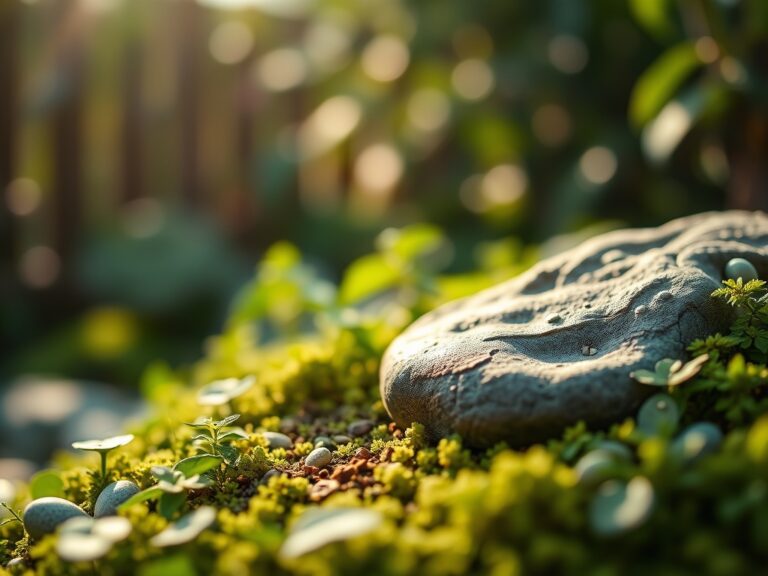
The scent of damp, decaying organic matter signals a high microbial activity in the rhizosphere; this is the foundation of a functional landscape. Installing a structural aperture requires more than carpentry; it demands an understanding of soil compaction and root zone integrity. Following specific steps to install a garden gate ensures that the transition between your cultivated beds and the wilder perimeter remains stable. You must account for frost heave and the structural load of the gate against the soil Cation Exchange Capacity (CEC).
Materials:
Before digging, assess the substrate. The ideal soil for post-setting is a **friable loam** with a high mineral content to ensure drainage. If your soil is heavy clay, the drainage rate will be less than **0.5 inches per hour**, necessitating a gravel sump at the base of your post holes.
For the surrounding vegetation, maintain a soil pH between 6.2 and 6.8 to optimize nutrient availability. If the installation disturbs the area, amend the backfill with a slow-release fertilizer featuring an NPK ratio of 5-10-5. This phosphorus-heavy ratio encourages rapid root elongation and secondary xylem growth in nearby perennials, offsetting the stress of soil displacement. High-density polyethylene (HDPE) or pressure-treated timber rated for ground contact is essential to resist the fungal pathogens common in moist, high-organic-matter environments.
Timing:
Timing the installation is critical to the health of the surrounding botanical specimens. In USDA Hardiness Zones 4 through 7, the ideal window is late autumn or early spring when plants are in a state of senescence or just breaking dormancy. During these periods, the metabolic rate of the plants is low, reducing the risk of transplant shock or root desiccation.
Pay close attention to the Biological Clock of your garden. Avoid heavy construction during the peak reproductive stage (anthesis) of nearby flowering species, as the localized soil compaction can interrupt the hydraulic lift process within the plant. Aim for a soil temperature between 45 and 55 degrees Fahrenheit; this ensures the soil is workable but the microbial life is not yet at its peak respiration rate, which can lead to rapid nitrogen immobilization if fresh organic matter is turned into the post holes.
Phases:

Sowing the Foundation
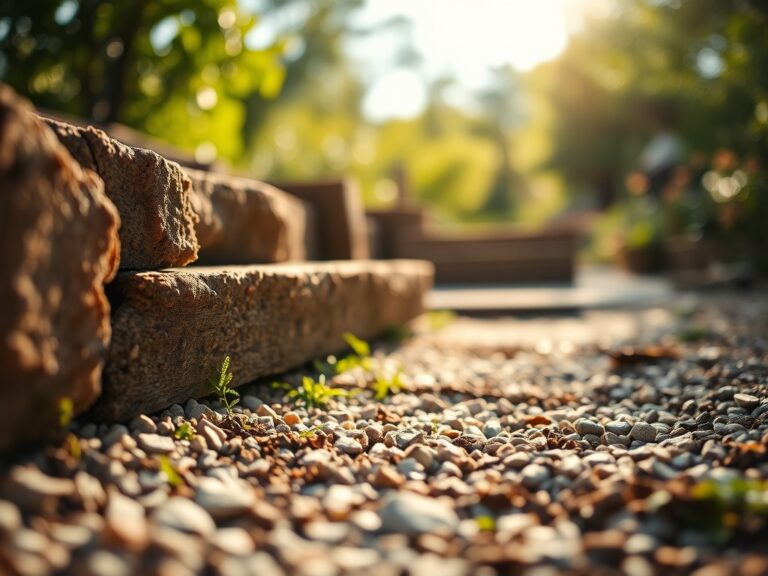
Excavate post holes to a depth of at least 30 inches, or 6 inches below the local frost line. The diameter should be three times the width of the post. Fill the bottom 4 inches with crushed stone to facilitate drainage away from the post base.
Pro-Tip: Proper drainage prevents anaerobic conditions in the soil. When soil becomes saturated and oxygen-depleted, it triggers denitrification, where bacteria convert nitrates into nitrogen gas, stripping the surrounding plants of essential nutrients.
Transplanting Structure
Position the posts and use a level to ensure verticality. Use a temporary brace to hold them in place. When pouring concrete, stop 3 inches below the soil surface. This allows for a "living cap" of mulch or topsoil, maintaining the continuity of the soil microbiome up to the post edge.
Pro-Tip: Maintaining soil continuity supports mycorrhizal symbiosis. These fungal networks extend the reach of plant roots, allowing for better water uptake and nutrient absorption across the disturbed site.
Establishing the Gate
Attach the hinges using galvanized or stainless steel hardware to prevent heavy metal leaching into the soil. Ensure a ground clearance of 3 to 4 inches to allow for the natural expansion of the soil surface during hydration cycles and to prevent the gate from dragging on the mulch layer.
Pro-Tip: Proper clearance prevents the physical abrasion of groundcover plants. Such wounds can leak sap, which attracts opportunistic pathogens and disrupts turgor pressure within the plant stems.
The Clinic:
Structural changes in the garden often manifest as physiological disorders in nearby plants.
-
Symptom: Interveinal chlorosis (yellowing leaves with green veins).
Solution: This often indicates Iron or Manganese deficiency caused by a localized pH spike from concrete leaching. Apply a chelated iron drench to lower the pH and restore nutrient mobility. -
Symptom: Marginal leaf burn or wilting despite moist soil.
Solution: This suggests Root Asphyxiation due to soil compaction from foot traffic during installation. Use a broadfork to aerate the soil in a 3-foot radius around the gate. -
Symptom: Stunted new growth and shortened internodes.
Solution: Nitrogen Chlorosis. The carbon-heavy sawdust from construction can cause a nitrogen tie-up. Apply a quick-release 20-0-0 fertilizer to the affected area.
Fix-It: For general nutrient deficiencies, use a soil moisture meter to ensure the root zone is not waterlogged, then apply a balanced liquid seaweed extract to provide micronutrients that support cellular repair.
Maintenance:
A garden gate requires consistent monitoring of the surrounding environment. Ensure the area receives 1.5 inches of water per week at the drip line of any adjacent shrubs to compensate for the heat reflected off the gate surface.
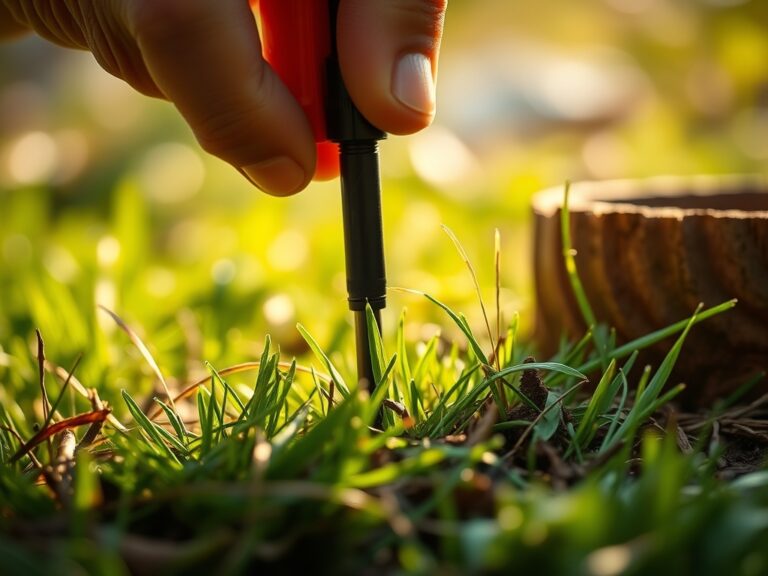
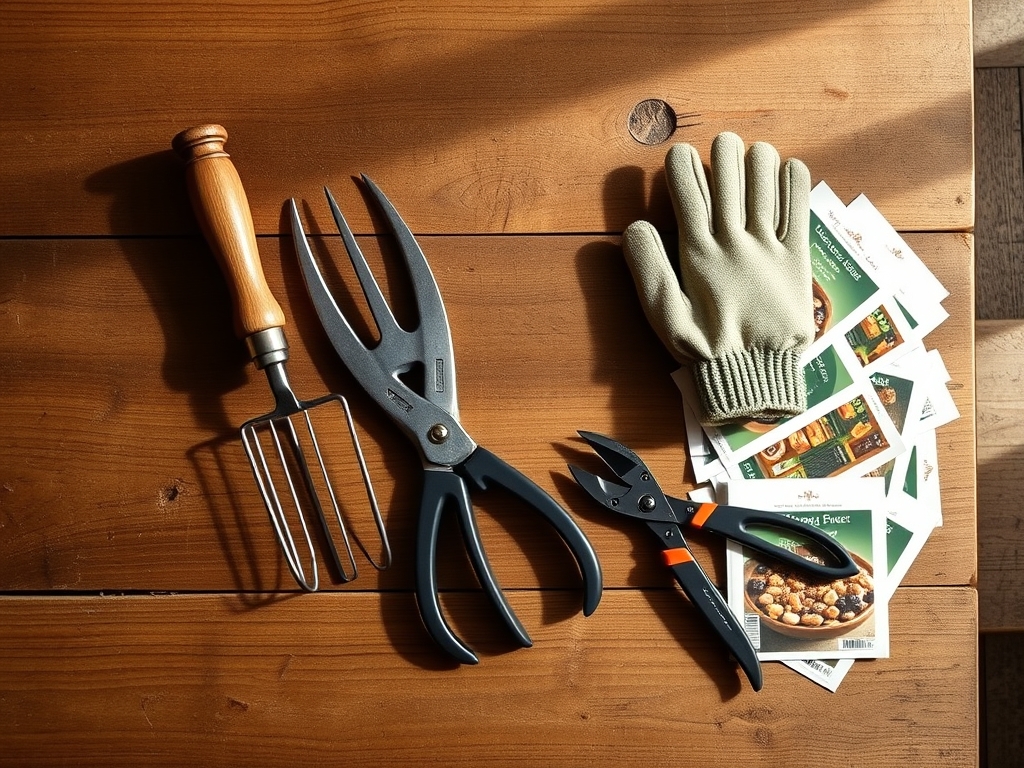
Use a hori-hori knife to remove invasive taprooted weeds that may emerge in the disturbed soil around the posts. Inspect the gate hardware annually for rust, and use bypass pruners to maintain a 6-inch "clear zone" between the gate and any foliage. This prevents the accumulation of moisture, which can lead to powdery mildew or other fungal infections on the leaves. Check the soil compaction levels twice a year with a penetrometer or a simple metal rod to ensure the bulk density of the soil remains conducive to root penetration.
The Yield:
While a gate is a structural element, its placement often dictates the harvest of nearby specimens. If you have planted climbing edibles like pole beans or clematis near the gate, monitor the photoperiod changes. As the gate casts new shadows, the plants may shift their energy from vegetative growth to flowering.
Harvest flowers or vegetables in the early morning when turgor pressure is at its peak. This ensures the cells are fully hydrated, providing "day-one" freshness and a longer shelf life. Use sharp, sterilized snips to make clean cuts, preventing the jagged edges that lead to rapid senescence and tissue decay.
FAQ:
How deep should I set the gate posts?
Posts must be set at least 30 inches deep or 6 inches below your local frost line. This prevents frost heave from displacing the structure and damaging nearby root systems during freeze-thaw cycles.
Does concrete affect the soil pH?
Yes, wet concrete can leach lime, significantly raising the soil pH. This can lead to nutrient lockout. Use a plastic liner in the post hole to isolate the concrete from the surrounding rhizosphere and maintain acidity.
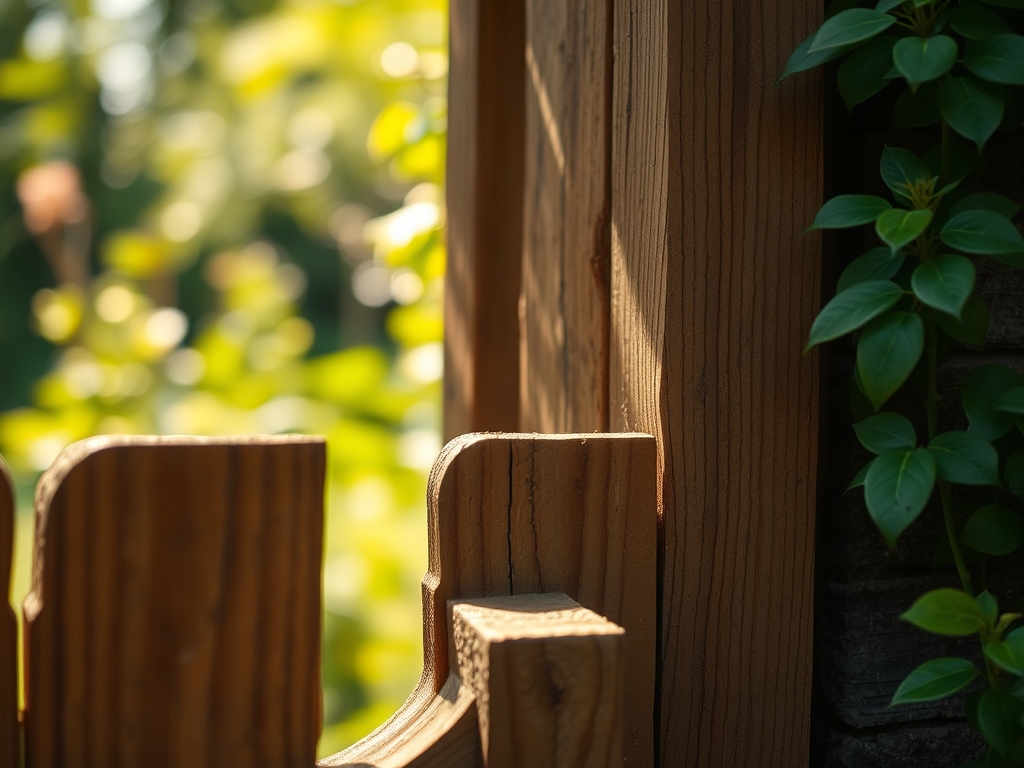
What is the best wood for a garden gate?
Select Western Red Cedar or Black Locust. These species contain natural tannins and oils that resist decay and fungal pathogens without the need for heavy chemical treatments that could leach into the soil.
How do I prevent soil compaction during installation?
Lay down plywood sheets to distribute your weight while working. This protects the soil structure and prevents the collapse of macro-pores, ensuring that oxygen and water can still reach the roots of your plants.