9 Easy Steps to Build a Gravel Path
Crushed stone underfoot produces a distinct acoustic crunch that signals a well-engineered landscape. The smell of damp, disturbed earth during excavation reveals the health of the rhizosphere; a rich, musky scent indicates high microbial activity and organic matter. Mastering the steps to build a gravel path requires more than aesthetic placement. It demands an understanding of soil compaction, drainage physics, and the structural integrity of the substrate. You are not merely laying stone; you are creating a permeable corridor that manages hydraulic pressure while preventing the encroachment of surrounding vegetation. Proper installation ensures that moisture reaches the root zones of adjacent flora without causing anaerobic conditions in the subsoil.
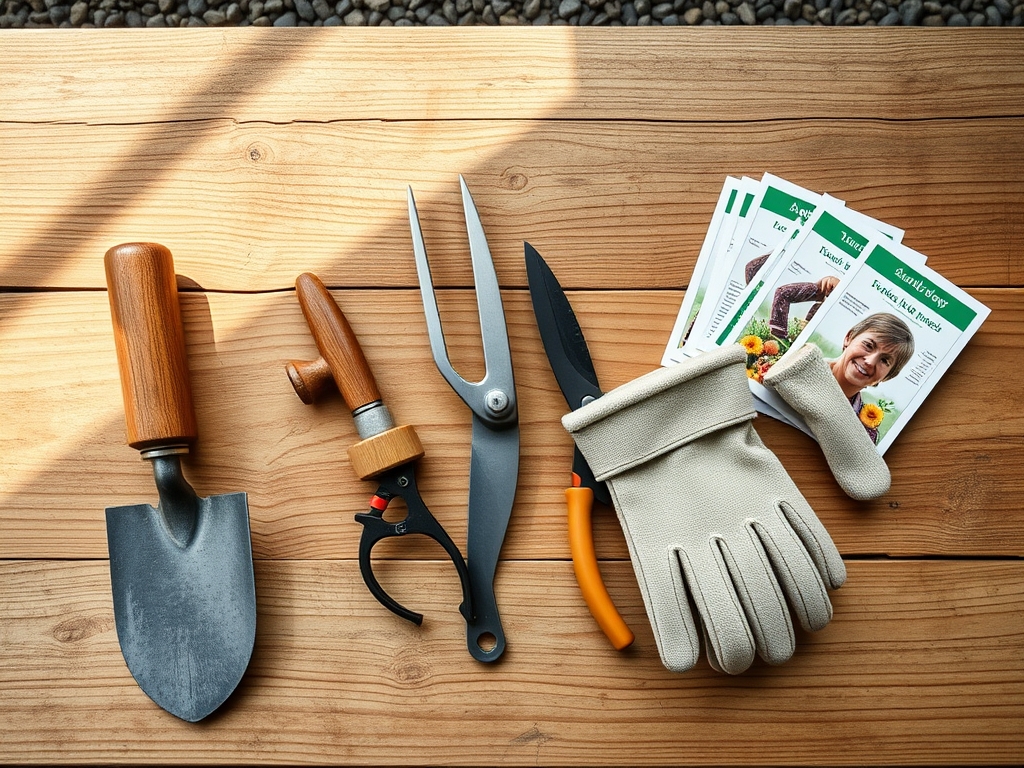
Materials:
The foundation of a lasting path begins with the soil profile. You must assess the **Cation Exchange Capacity (CEC)** of the surrounding earth to understand how it will interact with leaching minerals from the stone. For paths bordering high-production zones, ensure the soil is a **friable loam** with a **pH between 6.0 and 7.0**.
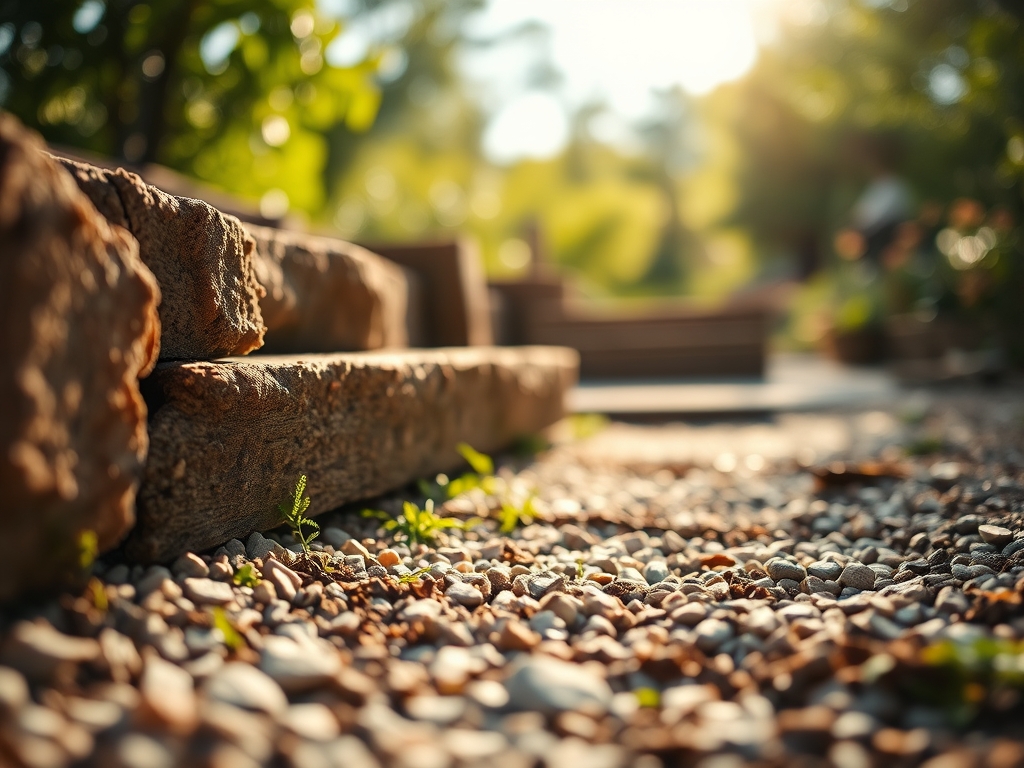
- Sub-base: 4 inches of 3/4-inch minus crushed rock. This provides structural stability and high load-bearing capacity.
- Surface Layer: 2 inches of 3/8-inch pea gravel or decomposed granite.
- Landscape Fabric: Use a heavy-duty non-woven geotextile (minimum 4 ounces per square yard) to prevent the migration of fines and suppress weed germination.
- Edging: Steel, pressure-treated timber, or brick.
- Soil Amendments: If planting along the margins, integrate a 10-10-10 NPK ratio fertilizer to support vegetative growth during the construction disturbance. Nitrogen (10%) fuels leaf development; Phosphorus (10%) supports root establishment; Potassium (10%) regulates turgor pressure and overall cellular health.
Timing:
Schedule construction during the dormant season or early spring when the ground is workable but before the Biological Clock triggers rapid vegetative expansion. In Hardiness Zones 5 through 7, the ideal window is late March to early April, after the final frost but before the soil temperature reaches a consistent 55 degrees Fahrenheit.
Working during this period avoids the peak photoperiod where intense sun can lead to rapid moisture loss in exposed root systems. For those in Zones 8 through 10, late autumn is preferable. This allows the path to settle during the winter rains while the surrounding plants enter senescence, a state of biological rest that minimizes transplant shock for any displaced perennials.
Phases:
Sowing the Foundation
Excavate the path to a depth of 6 inches. Use a plate compactor to achieve a 95% Proctor density on the subgrade. This prevents future sinking. If the soil is heavy clay, incorporate a thin layer of sharp sand to improve the hydraulic conductivity.
Pro-Tip: Compacting the subgrade prevents soil subsidence. If the base is loose, water will pool and create anaerobic pockets that can rot the roots of nearby specimen plants through mycorrhizal disruption.
Transplanting the Borders
If your path requires moving existing plants, use a hori-hori knife to cut clean circles around the root balls. Ensure you maintain as much of the rhizosphere as possible. Replant immediately at the same depth as the original site to avoid stem rot.
Pro-Tip: Maintain high turgor pressure by watering the plants 24 hours before moving them. This ensures the cells are fully hydrated, reducing the risk of wilting point trauma during the transition.
Establishing the Layers
Lay the geotextile fabric, overlapping seams by at least 6 inches. Add the crushed rock base in 2-inch lifts, compacting each layer. Finish with the decorative gravel, raking it to a slight crown in the center (1/4 inch per foot) to facilitate lateral water runoff.
Pro-Tip: Using a non-woven fabric allows for gas exchange and water infiltration. This maintains the oxygen levels in the soil, preventing the buildup of carbon dioxide which can inhibit root respiration in adjacent trees.
The Clinic:
Physiological disorders often manifest in the foliage of plants bordering a new gravel path due to changes in soil chemistry or water availability.
Symptom: Interveinal chlorosis (yellowing leaves with green veins).
Solution: This is often Iron Deficiency caused by a high pH (alkaline) environment. Gravel types like limestone can raise the pH. Apply chelated iron or elemental sulfur to lower the pH to a range of 6.2 to 6.8.
Symptom: Marginal leaf scorch (brown, crispy edges).
Solution: This indicates Potassium Deficiency or drought stress. The gravel may be reflecting too much heat or the excavation severed lateral roots. Increase irrigation frequency and apply a 0-0-50 Potassium Sulfate amendment.
Symptom: Stunted growth and purplish lower leaves.
Solution: Phosphorus Deficiency. This occurs in cold, wet soils. Ensure the path drainage is functioning. Use a bone meal supplement to boost phosphorus levels.
Fix-It for Nitrogen Chlorosis: If the entire leaf turns pale green or yellow, the plant lacks Nitrogen. Apply a quick-release 21-0-0 Ammonium Sulfate fertilizer to restore chlorophyll production.
Maintenance:
A gravel path is a living component of the garden. Use a soil moisture meter weekly to check the hydration levels of the soil beneath the gravel. Most borders require 1.5 inches of water per week delivered at the drip line.
Keep the edges crisp using bypass pruners to trim any encroaching groundcovers. If weeds appear, do not use systemic herbicides that can leach into the capillary fringe of the soil. Instead, use a flame weeder or manual extraction with a hori-hori knife. Every two years, top-dress the path with 0.5 inches of fresh gravel to account for natural settling and displacement.
The Yield:
While a path is not "harvested," the plants surrounding it are. For floral borders, harvest stems in the early morning when turgor pressure is highest. Use sharp bypass pruners to make a 45-degree cut, which increases the surface area for water uptake.
Immediately plunge the stems into 110-degree Fahrenheit water containing a carbohydrate source (sugar) and an acidifier (citric acid). This "hardening off" process ensures day-one freshness by preventing air embolisms in the xylem vessels.
FAQ:
What is the best gravel size for walking?
Use 3/8-inch pea gravel or crushed stone. Smaller stones provide a smoother walking surface and interlock better than large river rocks, which tend to shift underfoot and create an unstable surface for the user.
How deep should I dig for a gravel path?
Excavate to a total depth of 6 inches. This allows for a 4-inch compacted base of structural stone and a 2-inch surface layer of decorative gravel, ensuring the path remains level with the surrounding landscape.
Do I really need landscape fabric?
Yes. A non-woven geotextile prevents the gravel from sinking into the soil. It also acts as a barrier against weed seeds while allowing essential moisture and oxygen to reach the soil microbes and plant roots below.
How do I stop gravel from spreading?
Install a rigid edging material such as steel, brick, or heavy-duty plastic. The edging should sit 1 inch above the gravel surface to act as a physical manifold, containing the stones during heavy rain or foot traffic.