10 Clever Ways How to Design a Small Space Garden
Crushing a handful of friable loam reveals the metallic scent of geosmin and the gritty reality of site potential. When learning how to design a small space garden, you must prioritize structural efficiency over aesthetic excess. Every square inch of the rhizosphere must be optimized to support maximum turgor pressure. This guide focuses on high-density botanical engineering to transform restricted footprints into high-yield biological systems through rigorous spatial management and substrate precision.
Materials:
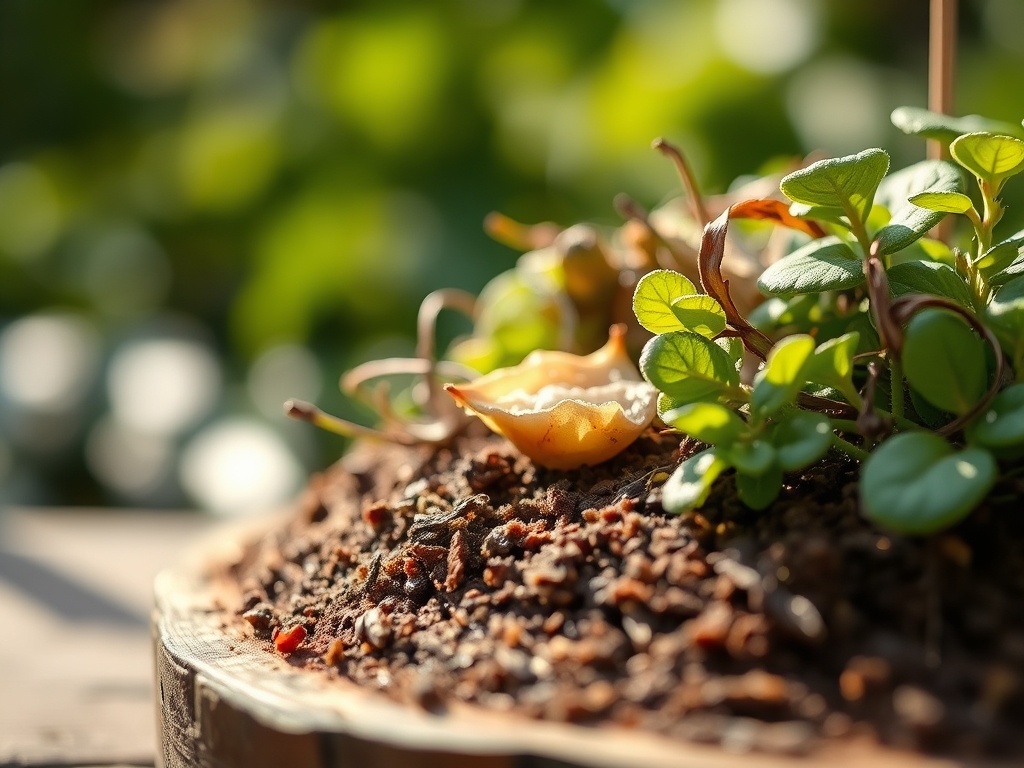
Successful small-scale cultivation begins with the substrate. You cannot rely on native "dirt" which often lacks the necessary Cation Exchange Capacity (CEC) for intensive planting. Aim for a pH range of 6.2 to 6.8 to ensure nutrient bioavailability.
For the base medium, mix 40 percent composted organic matter, 40 percent peat or coconut coir, and 20 percent perlite for aeration. This creates a friable loam that allows for rapid root penetration. Incorporate a slow-release granular fertilizer with an NPK ratio of 5-10-5 for flowering crops or 10-10-10 for general foliage. High phosphorus (the middle number) is essential in tight quarters to encourage robust root systems rather than excessive, leggy vegetative growth. If using containers, ensure they have a minimum volume of 5 gallons for heavy feeders like Solanum lycopersicum to prevent rapid salt buildup and moisture stress.
Timing:
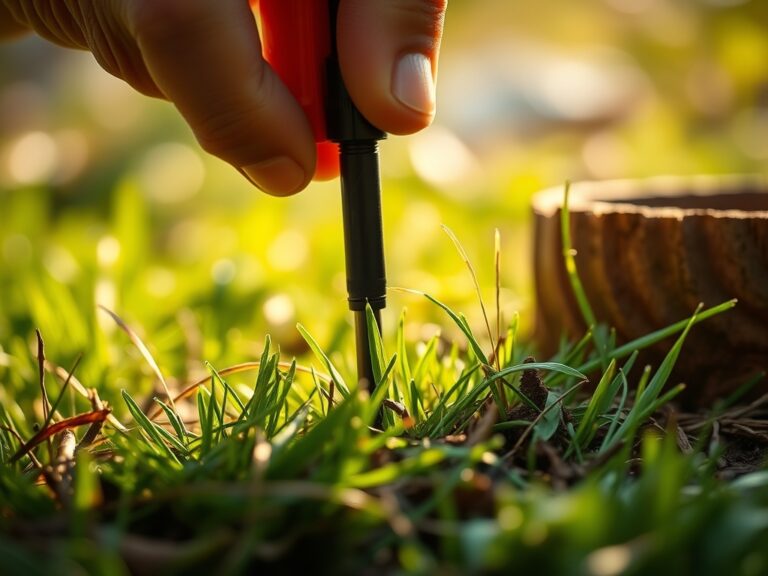
Timing is dictated by your USDA Hardiness Zone and the specific photoperiod requirements of your cultivars. In Zones 5 through 7, the primary growing window opens after the last frost, typically between April 15 and May 15. You must monitor soil temperatures; most thermophilic species require a consistent 65 degrees Fahrenheit at a 4-inch depth to avoid root shock.
The "Biological Clock" of your garden is governed by the transition from the vegetative stage to the reproductive stage. In small spaces, managing this transition is critical. If you plant too early, low light levels trigger etiolation, where plants stretch and weaken. If you plant too late, high summer temperatures can induce bolting (premature flowering and senescence) in leafy greens. Use a soil thermometer to verify that the substrate has reached the thermal threshold before transplanting.
Phases:
Sowing
Start seeds in sterile cell trays using a fine-textured seed-starting mix. Maintain a consistent temperature of 70 degrees Fahrenheit. Once the first set of true leaves appears, begin supplemental feeding with a diluted liquid seaweed extract.
Pro-Tip: Monitor for phototropism. Seedlings will lean toward the strongest light source due to the migration of auxins to the shaded side of the stem. Rotate trays 180 degrees daily to maintain upright structural integrity and prevent "flopping" once transplanted.
Transplanting
Hardening off is a non-negotiable step in how to design a small space garden. Gradually expose indoor starts to UV radiation and wind over 7 to 10 days. When placing them in their permanent location, dig a hole twice the width of the root ball.
Pro-Tip: Dust the planting hole with mycorrhizal fungi. This symbiotic relationship extends the root system's reach, allowing the plant to scavenge phosphorus and water more efficiently in high-density environments where competition for resources is fierce.
Establishing
During the first 14 days post-transplant, focus on root development. Avoid high-nitrogen fertilizers that force top-growth. Ensure the substrate remains consistently moist but not anaerobic.
Pro-Tip: Practice auxin suppression by pinching off the terminal buds of herbs and certain flowering plants. This disrupts apical dominance, forcing the plant to redirect energy to lateral buds, resulting in a bushier, more compact habit ideal for limited square footage.
The Clinic:
Physiological disorders often mimic infectious diseases. Accurate diagnosis is required before intervention.
- Symptom: Interveinal chlorosis (yellowing between green veins) on new growth.
Solution: This indicates an Iron (Fe) deficiency, often caused by a pH above 7.0. Lower the pH using elemental sulfur or chelated iron drench. - Symptom: Blossom End Rot (dark, leathery spots on the base of fruit).
Solution: This is a Calcium (Ca) transport issue, usually caused by inconsistent moisture levels rather than a lack of calcium in the soil. Maintain steady turgor pressure with regular irrigation. - Symptom: Purpling of older leaves.
Solution: Phosphorus (P) deficiency. This occurs frequently in cold soils where the nutrient becomes chemically locked. Apply a water-soluble high-phosphate fertilizer. - Symptom: Marginal leaf burn (browning edges).
Solution: Potassium (K) deficiency or salt accumulation from over-fertilizing. Flush the container with three times the volume of water to leach excess salts.
Maintenance:
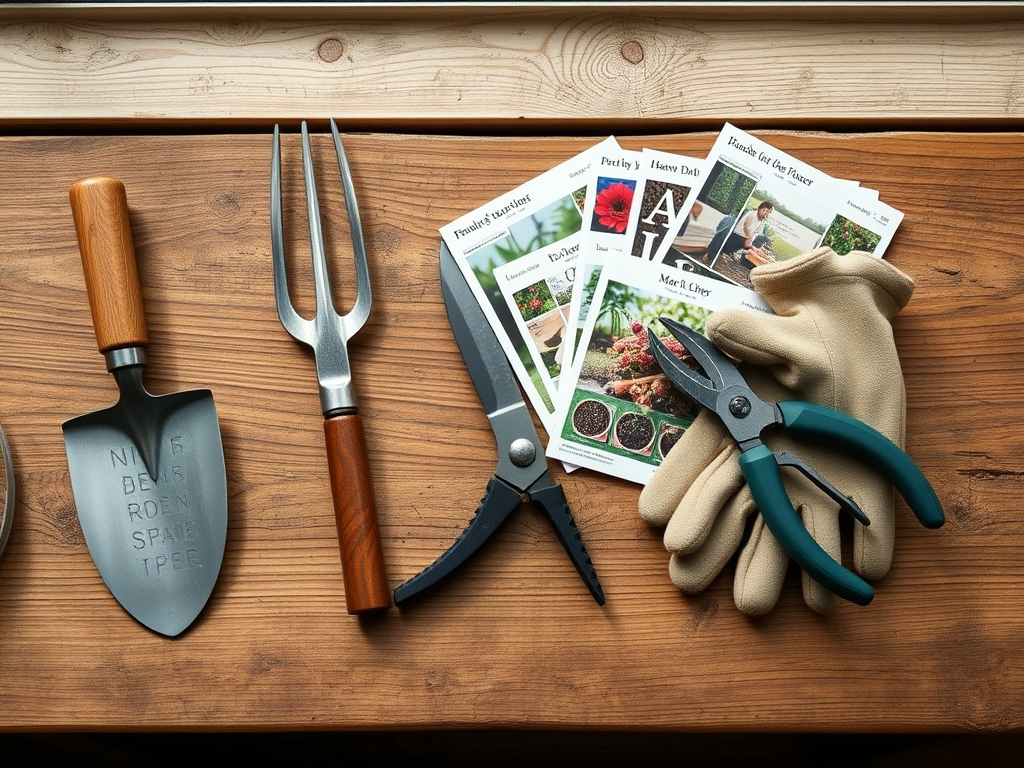
Precision maintenance is the hallmark of a professional small space garden. You must provide exactly 1.5 inches of water per week, delivered directly to the drip line to avoid wetting the foliage, which can invite fungal pathogens. Use a soil moisture meter to verify the moisture content at a 6-inch depth before irrigating.
Pruning is mandatory. Use sharp bypass pruners to remove any yellowing or senescing foliage. This improves airflow and reduces the "sink" for plant energy. For harvesting and delicate weeding, a hori-hori knife is the superior tool for cutting through compacted roots or extracting deep-taproot weeds without disturbing the root zone of your primary crops. Every 21 days, apply a balanced liquid fertilizer to replenish nutrients depleted by the high-density planting.
The Yield:
Harvesting in a small space garden should be treated as a "cut-and-come-again" operation to extend the season. For leafy greens, harvest the outer leaves once they reach 4 inches in length, leaving the central meristem intact. For fruiting crops, harvest as soon as the fruit reaches physiological maturity to signal the plant to continue reproductive efforts.
To maintain "day-one" freshness, harvest in the early morning when turgor pressure is at its peak. Immediately submerge leafy greens in 40-degree Fahrenheit water to remove field heat and slow the rate of respiration. For woody herbs, use sharp snips to avoid tearing the vascular tissue, which can lead to rapid wilting and secondary infection at the wound site.
FAQ:
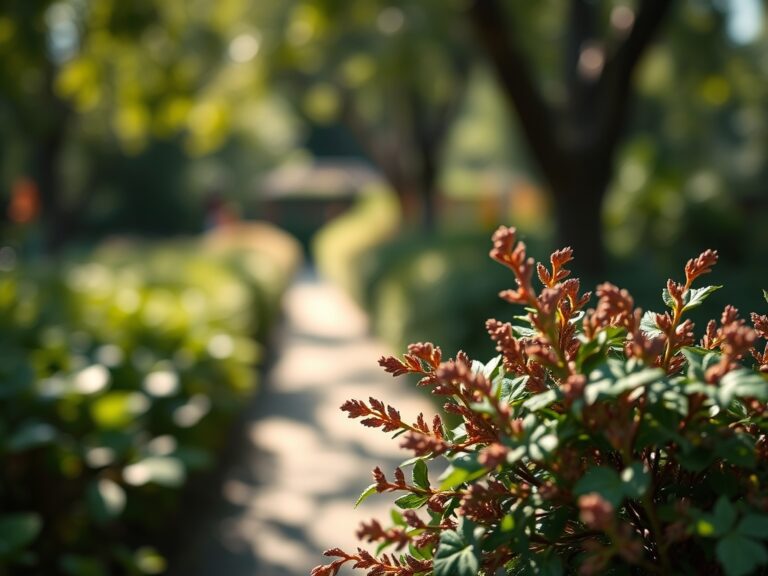
How do I maximize light in a small garden?
Utilize vertical structures and reflective surfaces. Place the tallest plants on the north side of the plot to prevent shading smaller specimens. Use white-painted walls or Mylar to bounce PAR (Photosynthetically Active Radiation) back into the canopy.
What is the best soil for containers?
Use a professional-grade soilless mix containing peat, perlite, and vermiculite. Ensure it has a high Cation Exchange Capacity (CEC) to retain nutrients. Avoid standard topsoil, which compacts easily and restricts oxygen flow to the rhizosphere in pots.
How often should I fertilize small space gardens?
In high-density or container environments, nutrients leach quickly. Apply a balanced, water-soluble fertilizer every 14 to 21 days. Monitor for salt buildup, characterized by a white crust on the soil surface, and flush with plain water as needed.
Can I grow vegetables in total shade?
Most "fruiting" crops require 6 to 8 hours of direct sunlight. However, leafy greens and certain herbs can tolerate partial shade, requiring only 3 to 4 hours of light. Expect slower growth rates and thinner cell walls in low-light conditions.