6 Solid Ways How to Build a Brick Garden Wall
The smell of damp earth and the gritty texture of wet mortar define the threshold of a permanent landscape. A garden wall is not merely a boundary; it is a structural intervention that stabilizes the rhizosphere and manages the hydraulic pressure of the soil. Understanding how to build a brick garden wall requires a mastery of both masonry and horticulture to ensure the structure survives the expansion and contraction of the earth.
A wall serves as a thermal mass, absorbing solar radiation during the day and radiating it back to the plants at night. This microclimate adjustment can increase the localized temperature by several degrees, preventing early frost damage to sensitive foliage. To succeed, you must integrate the wall into the biological life of the garden. This involves managing the turgor pressure of the plants nearby by ensuring the wall does not impede natural drainage or cause anaerobic conditions in the root zone. Proper construction ensures that the structural integrity remains intact while the surrounding flora thrives in a stable, protected environment.
Materials:
The substrate behind and beneath your wall determines its longevity. For the backfill, aim for a **friable loam** with a **pH of 6.0 to 7.0**. This acidity level ensures optimal nutrient availability. Before laying the first brick, test your soil for its **Cation Exchange Capacity (CEC)**; a higher CEC indicates a better ability to hold onto essential nutrients like Potassium and Magnesium.
Specific NPK ratios for the surrounding soil should be tailored to the plants you intend to house. A baseline 10-10-10 balanced fertilizer is standard for general perennials, but if you are planting near the wall to take advantage of the heat, a 5-10-10 ratio (lower Nitrogen) prevents excessive vegetative growth that might lean and put pressure on the masonry. You will need Type S mortar, which offers a compressive strength of 1,800 psi, and a base of crushed limestone (3/4-inch minus) to allow for drainage and prevent frost heave.
Timing:
Construction must align with the local Hardiness Zone and the biological clock of your garden. In Zones 4 through 7, the ideal window for building is after the final spring frost but before the heat of mid-summer. Mortar requires a curing temperature between 40 and 80 degrees Fahrenheit. If temperatures exceed 90 degrees, the water in the mortar evaporates too quickly, leading to a brittle bond and structural failure.
From a botanical perspective, this timing coincides with the transition from the vegetative stage to the reproductive stage for many perennials. Installing a wall during the early vegetative phase allows the root systems of nearby plants to adapt to the new soil compression levels before they begin the energy-intensive process of flowering. Avoid construction during senescence in late autumn, as the physical disturbance can stress plants as they prepare for dormancy.
Phases:

Sowing the Foundation
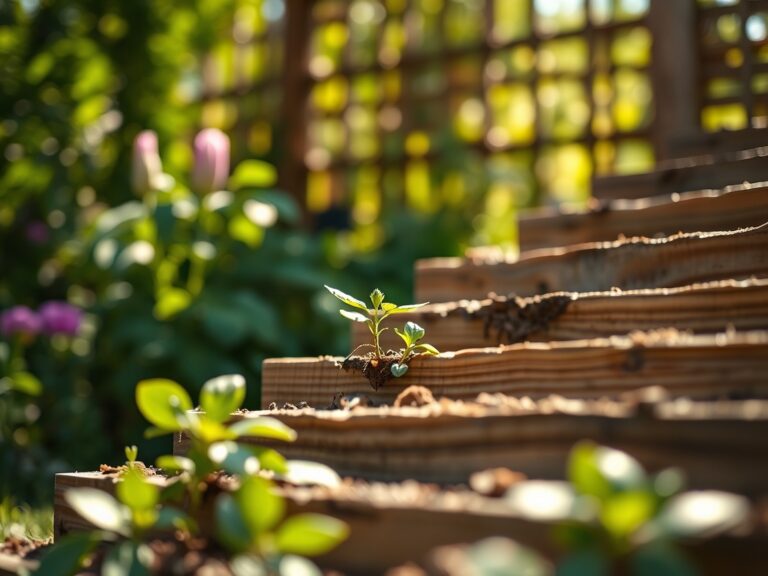
Excavate a trench to a depth of 12 inches, or below the local frost line. Fill the bottom 6 inches with compacted gravel. This layer acts as a primary drainage system to prevent water from pooling at the base.
Pro-Tip: Proper drainage prevents the buildup of salts in the rhizosphere. Excess salt accumulation can lead to osmotic stress, where the plant cannot absorb water despite it being present in the soil.
Transplanting the Masonry
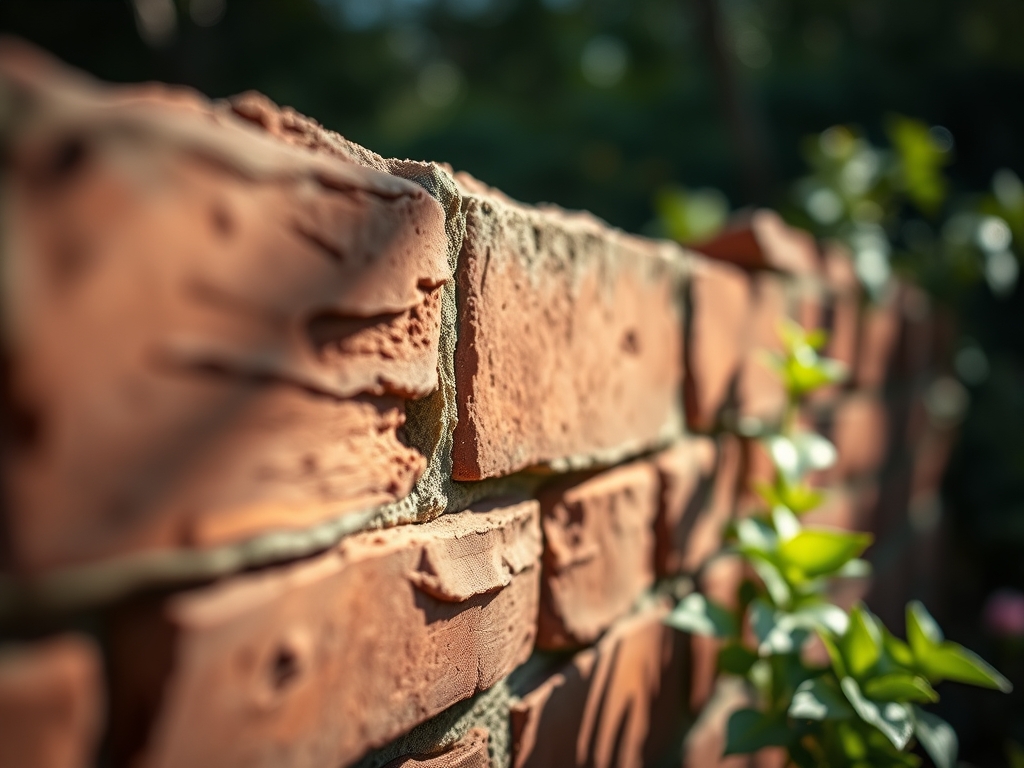
Lay the first course of bricks on a level mortar bed. Use a string line to ensure perfect horizontal alignment. Each subsequent course should be offset by a half-brick (running bond) to distribute the load evenly. Use a jointers tool to compress the mortar joints, which seals the wall against moisture ingress.
Pro-Tip: When building near existing trees, respect the Critical Root Zone (CRZ). Severing roots larger than 2 inches in diameter can trigger auxin suppression, leading to stunted growth or dieback in the canopy as the plant loses its primary hormonal signaling pathways.
Establishing the Drainage and Backfill
Install a perforated drainage pipe behind the second course of bricks, sloped at a 1 percent grade. Cover the pipe with landscape fabric and clean gravel before adding your soil mix. This prevents fine silt from clogging the drainage path.
Pro-Tip: Incorporating mycorrhizal fungi into the backfill soil promotes mycorrhizal symbiosis. These fungi extend the reach of plant roots, allowing for better uptake of Phosphorus and water, which is critical for plants adjusting to a new structural boundary.
The Clinic:
Physiological disorders in the garden often manifest after structural changes. Monitor your plants for these specific symptoms:
- Nitrogen Chlorosis: Leaves turn pale yellow, starting from the bottom of the plant. This often occurs if the backfill soil is too high in uncomposted organic matter, which "locks up" Nitrogen.
- Fix-It: Apply a liquid kelp or fish emulsion with a high Nitrogen (N) value to provide immediate bioavailability.
- Blossom End Rot: Dark, sunken spots on the bottom of fruit. This is a Calcium deficiency often caused by inconsistent moisture levels behind the wall.
- Fix-It: Maintain a consistent watering schedule and ensure the soil pH is above 6.2 to facilitate Calcium uptake.
- Iron Deficiency: Interveinal chlorosis (yellow leaves with green veins) on new growth. This indicates the soil pH is too high (alkaline).
- Fix-It: Amend the soil with elemental sulfur to lower the pH and increase the solubility of Iron.
Maintenance:
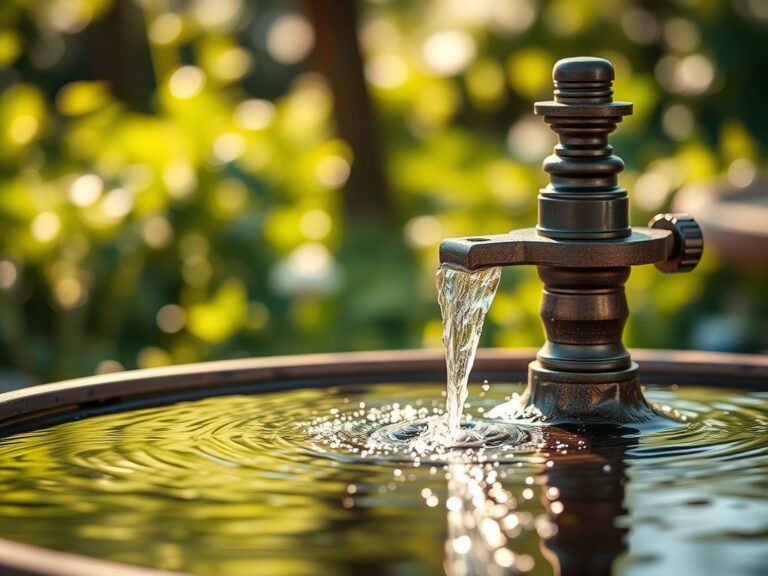
A brick wall and the life around it require precision maintenance. Use a soil moisture meter twice weekly to check the hydration levels behind the wall; the brick can wick moisture away from the soil, requiring an average of 1.5 inches of water per week delivered directly at the drip line.
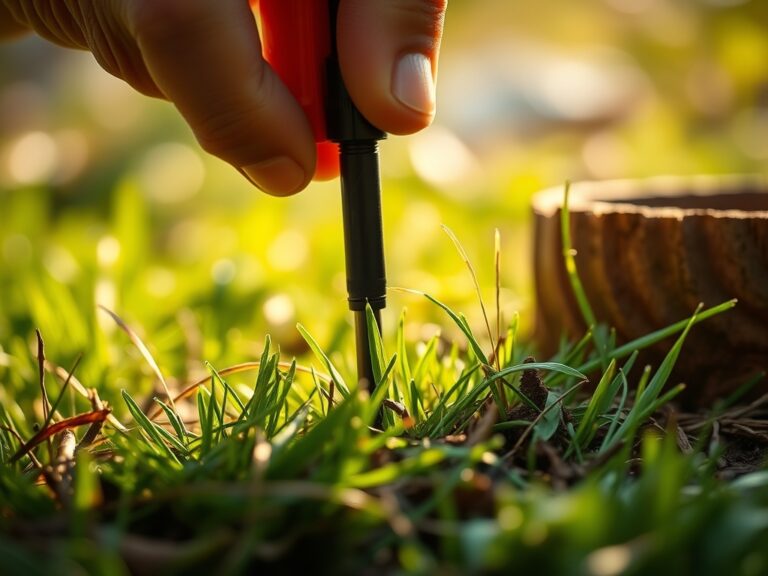
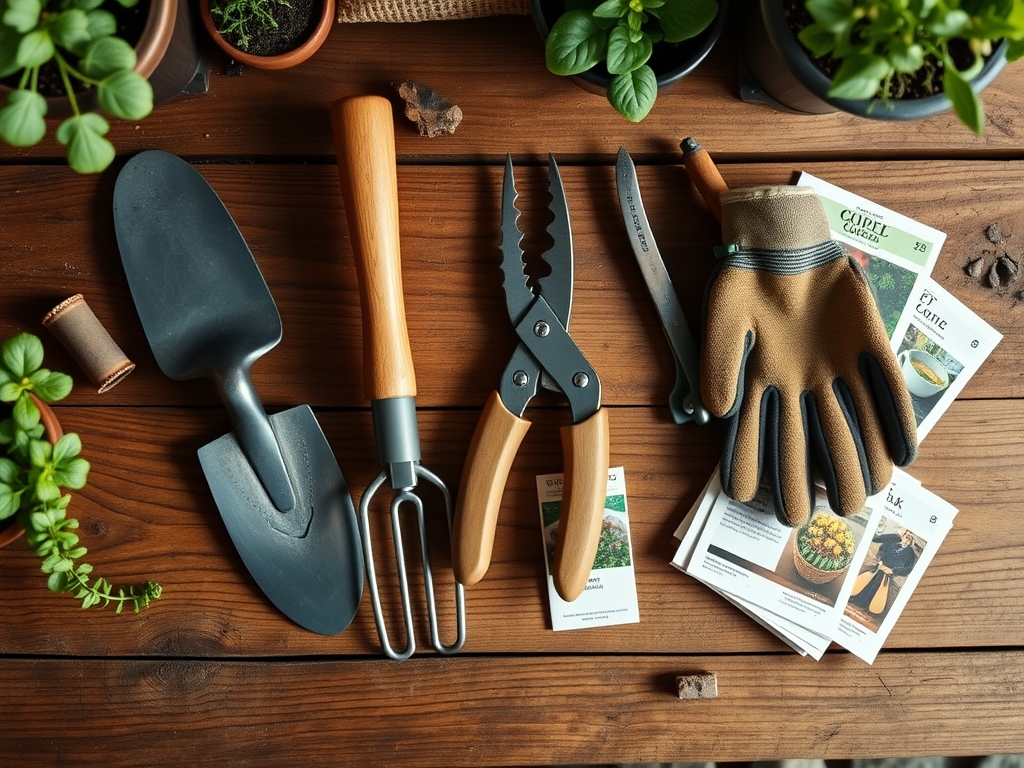
Keep a hori-hori knife sharpened for weeding between the wall base and the garden bed; this tool allows you to remove deep taproots without disturbing the compacted base of the wall. Use bypass pruners to manage any climbing plants or overhanging branches. Pruning should be done to maximize airflow, which reduces the risk of fungal pathogens like powdery mildew that thrive in the stagnant air pockets created by walls. Inspect the mortar joints annually for cracks; any gap larger than 1/8 inch should be repointed immediately to prevent water from freezing and expanding within the structure.
The Yield:
If your wall supports an edible garden, harvesting timing is critical for nutrient density. Harvest leafy greens in the early morning when turgor pressure is at its peak; this ensures the leaves are crisp and have the longest shelf life. Use a sharp blade to make clean cuts, which allows the plant to seal the wound quickly and prevents the entry of pathogens.
For flowers, harvest when the buds are just beginning to show color but have not fully opened. This stage, known as the "tight bud" stage, ensures the longest vase life. Post-harvest, plunge the stems immediately into 110-degree Fahrenheit water to remove air bubbles from the xylem, then move them to a cool, dark location for two hours to "set" the blooms before display.
FAQ:
How deep should the foundation be?
The foundation should reach 12 inches or below the local frost line. Use 6 inches of compacted gravel followed by a leveled mortar bed to prevent shifting during freeze-thaw cycles and ensure long-term structural stability.
What is the best mortar for garden walls?
Type S mortar is the professional standard for garden walls. It provides a compressive strength of 1,800 psi and offers the necessary durability to withstand lateral soil pressure and constant exposure to outdoor moisture.
Can I build a wall without mortar?
Dry-stack walls are possible but limited in height. For a permanent garden wall over 2 feet tall, mortar is required to handle the weight of the soil and the hydraulic pressure from heavy rainfall.
How do I prevent the wall from leaning?
Install a perforated drainage pipe and use gravel backfill. This prevents hydrostatic pressure from building up behind the bricks. Ensuring a perfectly level, compacted gravel base also prevents the wall from tilting over time.
Will a brick wall hurt my plants?
If built with proper drainage, a wall benefits plants by creating a thermal mass. It protects against wind and radiates heat, though you must monitor the soil moisture as bricks can increase evaporation rates in the rhizosphere.