6 Classic Steps to Sharpen Shears with a Whetstone
The smell of damp earth and the crisp turgor of a healthy leaf define the success of a garden; however, a dull blade ruins the plant vascular system by crushing the xylem and phloem. Ragged cuts invite pathogens into the rhizosphere. Precision begins with maintaining your equipment. Mastering the steps for sharpening a garden shears with a stone ensures clean cellular separation and rapid callous formation. A sharp edge minimizes tissue trauma; it allows the plant to focus energy on growth rather than wound repair.
Effective horticultural maintenance requires understanding the physical properties of your tools and the environment they inhabit. When blades become blunt, they tear the plant epidermis. This mechanical failure increases the risk of fungal infection and reduces the overall efficiency of the plant photosynthetic capacity. A clean cut at a 45 degree angle promotes water transport and structural integrity. By following the technical steps for sharpening a garden shears with a stone, you maintain the mechanical advantage necessary for high density pruning and seasonal thinning.
Materials:
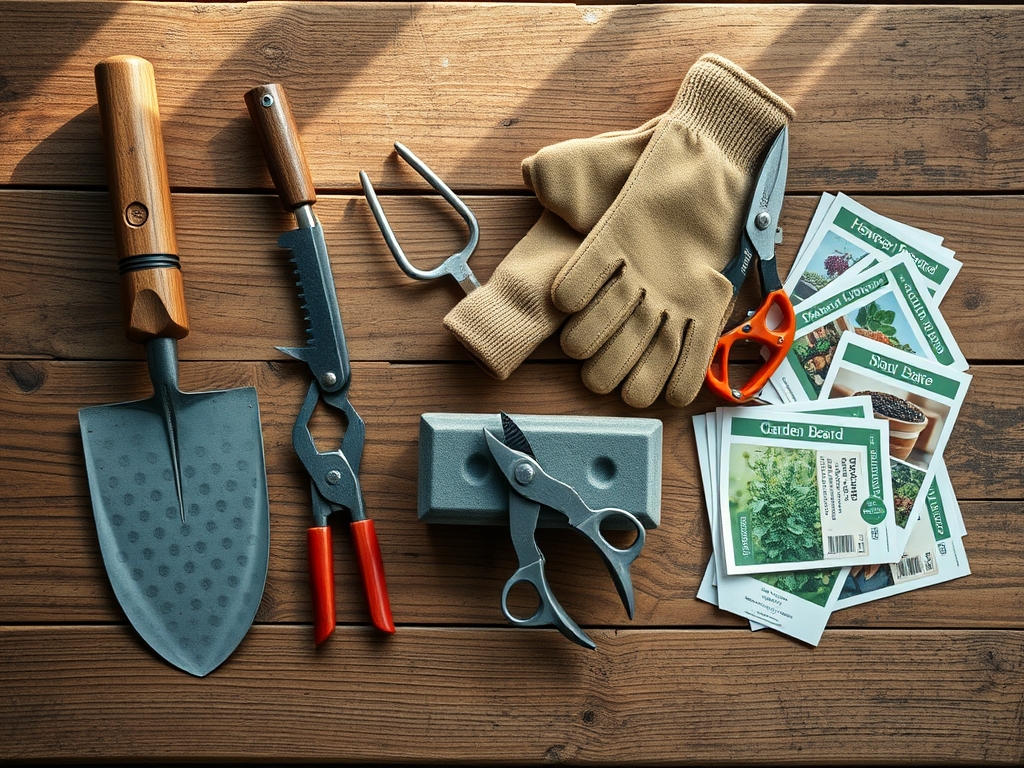
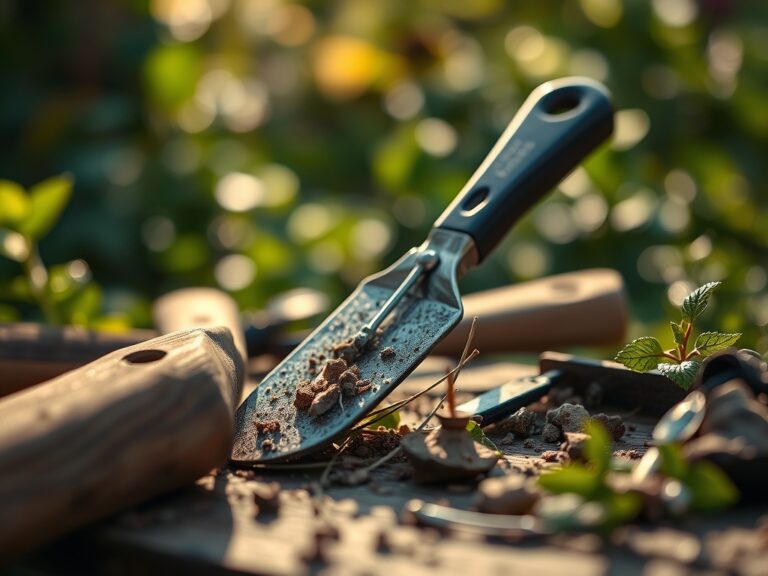
Soil health and tool maintenance are inextricably linked. For optimal growth, plants require a **friable loam** with a **pH between 6.0 and 7.0**. When preparing the garden for pruning, ensure the substrate is enriched with a balanced **10-10-10 NPK ratio** to support post-cut recovery. The Cation Exchange Capacity (CEC) of the soil should be high to facilitate the uptake of essential micronutrients like Magnesium and Iron. To sharpen your shears, you require a dual-grit whetstone (400/1000 grit), honing oil or water, and a stiff wire brush to remove oxidized metal and sap residue.
Timing:
The biological clock of the plant dictates the sharpening schedule. In Hardiness Zones 5 through 8, primary pruning occurs during the dormant phase, typically between the first hard frost and the late winter bud swell. Sharpening must be completed before the transition from the vegetative to the reproductive stage. As the photoperiod increases, plants experience a surge in auxin production. Pruning with dull shears during this surge causes jagged wounds that leak sap and deplete the plant of vital carbohydrates. Ensure your tools are calibrated to a razor edge before the sap begins to flow in early spring.
Phases:
Sowing the Edge
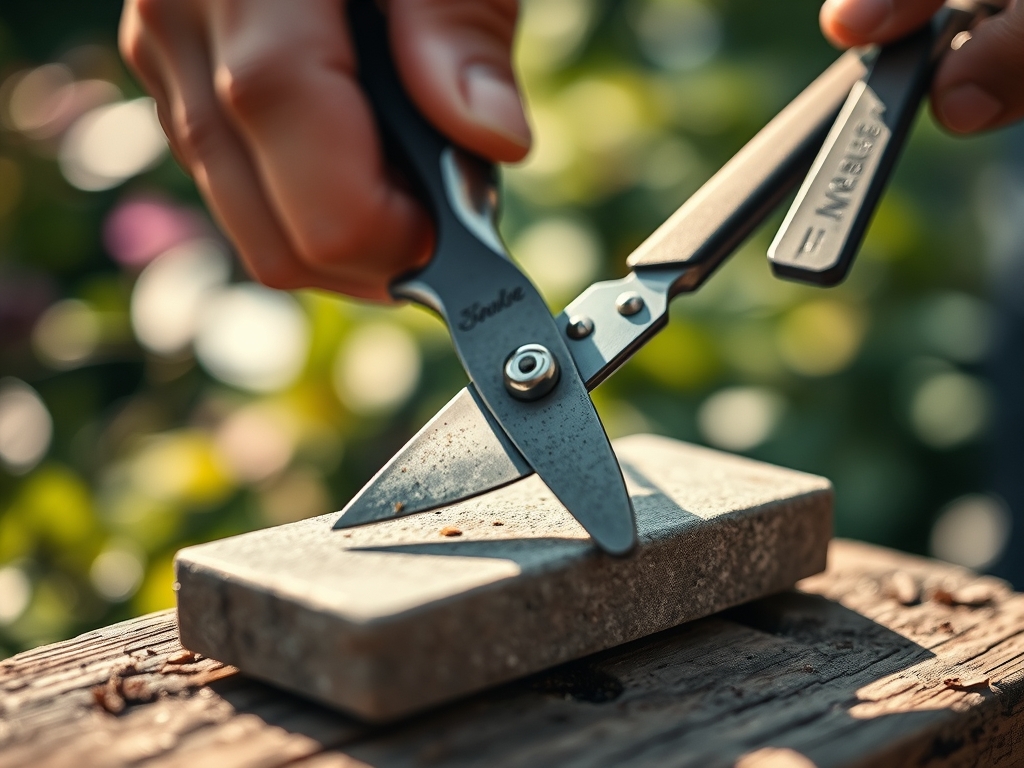
Begin by disassembling the bypass pruners to access the entire bevel of the cutting blade. Use a 400-grit stone to grind away nicks. Maintain a consistent 20-degree angle to match the factory bevel. Move the stone in a circular motion, ensuring full contact across the blade length.
Pro-Tip: Maintaining a precise bevel angle is critical for mechanical leverage. If the angle is too steep, the blade will crush the plant tissue; if it is too shallow, the edge will roll and fail under the pressure of woody stems.
Transplanting the Sharpness
Once the primary edge is established, switch to the 1000-grit stone for honing. This process removes the burr, a thin strip of metal that forms on the flat side of the blade. Lubricate the stone with water or honing oil to reduce heat friction, which can temper the steel and make it brittle.
Pro-Tip: Honing reduces surface friction, which minimizes the physical resistance during a cut. This allows for a smoother bypass action, preventing the twisting of the stem and protecting the delicate cambium layer from stripping.
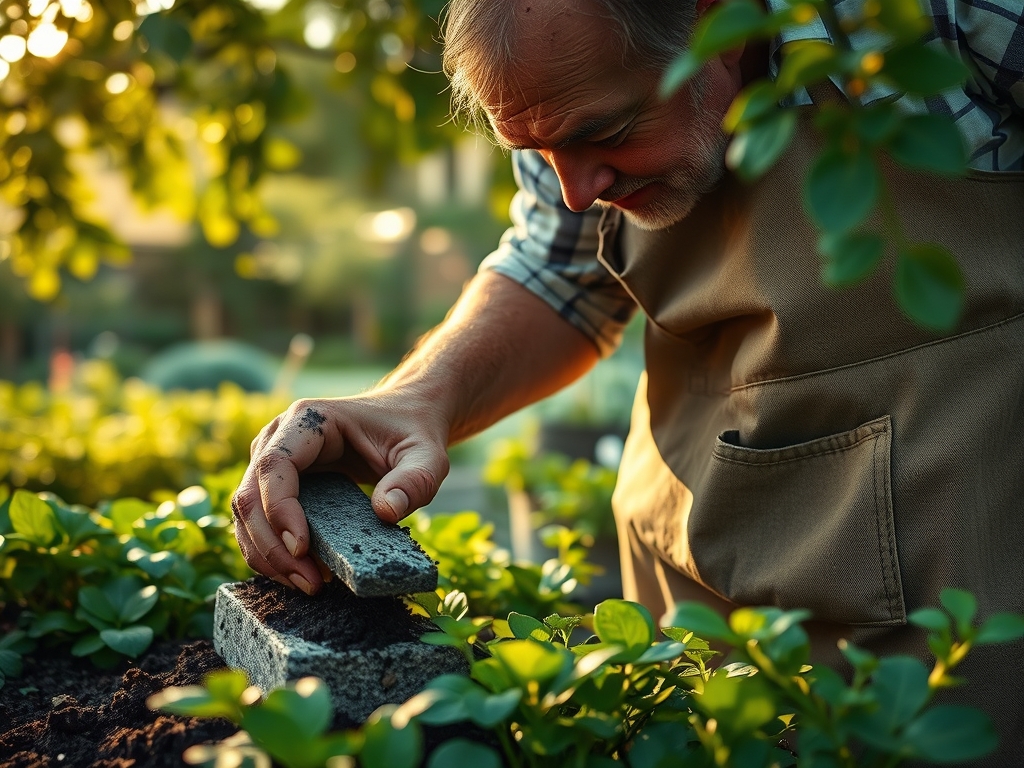
Establishing the Finish
Reassemble the shears and apply a light coating of mineral oil to prevent oxidation. Test the tension of the center bolt; it should be tight enough to prevent the blades from gapping but loose enough to operate without hand fatigue. A drop of oil on the spring ensures smooth kinetic return.
Pro-Tip: Proper tool tensioning prevents bark tearing. When blades gap, they pinch the plant skin rather than slicing it, which disrupts the downward flow of photosynthates from the leaves to the root system.
The Clinic:
Physiological disorders often stem from poor pruning technique or nutrient imbalances. Observe the following symptoms and implement these scientific solutions.
Symptom: Dieback at the pruning site.
Solution: This is often caused by a crushed stem from dull shears. Sharpen the blade and make a clean cut 0.25 inches above a node to encourage meristematic growth.
Symptom: Interveinal chlorosis (yellowing between leaf veins).
Solution: This indicates a Magnesium deficiency or high soil pH. Apply Epsom salts (Magnesium Sulfate) at a rate of 1 tablespoon per gallon of water to restore chlorophyll production.
Symptom: Necrotic leaf margins.
Solution: Often a sign of Potassium deficiency or salt buildup. Flush the rhizosphere with 2 inches of water and adjust the NPK ratio to 5-10-15 to strengthen cellular walls.
Fix-It for Nitrogen Chlorosis: If the entire leaf turns pale green or yellow, the plant lacks Nitrogen. Apply a quick-release ammonium nitrate fertilizer to boost vegetative vigor and restore turgor pressure.
Maintenance:
Precision gardening requires consistent monitoring. Deliver 1.5 inches of water per week at the drip line using a soaker hose to avoid wetting the foliage. Use a soil moisture meter to ensure the root zone remains at 60% field capacity. Every two weeks, inspect your bypass pruners for sap buildup. Use a hori-hori knife to weed deeply around the base of woody perennials, ensuring no competition for nutrients within the top 6 inches of soil. After every 50 cuts, a quick touch-up with a diamond file will maintain the edge between full whetstone sessions.
The Yield:
Harvesting timing is determined by the peak concentration of sugars and essential oils. For most herbs and greens, harvest in the early morning when turgor pressure is at its maximum. Use your sharpened shears to make a clean, diagonal cut. For "day-one" freshness, immediately submerge the cut ends in 50-degree Fahrenheit water to maintain the vacuum within the xylem. This prevents air embolisms from forming, which would otherwise cause the plant to wilt prematurely. Proper post-harvest cooling slows down senescence and preserves the nutritional density of the crop.
FAQ:
How often should I sharpen my garden shears?
Sharpen your shears every 500 to 1,000 cuts or at the start of every season. If you notice the blade tearing the plant epidermis rather than slicing it, immediate sharpening is required to prevent pathogen entry.
What is the best lubricant for a whetstone?
Use honing oil or water depending on the stone type. Lubrication floats away metal filings (swarf) and prevents the stone pores from clogging. This ensures a consistent abrasive surface for a precise 20-degree bevel.
Can I use a file instead of a stone?
A diamond file is suitable for field touch-ups, but a whetstone provides a superior edge. The stone allows for finer grit transitions, which results in a smoother blade surface and cleaner cellular cuts on the plant.
Why are my shears still tearing the wood?
Check the pivot bolt tension. If the blades are sharp but loose, they will gap during the cut. Tighten the nut until the blades pass each other with slight resistance to ensure a clean bypass action.