9 Expert Steps to Prep a Garden Tool Event
The sharp scent of wet humus and the firm turgor of a hydrated cell wall define the success of a workspace. Understanding how to prepare a garden for a tool care event requires more than basic cleaning; it demands a systematic stabilization of the horticultural environment to ensure equipment interacts safely with plant tissue. A dull blade or a contaminated spade disrupts the vascular system of a specimen. By aligning your site preparation with the physiological needs of your collection, you minimize the risk of pathogen transmission during maintenance. This process begins with a rigorous assessment of the soil and the structural integrity of the perennials. Proper preparation ensures that every cut made during the event is precise, facilitating rapid callus formation and preventing the onset of opportunistic fungi. We focus on the intersection of mechanical efficiency and biological health to create a functional, high-output botanical site.
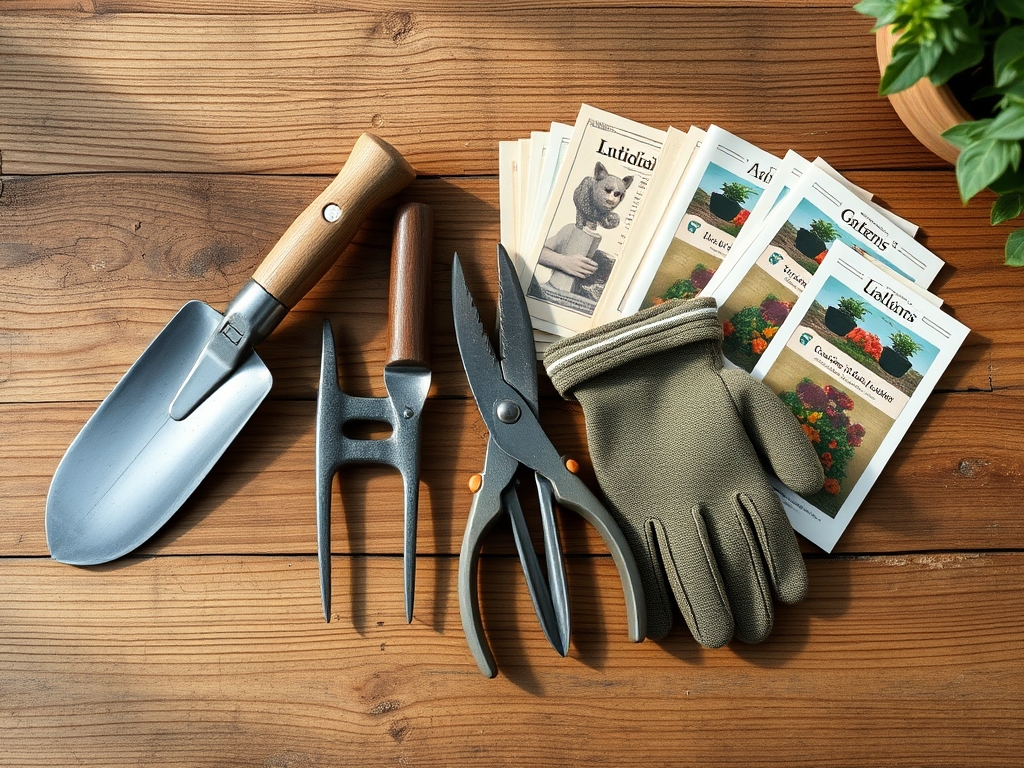
Materials:
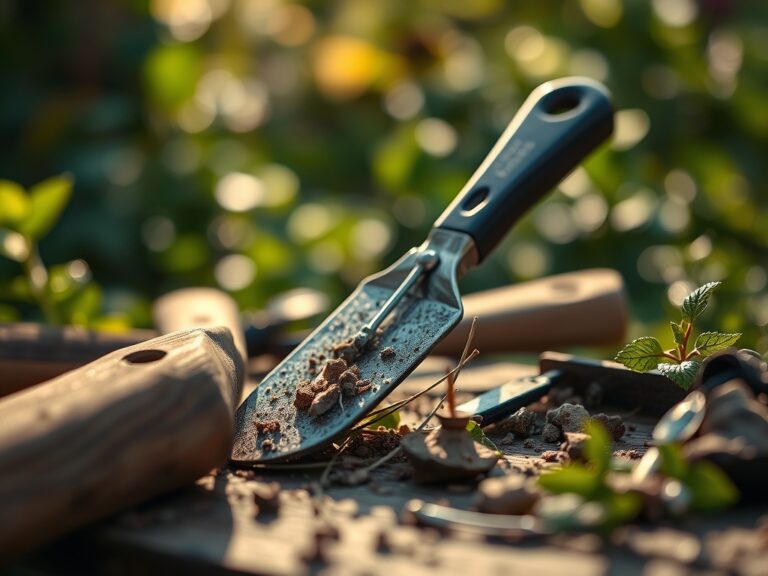
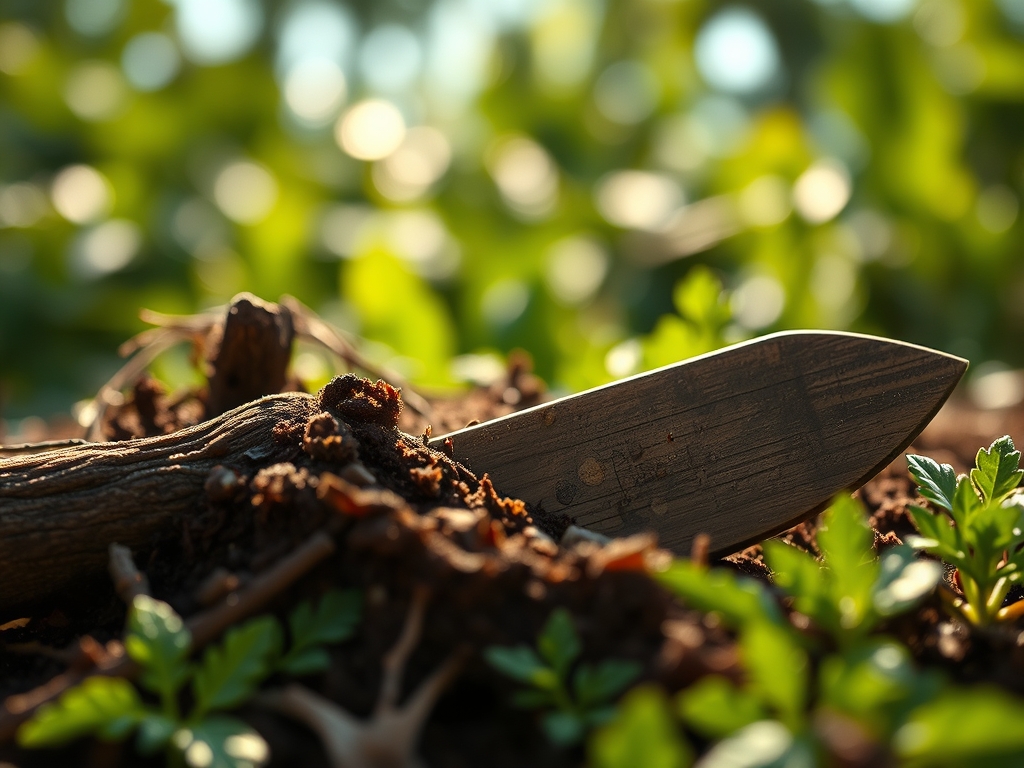
Substrate quality dictates the wear on your implements. The ideal garden bed consists of a **friable loam** with a Cation Exchange Capacity (CEC) between **15 and 25 milliequivalents per 100 grams**. This texture allows tools like the **hori-hori knife** to penetrate without excessive friction or blade pitting. For optimal plant health during tool care, maintain a **soil pH of 6.2 to 6.8**.
Nutrient density must be balanced to prevent succulent, weak growth that clogs pruners. Use a slow-release fertilizer with an NPK ratio of 5-10-10 for established woody perennials to encourage lignification. For heavy feeders in the vegetative stage, a 10-10-10 ratio is acceptable, provided the nitrogen is not entirely synthetic. High-quality compost should be integrated to improve the rhizosphere, ensuring the soil remains loose and non-abrasive to metal surfaces.
Timing:
The biological clock of your garden determines the window for tool intervention. In Hardiness Zones 5 through 7, the primary window for heavy tool use occurs during the dormant season, typically between the first hard frost and late February. This timing prevents the disruption of sap flow and reduces the risk of sap-borne pathogens sticking to saw blades.
Observe the transition from the vegetative stage to senescence. Pruning tools should be sharpened and calibrated before the photoperiod drops below 10 hours of light. In warmer Zones 8 through 10, the timing shifts to avoid periods of high humidity where open pruning wounds are susceptible to bacterial blight. Always verify the local frost-date window; performing tool-heavy maintenance within 14 days of a predicted hard freeze can lead to permanent vascular damage in the plant.
Phases:

Sowing and Soil Preparation
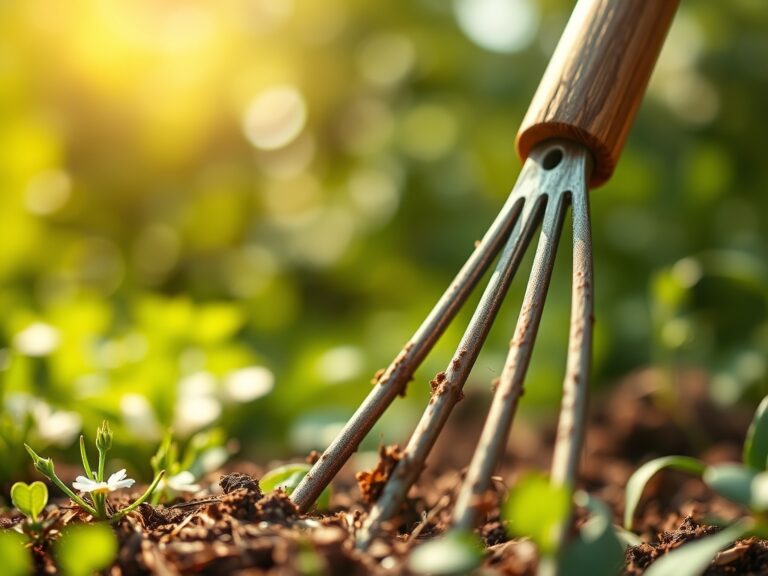
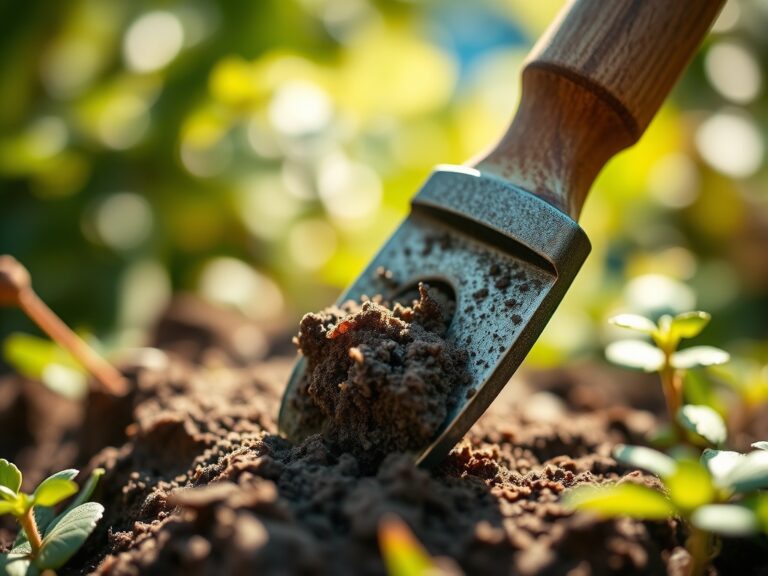
Before the event, ensure the soil is cleared of high-silica rocks that can nick shovel edges. Sowing cover crops like crimson clover helps stabilize nitrogen levels. Pro-Tip: Maintaining a consistent moisture level prevents soil compaction. Compaction increases the physical force required to use a spade, leading to tool fatigue and structural failure of the handle. This is due to the bulk density of the soil exceeding 1.6 grams per cubic centimeter, which restricts root expansion and tool movement.
Transplanting and Root Management
When moving specimens, use a sharp bypass pruner to make clean cuts on circling roots. Pro-Tip: Clean cuts are essential because they trigger the production of auxins at the wound site. These hormones stimulate new root initiation. Ragged tears from dull tools increase the surface area for rot and delay the establishment of the plant in its new location.
Establishing and Structural Pruning
Once plants reach the desired height, structural pruning begins. Pro-Tip: Always cut at a 45-degree angle away from the bud. This utilizes gravitropism and water runoff to keep the wound dry. Clean cuts allow the plant to prioritize compartmentalization of decay in trees (CODIT), a biological process that seals off the wounded area from the rest of the vascular system.
The Clinic:
Physiological disorders often manifest as mechanical issues but stem from nutrient or environmental stress.
- Symptom: Interveinal chlorosis (yellowing leaves with green veins).
- Solution: This indicates a Magnesium deficiency. Apply Epsom salts (magnesium sulfate) at a rate of 1 tablespoon per gallon of water.
- Symptom: Blossom end rot on fruit.
- Solution: This is a Calcium transport issue, often caused by inconsistent watering. Maintain a steady 1.5 inches of water per week.
- Symptom: Stunted growth and purple-tinted foliage.
- Solution: Phosphorus deficiency. Incorporate bone meal or rock phosphate into the top 3 inches of soil.
- Symptom: Tip burn on young leaves.
- Solution: High salinity in the soil. Flush the root zone with 3 to 5 gallons of fresh water per square foot to leach excess salts.
Fix-It for Nitrogen Chlorosis: If the entire leaf turns pale yellow, the plant lacks nitrogen. Apply a liquid seaweed or fish emulsion with a 5-1-1 NPK ratio for immediate uptake through the roots.
Maintenance:
Precision maintenance requires data. Use a soil moisture meter to ensure the root zone stays between 40% and 60% field capacity. Over-saturated soil leads to anaerobic conditions that corrode tool steel and drown roots. Apply exactly 1.5 inches of water per week at the drip line, avoiding the foliage to prevent fungal spores from proliferating.
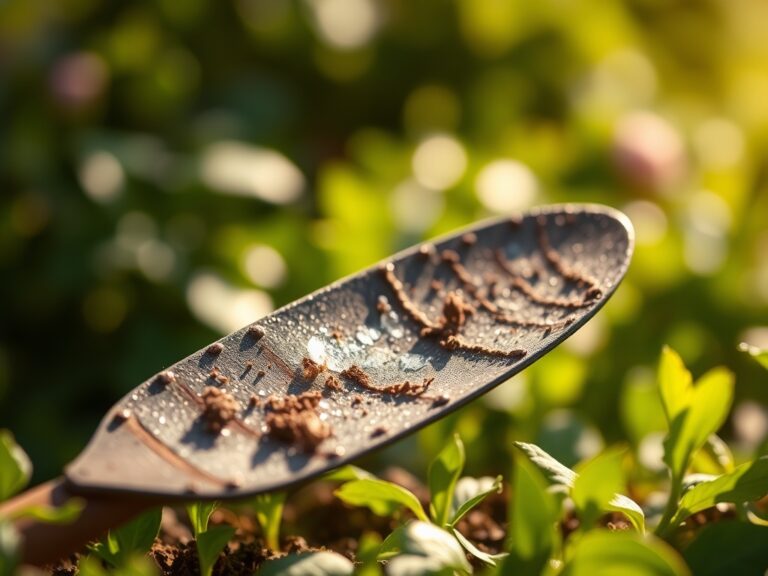
Keep your bypass pruners and hori-hori knife sterilized with a 70% isopropyl alcohol solution between every plant. This prevents the spread of systemic pathogens. For wooden handles, apply a light coat of linseed oil every 6 months to prevent cracking. Store metal tools in a bucket of dry sand mixed with mineral oil to displace moisture and prevent oxidation.
The Yield:
Harvesting is the final test of tool preparation. For woody herbs, harvest in the morning after the dew has evaporated but before the sun reaches its zenith to maximize essential oil concentration. Use micro-tip snips for delicate stems to avoid crushing the xylem.
For fruiting crops, harvest when the fruit reaches its "breaker stage" or full color. Handle all produce with gloves to avoid oil transfer from skin. Post-harvest, submerge greens in 40-degree Fahrenheit water to remove field heat and maintain turgor pressure, ensuring the harvest remains crisp for extended periods.
FAQ:
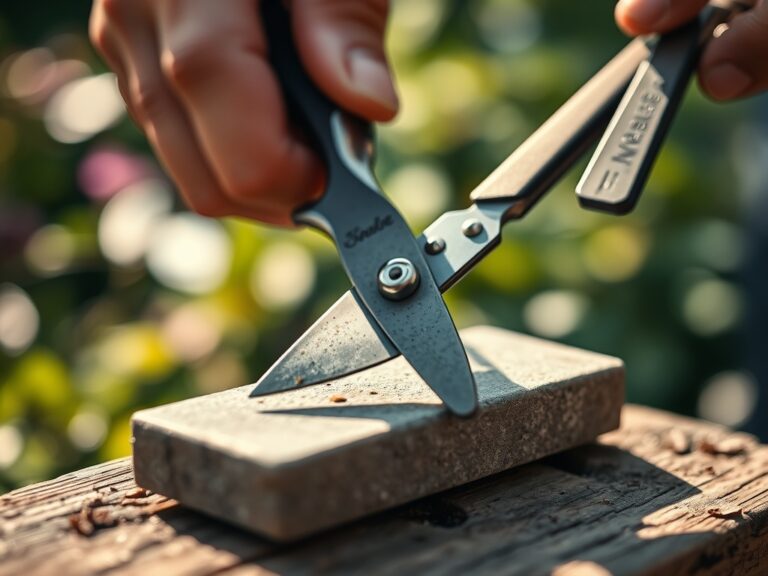
How often should I sharpen my bypass pruners?
Sharpen every 10 to 15 hours of active use. If the tool pinches the stem rather than slicing it, the blade has lost its edge. Use a diamond file to maintain the factory bevel angle.
What is the best way to clean rusty garden tools?
Soak the metal components in distilled white vinegar for 12 to 24 hours. Scrub with steel wool, rinse with water, and neutralize the acid with baking soda before applying a protective layer of mineral oil.
Can I use power washers to clean my garden tools?
No. High-pressure water can force moisture into the pivot points and wooden grain, leading to internal rot and rust. Use a stiff-bristled brush and a damp cloth for surface debris instead.
What soil type is hardest on garden tools?
Heavy clay soil with high silica content is the most abrasive. It increases friction and causes rapid dulling of blades. Amending with organic matter reduces the mechanical resistance and protects the tool finish.