6 Small-Space Steps to Prepare a DIY Succulent Pot
Crushing a sun-dried leaf between your fingers reveals the cellular resilience of a succulent, yet the real work happens in the substrate. Success depends on managing turgor pressure through precise moisture control. When you learn how to prepare a DIY plant pot, you are engineering a micro-environment that balances gas exchange with hydraulic stability. Most indoor succulents fail because of anaerobic conditions in the rhizosphere. You must prioritize drainage and mineral density to prevent root senescence.
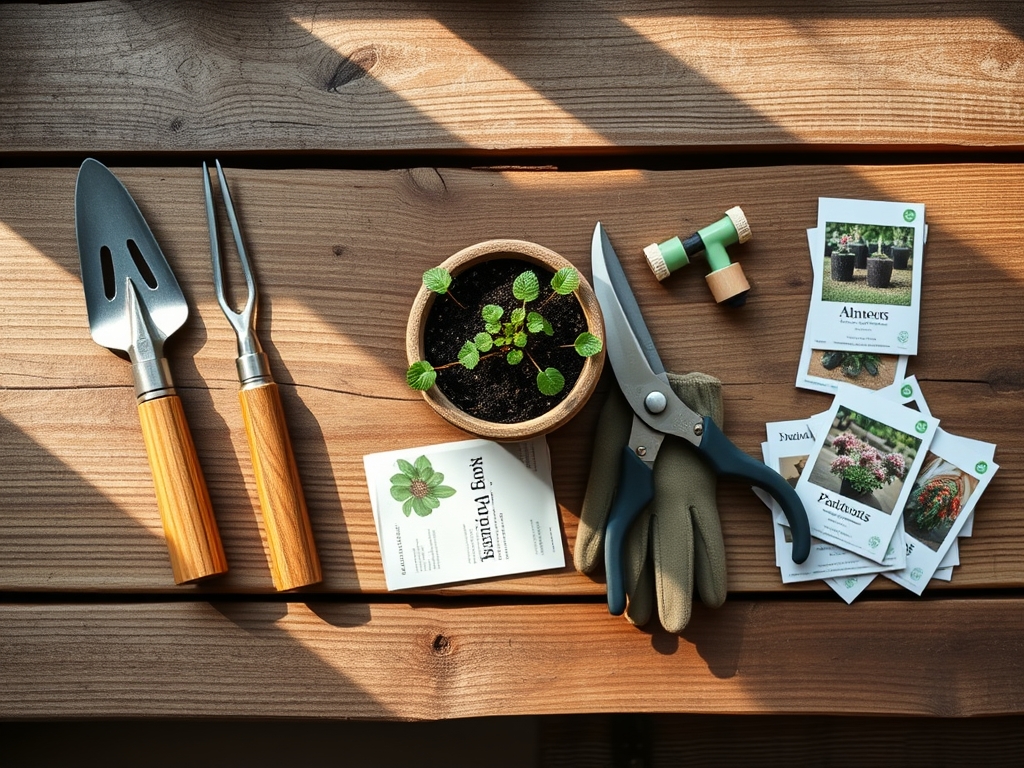
Materials:
The foundation of a succulent container is a substrate with high porosity and low Cation Exchange Capacity (CEC). Aim for a soil pH between 5.5 and 6.5. The physical texture must be friable; it should crumble immediately after being squeezed in a moist palm.
- Inorganic Component (70%): Use coarse horticultural sand, calcined clay, or perlite. This ensures rapid drainage and prevents water logging.
- Organic Component (30%): Use coconut coir or pasteurized peat moss. Avoid standard potting soils with high forest product content.
- Nutrient Profile: Select a low-nitrogen fertilizer with an NPK ratio of 5-10-10 or 2-7-7. High nitrogen levels during the wrong growth phase lead to weak, etiolated tissue that is susceptible to pathogens.
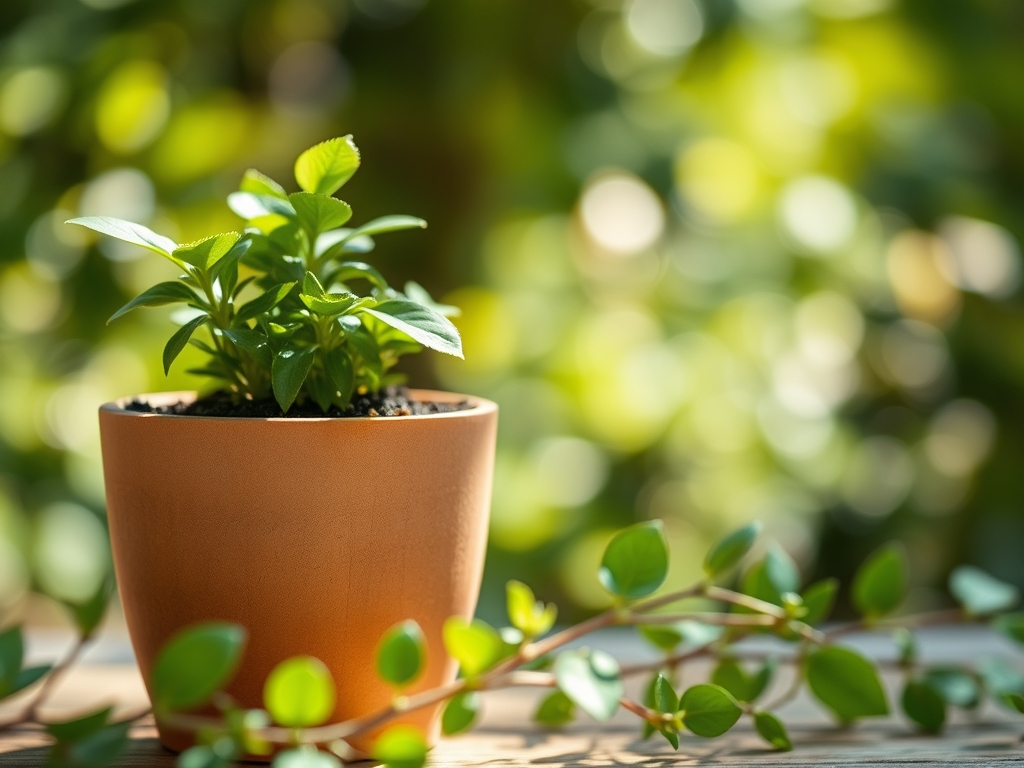
- The Vessel: Use a terracotta or unglazed ceramic pot with at least one 0.5-inch drainage hole. Porous materials allow for lateral evaporation, which cools the root zone.
Timing:
Hardiness Zones 9 through 11 allow for year-round outdoor succulent growth. In Zones 8 and below, you must synchronize your planting with the spring frost-date window, typically when overnight lows consistently stay above 50 degrees Fahrenheit (10 degrees Celsius).
Succulents operate on a distinct biological clock. Most species enter a vegetative growth phase in early spring as the photoperiod increases. Transitioning from winter dormancy to active growth requires a gradual increase in light intensity to avoid photo-inhibition. Do not transplant during the peak reproductive stage (flowering), as the plant redirects its caloric energy toward seed production rather than root establishment in the new DIY pot.
Phases:
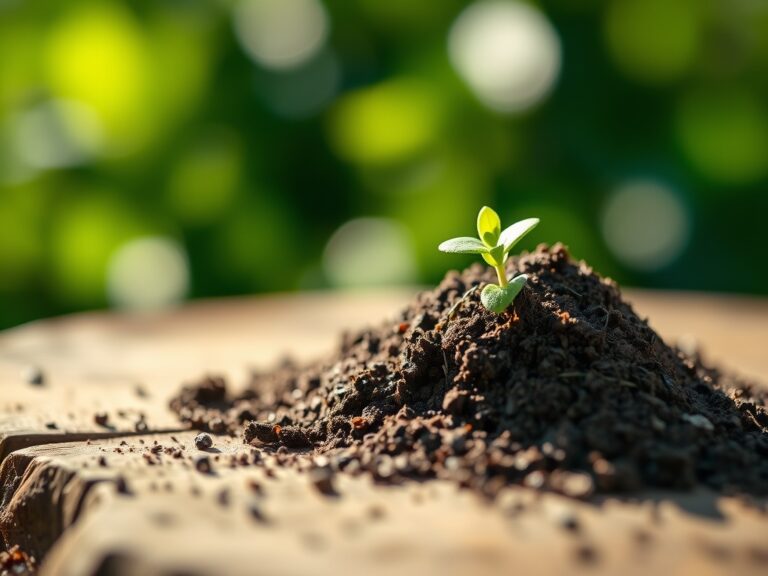
Sowing and Propagation
If starting from leaf cuttings, allow the wound to callous for 3 to 5 days in a dry, shaded area. This prevents opportunistic fungi from entering the vascular system. Place the callous directly on top of the dry substrate.
Pro-Tip: Keep the substrate dry until roots appear. This triggers the plant to search for moisture, a process driven by auxin suppression in the leaf base, which stimulates adventitious root growth.
Transplanting
Remove the specimen from its nursery container and gently tease the root ball to remove old, peat-heavy soil. Trim any necrotic or blackened roots using sterilized bypass pruners. Place the plant in the DIY pot so the crown sits 0.25 inches above the soil line to prevent crown rot.
Pro-Tip: Wait 7 days before the first irrigation. This allows micro-fractures in the root tissue to heal, preventing pathogens from entering the plant via capillary action during the first watering.
Establishing
Place the pot in a location with bright, indirect light. Monitor the leaves for turgor. A firm leaf indicates the xylem is successfully transporting water from the roots to the upper parenchyma cells.
Pro-Tip: Rotate the pot 90 degrees every week. This prevents phototropism, where the plant grows asymmetrically toward the light source, weakening the structural integrity of the stem.
The Clinic:
Physiological disorders in succulents are often mistaken for infections. Check these metrics before applying any treatments.
- Symptom: Edema. Small, corky bumps on the underside of leaves.
- Solution: This is caused by high humidity and overwatering. The cells take in more water than they can transpire, causing them to burst. Reduce watering frequency and increase airflow.
- Symptom: Etiolation. Stretching and pale coloring.
- Solution: Increase light exposure. The plant is physically lengthening its internodes to find a light source.
- Symptom: Nitrogen Chlorosis. Uniform yellowing of older leaves.
- Fix-It: Apply a water-soluble fertilizer at half-strength. Nitrogen is a mobile nutrient; the plant is scavenging it from old growth to support new meristematic development.
- Symptom: Magnesium Deficiency. Interveinal yellowing while veins remain green.
- Fix-It: Apply a solution of 1 tablespoon of Epsom salts per gallon of water. Magnesium is the central atom in the chlorophyll molecule.
Maintenance:
Succulents require a "soak and dry" approach. Use a soil moisture meter to ensure the substrate is 0% moist at the bottom of the pot before re-watering. Generally, this equates to 0.5 to 1 inch of water every 10 to 14 days depending on ambient humidity.
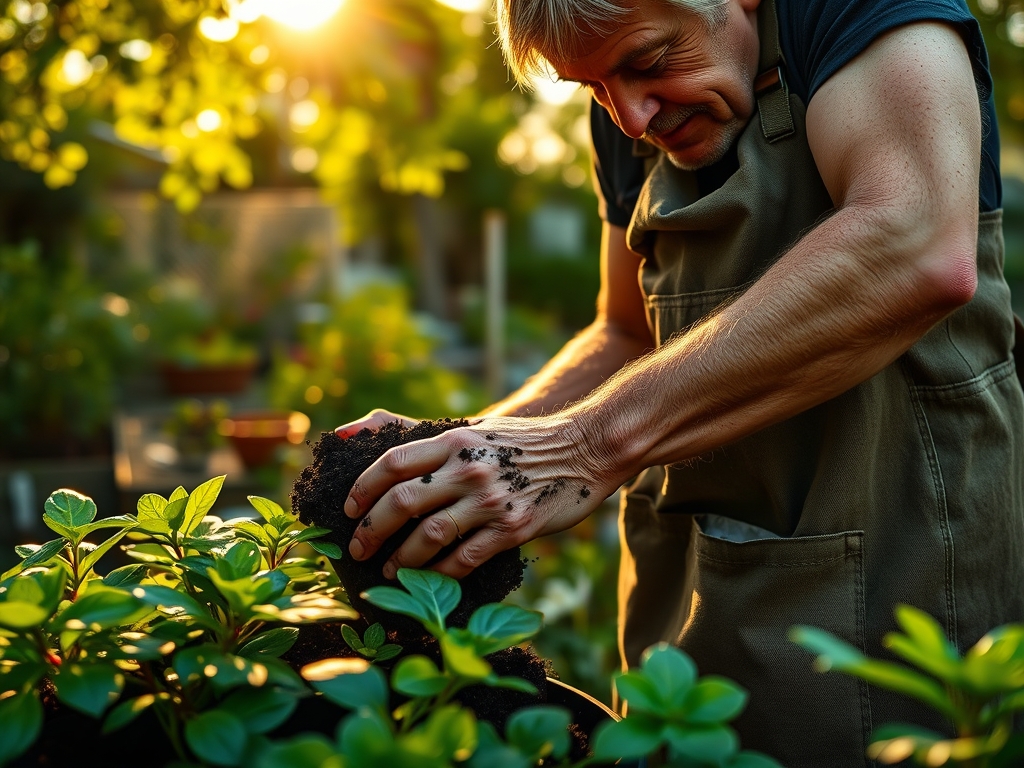
Use a hori-hori knife to remove offsets or "pups" that can overcrowd the container and compete for limited mineral resources. If you notice salt buildup (white crust) on the pot rim, flush the substrate with distilled water until it runs clear from the drainage hole. This leaches excess sodium and prevents nutrient lockout caused by high osmotic pressure in the soil solution.
The Yield:
While most succulents are ornamental, some species like Aloe vera or Sedum are harvested for specific uses. For Aloe, harvest the outermost, mature leaves by cutting at the base with a sharp blade. To maintain day-one freshness, stand the leaf upright in a glass for 15 minutes to allow the yellow aloin sap to drain. Store the remaining leaf in a sealed container at 40 degrees Fahrenheit to preserve the bioactive polysaccharides.
FAQ:
How do I know when to water my DIY succulent pot?
Insert a wooden skewer to the bottom of the pot. If it comes out completely dry with no soil clinging to it, the substrate has reached the necessary wilting point. Only then should you apply water until it exits the drainage hole.
What is the best light exposure for a new pot?
Aim for 6 hours of bright, filtered sunlight. Avoid direct afternoon sun for the first 14 days after transplanting. Intense UV rays can cause permanent scarring on unacclimated epidermal tissue through a process known as solar radiation damage.
Why are the bottom leaves of my succulent shriveling?
This is often a natural process called senescence. The plant reabsorbs nutrients and water from the oldest leaves to fuel new growth at the apex. If the top leaves remain firm and turgid, the plant is healthy.
Can I use stones at the bottom of the pot for drainage?
No. This creates a "perched water table." The water saturates the soil directly above the stones rather than draining through them. This keeps the roots in a constant state of saturation, leading to anaerobic root rot and plant death.