7 High-Humidity Benefits of Specialized Fern Soil
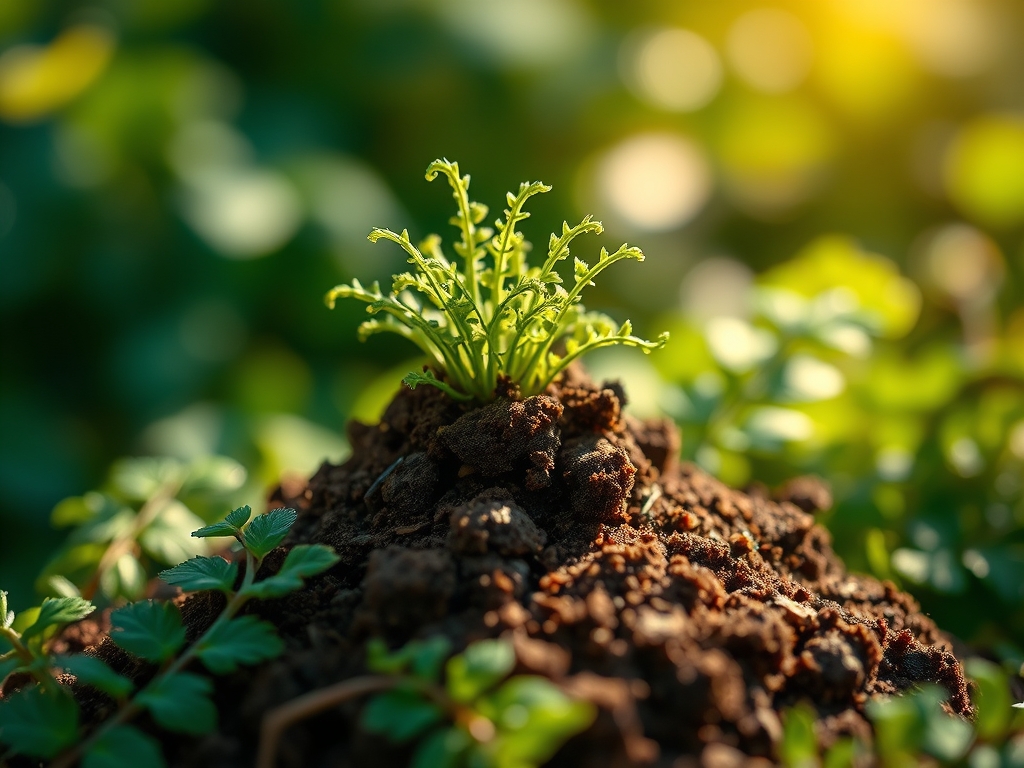
The smell of anaerobic decay is the first sign of a failing fern; conversely, the scent of a healthy rhizosphere is earthy, cool, and sharp. When a frond achieves maximum turgor pressure, the cells are engorged with water, creating a rigid, architectural structure that defines the species. This physiological state is impossible to maintain in standard potting mixes. Using a specialized fern soil ensures that the delicate balance of capillary action and air porosity is met. These plants do not merely sit in dirt; they interact with a substrate that must mimic the forest floor. A high-quality fern mix focuses on moisture retention without sacrificing the oxygen required by the roots. Without this specific structural integrity, the plant will suffer from localized desiccation or root rot within weeks. By prioritizing a medium that manages hydraulic conductivity, you provide the foundational stability required for fronds to unfurl with vigor. The following data outlines how specialized substrates facilitate high-humidity benefits through superior water management and nutrient availability.
Materials:
The ideal substrate is a friable loam characterized by high organic matter and low bulk density. For most Pteridophytes, the target pH range is 4.0 to 7.0, depending on whether the species is acidophilic or calcicole. The NPK ratio should remain low to prevent salt buildup; a 0.1-0.1-0.1 or 1-1-1 analysis is standard for slow-release organic components.
Components must include long-fiber sphagnum moss for water holding capacity and perlite or coarse sand for macroporosity. The Cation Exchange Capacity (CEC) should be high, typically achieved through the inclusion of composted pine bark or coconut coir. These materials hold onto essential cations like calcium and magnesium, releasing them slowly to the root system. The physical texture must be "spongy" to the touch; it should compress when squeezed but spring back immediately to allow for gas exchange.
Timing:
Ferns are most active during the growing season when ambient temperatures remain between 60 and 75 degrees Fahrenheit. In Hardiness Zones 3 through 11, the window for repotting or establishing new plants begins after the last spring frost and ends six weeks before the first autumn frost. The biological clock of a fern is governed by the photoperiod and moisture availability.
During the transition from the vegetative stage to the reproductive stage (when sori appear on the underside of fronds), the plant requires consistent moisture. If the substrate dries out during this critical window, the plant may enter a premature state of senescence. For indoor specimens, timing is less dependent on outdoor frost dates and more reliant on maintaining a consistent 50% to 70% humidity level to prevent the tips of the fronds from browning.
Phases:

Sowing (Spore Propagation)
Propagation via spores requires a sterile, fine-textured version of specialized fern soil. Spread spores evenly across the surface of a moist, peat-based medium. Do not cover them with soil; spores require light to trigger germination. Maintain a constant temperature of 70 degrees Fahrenheit and seal the container to ensure 100% humidity.
Pro-Tip: This phase relies on photomorphogenesis. Light signals trigger the development of the prothallus, the gametophyte stage of the fern. Without specific light wavelengths and high surface moisture, the spores will remain dormant or desiccate.
Transplanting
When moving a fern to a larger vessel, ensure the new container is only 1 to 2 inches wider than the current root ball. Using a specialized fern soil during this phase prevents transplant shock by maintaining a familiar chemical environment. Gently loosen the outer roots to encourage lateral growth into the new medium.
Pro-Tip: This encourages mycorrhizal symbiosis. Specialized soils often contain beneficial fungi that extend the root system's reach, increasing the surface area for water and nutrient absorption by up to 100 times.
Establishing
The establishment phase lasts approximately 21 to 30 days. During this time, the plant focuses on root colonization rather than frond expansion. Keep the soil consistently moist but never saturated. Monitor the center of the crown; if it remains firm and green, the plant is successfully anchoring itself.
Pro-Tip: The plant is managing auxin suppression. As roots establish, auxin hormones are sent to the apical meristems to signal that it is safe to begin new frond production. Specialized soil provides the steady moisture required to keep these hormone pathways active.
The Clinic:
Physiological disorders in ferns often stem from improper soil-water relations or nutrient imbalances.
- Symptom: Marginal necrosis (brown, crispy edges).
Solution: Increase humidity and check soil moisture. This is often caused by low turgor pressure where the plant cannot transport water to the furthest cells. - Symptom: Yellowing of older fronds (Nitrogen chlorosis).
Solution: Apply a diluted, water-soluble fertilizer with a 10-5-5 NPK ratio. Nitrogen is a mobile nutrient; the plant will pull it from old growth to support new leaves if the soil is depleted. - Symptom: Grayish, limp fronds.
Solution: This indicates root rot from poor drainage. Immediately repot using a specialized fern soil with higher perlite content to increase aeration. - Symptom: Stunted growth with white crust on soil.
Solution: This is salt accumulation from tap water. Flush the substrate with distilled water until the runoff is clear.
Maintenance:
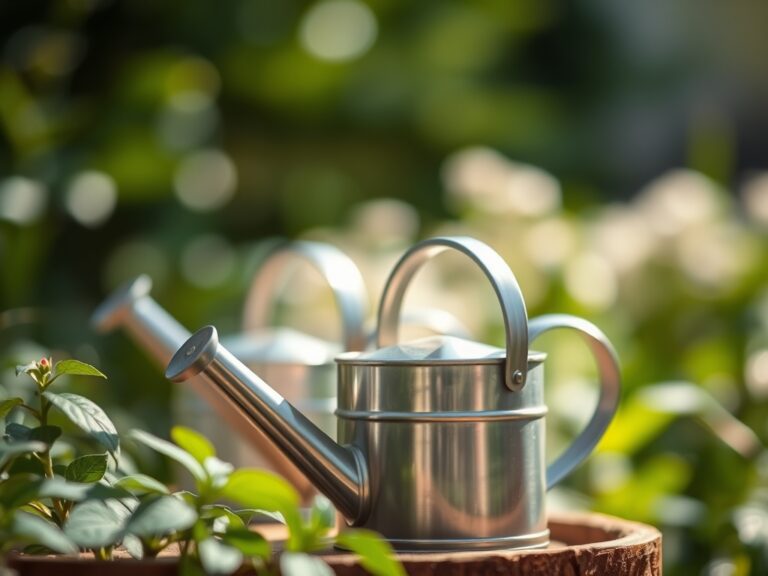
Precision is the hallmark of professional fern care. Provide 1.5 inches of water per week directly at the drip line; avoid pouring water into the center of the crown to prevent crown rot. Use a soil moisture meter to ensure the root zone remains in the "moist" range (typically 4-7 on a 10-point scale).
For pruning, use bypass pruners to remove dead or diseased fronds at the base. This improves airflow and prevents the spread of fungal pathogens. When dividing large clumps, a hori-hori knife is the superior tool for slicing through dense rhizomes with minimal tissue damage. Maintain the soil surface by adding a thin layer of fresh specialized mix every spring to replenish organic matter lost to decomposition.
The Yield:
While most ferns are ornamental, some species like the Ostrich Fern (Matteuccia struthiopteris) are harvested for their "fiddleheads." Harvest only when the fiddleheads are 2 to 6 inches tall and still tightly coiled. Never take more than one-third of the fiddleheads from a single crown to ensure the plant can still photosynthesize and survive.
Post-harvest, submerge the fiddleheads in cold water immediately to maintain turgor. They should be stored in a refrigerated environment at 34 to 38 degrees Fahrenheit and used within 48 hours for maximum freshness. For ornamental ferns, "yield" refers to the production of spores or offsets for propagation; these should be collected when the sori turn a dark, rusty brown color.
FAQ:
Why is my fern losing its lower fronds?
This is often a sign of senescence caused by low light or nitrogen deficiency. If the soil is old, using a specialized fern soil can replenish the nutrients needed to maintain older growth while supporting new fronds.
Can I use regular potting soil for my ferns?
Standard soils often lack the porosity and acidity ferns require. They tend to compact over time, leading to root asphyxiation. Specialized mixes maintain the structural integrity needed for long-term root health and consistent moisture retention.
How often should I fertilize when using specialized soil?
Fertilize sparingly. Most specialized mixes contain organic matter that provides a steady release of nutrients. Apply a half-strength liquid fertilizer every 4 to 6 weeks only during the active growing season to avoid salt buildup.
What is the best way to increase humidity?
While specialized soil manages root moisture, the air needs water too. Place the pot on a pebble tray filled with water or use a humidifier. This prevents the fronds from losing water faster than the roots can absorb it.