9 General Steps to Prepare a Houseplant Collection Shelf
Turgor pressure dictates the structural integrity of every leaf on your display. When a cell is fully hydrated, the vacuole pushes against the cell wall to create a rigid, upright posture. This physiological state is the hallmark of a successful indoor environment. Learning how to prepare a plant shelf for houseplants requires more than aesthetic placement; it demands an understanding of the microclimate you are creating. You must manage the intersection of light intensity, humidity, and airflow to prevent cellular collapse or fungal pathogens. Success is measured by the steady rate of gas exchange through the stomata and the dark pigmentation of chlorophyll.
Materials:
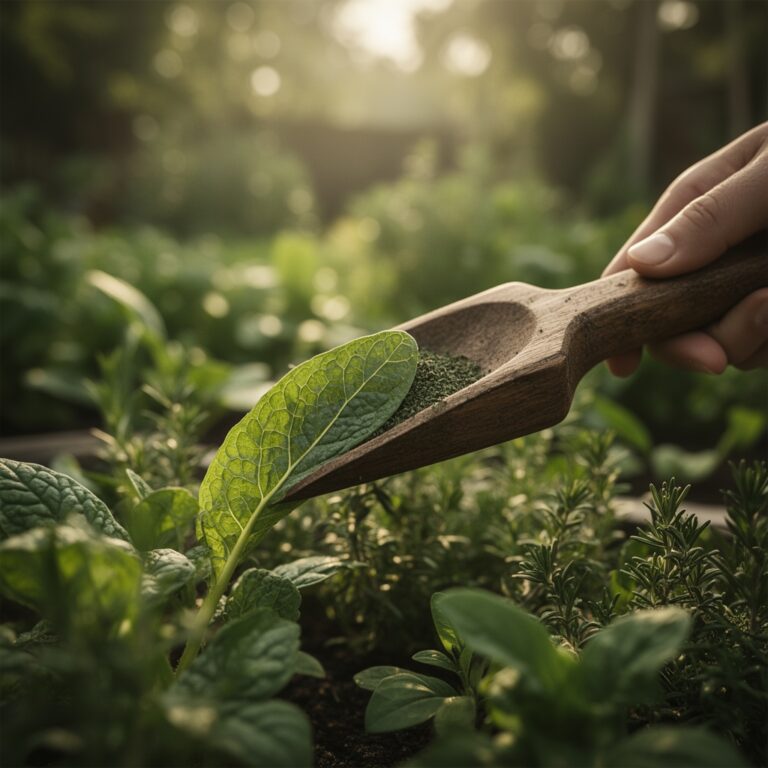
The foundation of a healthy shelf collection begins with the substrate. You require a friable loam that maintains a high Cation Exchange Capacity (CEC) to hold and release essential nutrients. For most tropical houseplants, aim for a soil pH between 5.8 and 6.5. This acidity level ensures that micronutrients like iron and manganese remain bioavailable.
Your fertilizer inventory must include specific NPK ratios tailored to growth stages. Use a 10-10-10 balanced ratio for general maintenance. Transition to a high-nitrogen (20-10-10) formula during the peak vegetative phase to drive leaf production. For flowering species, a high-phosphorus (10-30-10) blend supports bud development. Ensure your shelf materials are non-porous or sealed; moisture seepage can lead to wood rot or mineral staining from fertilizer runoff. Use heavy-duty steel or sealed acacia wood capable of supporting 20 to 50 pounds per square foot.
Timing:
While indoor environments are controlled, plants still respond to the external Biological Clock. Most houseplants enter a period of senescence or dormancy when outdoor temperatures in Hardiness Zones 5 through 8 drop below 50 degrees Fahrenheit.
The ideal window to establish or reorganize a shelf is during the spring equinox. This coincides with increasing day length, or photoperiod, which triggers the production of auxins in the apical meristem. Avoid heavy pruning or repotting during the winter solstice; the reduced light levels mean the plant has lower carbohydrate reserves to heal damaged tissue. Monitor the frost-date windows in your specific region; even indoors, proximity to a cold windowpane can cause localized tissue freezing if the glass temperature drops below 32 degrees Fahrenheit.
Phases:
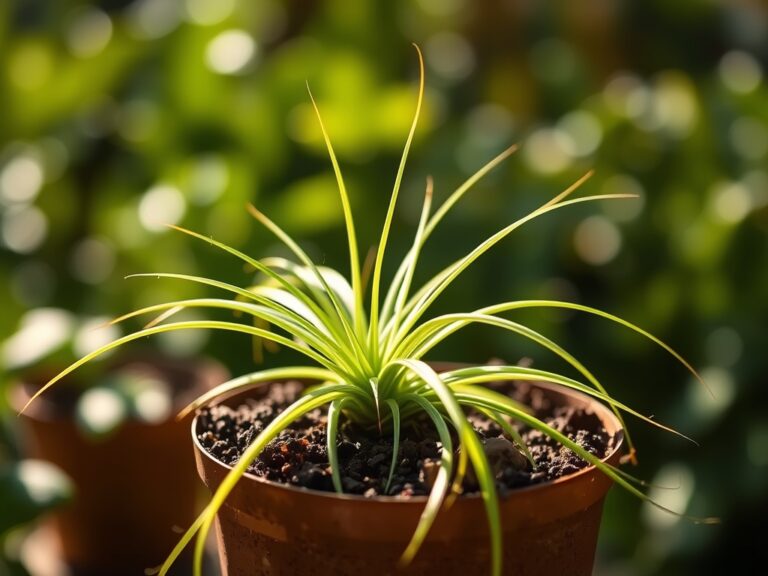
Sowing and Propagation
Start your collection by propagating healthy specimens in a sterile medium. Use a rooting hormone (Indole-3-butyric acid) to accelerate cell differentiation at the node. Maintain a consistent temperature of 72 degrees Fahrenheit to encourage rapid cellular division.
Pro-Tip: Utilize auxin suppression by pinching off the terminal bud. This forces the plant to redirect energy to lateral buds, creating a bushier, more robust profile for shelf displays.
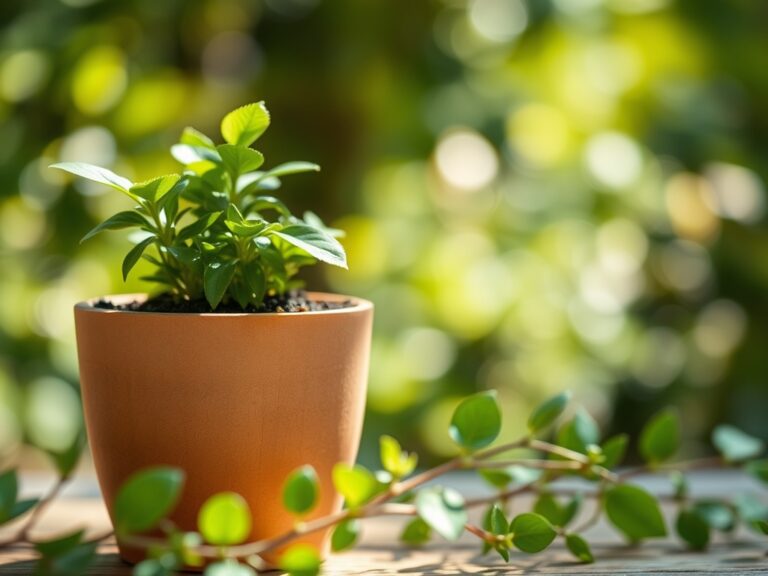
Transplanting
When moving plants to the shelf, ensure the new vessel is only 2 inches wider than the current root ball. Excessive soil volume leads to "perched water tables," where the bottom of the pot remains anaerobic and kills the root hairs.
Pro-Tip: Incorporate mycorrhizal fungi into the rhizosphere during transplanting. This symbiotic relationship extends the root system's reach, increasing the surface area for water and phosphorus absorption by up to 100 times.
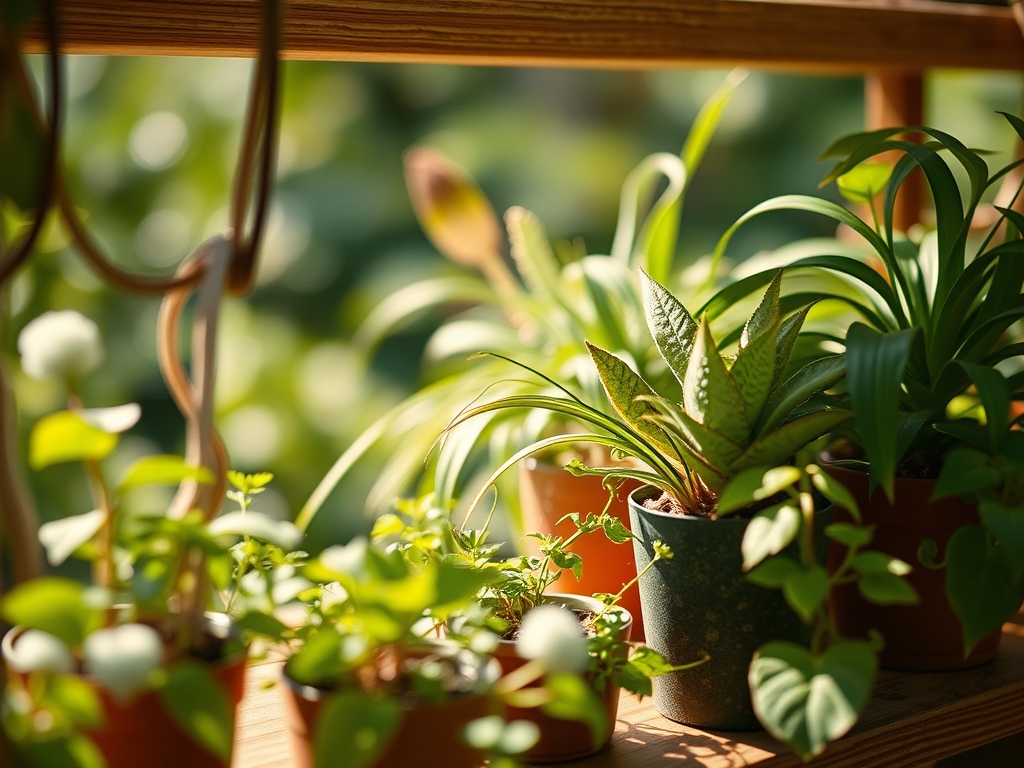
Establishing
Position plants based on their light requirements, measured in foot-candles. Aroid species typically require 200 to 400 foot-candles, while succulents need upwards of 1,000 foot-candles. Use a light meter to verify these levels at different shelf heights.
Pro-Tip: Be mindful of phototropism. Rotate your pots 90 degrees every week to ensure even distribution of light, preventing the plant from leaning and weakening its structural lignin.
The Clinic:
Physiological disorders often manifest as visual cues on the foliage.
- Symptom: Interveinal chlorosis (yellowing between green veins) on new leaves.
Solution: This indicates an Iron deficiency. Lower the soil pH to 6.0 to increase iron solubility. - Symptom: Tip burn or necrotic leaf margins.
Solution: This is often caused by Fluoride toxicity or salt buildup. Flush the substrate with distilled water until the electrical conductivity (EC) of the runoff drops. - Symptom: Edema (cork-like blisters on the underside of leaves).
Solution: This results from high humidity and overwatering. Increase airflow with a fan to improve the transpiration rate. - Symptom: Nitrogen chlorosis (general yellowing of older leaves).
Fix-It: Apply a water-soluble fertilizer with a high nitrogen count to restore protein synthesis and chlorophyll density.
Maintenance:
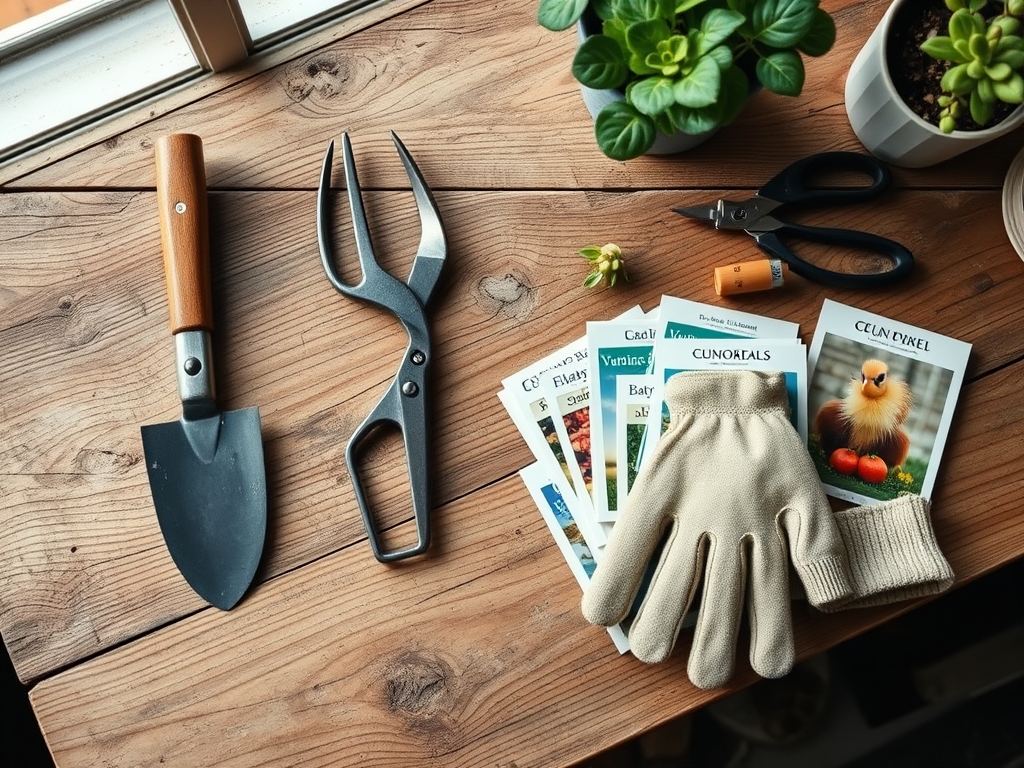
Precision is the difference between a surviving collection and a thriving one. Use a soil moisture meter to probe the root zone before adding water. Most tropicals require the top 2 inches of soil to dry out, while succulents require a 100 percent dry substrate.
When watering, apply enough volume so that 10 to 20 percent of the water exits the drainage holes; this leaches out accumulated fertilizer salts. Use a hori-hori knife to gently aerate the soil surface every three months to prevent compaction. For pruning, utilize bypass pruners to make clean, scissor-like cuts that minimize tissue trauma. Sterilize your tools with 70 percent isopropyl alcohol between every plant to prevent the mechanical transmission of pathogens.
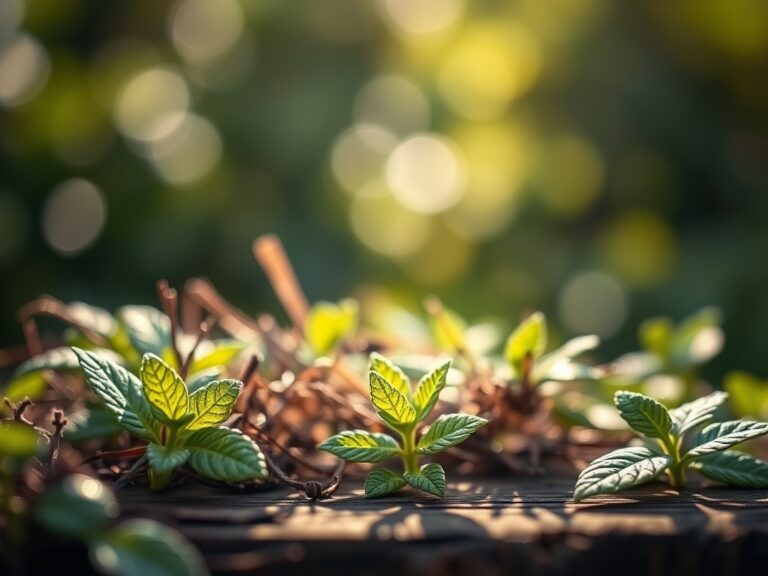
The Yield:
If your shelf includes herbs or edible flowers, harvest timing is critical for chemical potency. Collect leaves in the morning after the dew has evaporated but before the heat of the day. This is when essential oil concentration is at its peak.
Use sharp snips to remove no more than 30 percent of the plant's biomass at one time. To maintain "day-one" freshness, immediately place the stems in a glass of water or a sealed container at 40 degrees Fahrenheit. For non-edibles, the "yield" is the production of new nodes; document growth rates to adjust your fertilization schedule accordingly.
FAQ:
How often should I clean my plant shelf?
Wipe down surfaces every 30 days to remove dust and mineral deposits. Dust on leaves inhibits photosynthesis by blocking light and clogging stomata. Use a damp microfiber cloth to maintain a clean phyllosphere.
What is the best light for a dark shelf?
Install full-spectrum LED grow lights that provide a Color Rendering Index (CRI) of 90 or higher. Ensure the lights stay on for 12 to 16 hours daily to satisfy the plant's daily light integral (DLI).
How do I prevent root rot on a shelf?
Ensure every pot has a drainage hole and a saucer. Never allow the pot to sit in standing water. Maintain a substrate with 20 percent perlite to ensure adequate macropore space for oxygen to reach the roots.
Why are my plant leaves turning brown at the tips?
This is typically a sign of low ambient humidity or high salt accumulation in the soil. Maintain humidity levels between 40 and 60 percent and flush the soil with pure water every quarter to remove excess minerals.