6 Easy Steps to Apply Azomite Dust
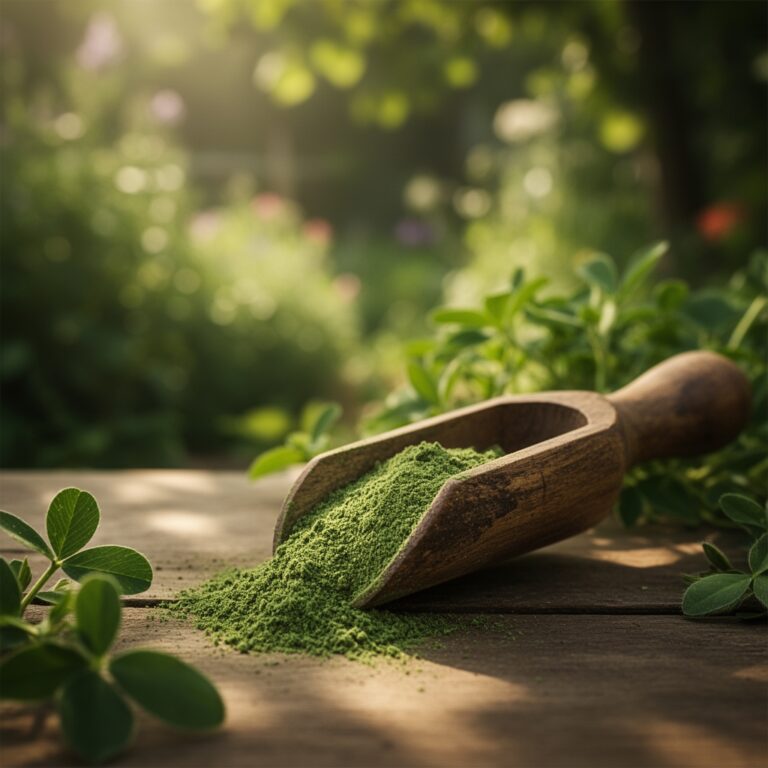
The smell of dry volcanic dust is sharp and metallic, faintly reminiscent of iron and ancient seabeds compressed into powder. When you tear open a bag of Azomite, you release 67 trace minerals mined from a Utah deposit formed 30 million years ago. Understanding the steps to apply azomite dust correctly transforms this raw geological material into a soil amendment that increases cation exchange capacity and supplies micronutrients often absent in depleted garden beds. The powder clings to your gloves and settles into the topsoil like fine talc, each particle carrying aluminum silicate, calcium, iron, magnesium, and dozens of elements critical for enzymatic processes in plant cells.
Materials
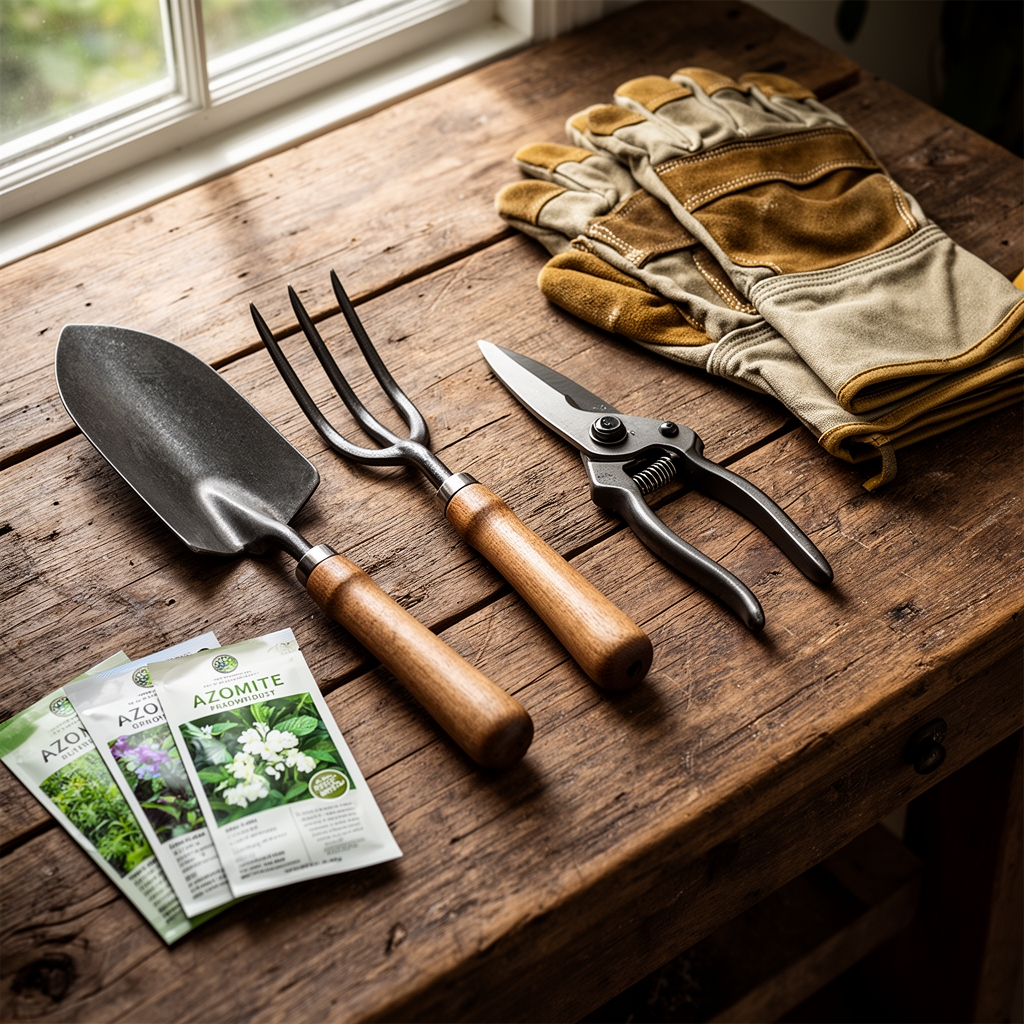
Azomite dust itself contains no nitrogen, phosphorus, or potassium. It registers a neutral pH of 7.0 to 8.0, making it suitable for alkaline-tolerant crops and safe for acid-loving plants when blended with sulfur or peat. Pair it with a 4-4-4 organic meal (feather meal, bone meal, kelp) to address macronutrient needs while Azomite handles trace elements. You will need a dust mask rated N95 or higher because particles under 10 microns remain airborne and irritate lung tissue. Wear nitrile gloves to prevent skin desiccation from repeated contact with the silica-rich powder.
Gather a soil pH meter, a broadcast spreader or hand scoop, a garden fork for incorporation, and a watering can or hose with a fine rose attachment. If your soil test reveals a cation exchange capacity below 10 meq/100g, plan to apply Azomite at 2 pounds per 100 square feet. Sandy soils with low CEC benefit most because they lack the clay colloids that hold mineral ions. Heavy clay soils require only 1 pound per 100 square feet since their natural mineral reserve is higher.
Timing
Apply Azomite dust in early spring, 4 to 6 weeks before the last expected frost date in your hardiness zone. For Zone 5, this window opens mid-March. Zone 7 gardeners can begin in late February. Fall application is equally effective, ideally 6 weeks before the first hard freeze, allowing autumn rains to dissolve and distribute minerals into the root zone over winter. Avoid application during active drought or when wind speed exceeds 10 mph, which scatters the powder beyond target areas and wastes material.
Mineralization occurs slowly. Microbes and organic acids gradually release elements from the aluminosilicate matrix over 6 to 18 months. This delayed release suits perennial beds, orchards, and long-season crops like tomatoes and peppers better than fast-turnover annuals such as lettuce or radishes.
Phases

Sowing Phase
Broadcast Azomite evenly across prepared beds using a handheld spreader or by scooping and tossing in a sweeping arc. Aim for uniform coverage without clumps. Use a garden fork to incorporate the dust into the top 4 inches of soil, mixing it with compost or aged manure to bind the particles and reduce airborne drift. Water the bed immediately with 0.5 inches of water to settle the dust and initiate mineral dissolution.
Pro-Tip: Inoculate the bed with mycorrhizal fungi spores (Glomus intraradices) at 1 ounce per 100 square feet during this phase. The fungal hyphae colonize root surfaces and enhance phosphorus and trace-element uptake, leveraging Azomite's mineral payload.
Transplanting Phase
For individual transplants, sprinkle 1 teaspoon of Azomite directly into each planting hole before setting the root ball. Mix it with the backfill soil to prevent root burn, although Azomite's low solubility makes phytotoxicity unlikely. Firm the soil gently around the stem base and water with 1 cup per plant to eliminate air pockets and activate microbial breakdown of the mineral particles.
Pro-Tip: Dip bare-root transplants in a slurry of 1 part Azomite, 2 parts compost, and enough water to form a paste. This coats root hairs with trace minerals and beneficial microbes, accelerating establishment and auxin distribution.
Establishing Phase
Eight weeks after sowing or transplanting, side-dress established plants with an additional 1 tablespoon of Azomite per plant for heavy feeders like brassicas and fruiting vegetables. Scratch it lightly into the soil 3 inches from the stem to avoid root damage. Water with 0.25 inches to move dissolved minerals downward into the active root zone. Monitor leaf color and growth rate; plants deficient in boron or molybdenum often show stunted terminal growth or yellowing between veins, conditions Azomite can correct over 4 to 6 weeks.
Pro-Tip: Prune tomato suckers at a 45-degree angle to minimize wound surface area and pathogen entry. The trace minerals in Azomite support lignification and cell-wall synthesis, improving wound healing.
Troubleshooting
Symptom: Interveinal chlorosis on young leaves. Solution: Azomite supplies manganese and iron, but high soil pH can lock these elements into insoluble forms. Apply sulfur at 2 pounds per 100 square feet to lower pH to 6.0-6.5, enabling mineral availability.
Symptom: Blossom-end rot in tomatoes despite calcium-rich soil. Solution: Boron deficiency impairs calcium transport. Azomite provides 14 ppm boron, but if rot persists, foliar-spray 1 teaspoon borax dissolved in 1 gallon of water every 10 days.
Symptom: Slow germination and weak seedling vigor. Solution: Cold soil below 55 degrees Fahrenheit inhibits microbial activity required to release Azomite minerals. Warm soil with black plastic mulch for 2 weeks before sowing.
Symptom: White residue on soil surface. Solution: Undissolved Azomite particles appear chalky but are harmless. Increase watering frequency to 1 inch per week to accelerate mineral dissolution.
Maintenance
Reapply Azomite annually at 1 pound per 100 square feet to maintain trace-element reserves. Water established beds with 1 inch per week, delivered in two 0.5-inch sessions to promote deep root growth. Mulch with 2 inches of straw or shredded leaves to reduce dust loss and moderate soil temperature. Test soil every 3 years using a laboratory that measures micronutrients, not just NPK, to avoid over-application.
FAQ
How often should I apply Azomite?
Once per year in early spring or fall suffices for most gardens. Perennial beds may benefit from biannual applications.
Can I mix Azomite with liquid fertilizers?
No. Azomite does not dissolve in water. Apply it as a dry powder and water afterward.
Is Azomite organic?
Yes. OMRI lists it as approved for organic production. It contains no synthetic additives.
Does Azomite expire?
No. Minerals remain stable indefinitely if stored dry. Seal bags tightly to prevent moisture absorption.
Will Azomite harm earthworms?
No. Earthworms ingest soil particles, including Azomite, without adverse effects. The minerals pass through their digestive tracts unchanged.