10 Simple Steps to Clean Rusty Tools
Damp earth and the sharp scent of petrichor signal the start of the primary growing season; however, oxidized iron on a blade disrupts the clean cellular slice required for rapid callus formation. When a bypass pruner is coated in ferric oxide, it introduces jagged micro-tears into the plant tissue. These tears increase the surface area for pathogen entry and reduce the plant's turgor pressure. Understanding the specific steps to clean rusty tools is a requirement for any serious horticulturalist. Oxidation is not merely an aesthetic failure; it is a mechanical one that compromises the structural integrity of high carbon steel. A clean edge ensures that the xylem and phloem are not crushed during pruning, allowing for the uninterrupted flow of water and nutrients. Proper maintenance prevents the spread of soil-borne pathogens throughout the rhizosphere. By following a rigorous restoration protocol, you ensure that your implements function as surgical extensions of your intent, maintaining the biological health of your orchard or garden beds through every season.
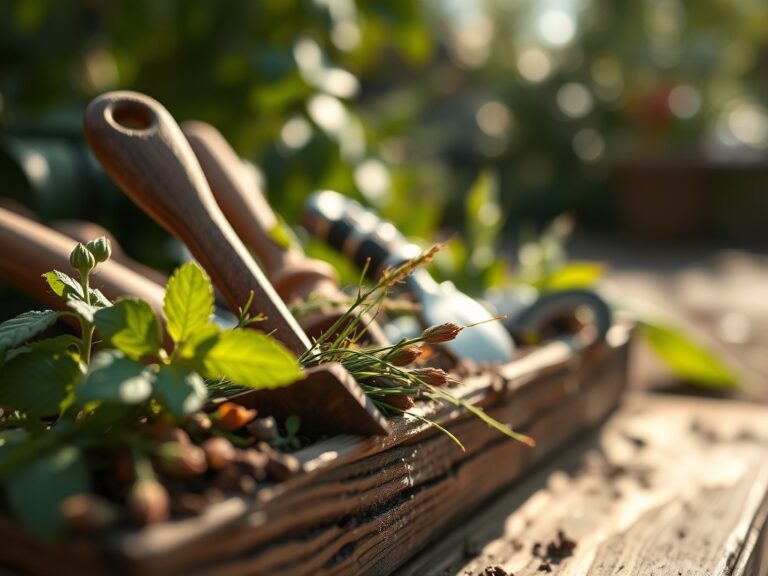
Materials:

While tool maintenance focuses on hardware, the environment where these tools operate is defined by soil chemistry. For optimal plant health, aim for a **friable loam** with a **Cation Exchange Capacity (CEC) between 15 and 25 cmol/kg**. This texture allows for adequate aeration while retaining moisture. Maintain a **soil pH between 6.2 and 6.8** to ensure maximum bioavailability of macronutrients. When preparing your beds, incorporate a balanced **10-10-10 NPK fertilizer** to support initial root development. High nitrogen (N) levels promote vegetative growth, while phosphorus (P) and potassium (K) are essential for ATP production and cellular osmotic regulation. Ensure your substrate is free of heavy compaction to allow the **rhizosphere** to expand without resistance.
Timing:
Tool restoration and soil preparation should align with the Biological Clock of your specific USDA Hardiness Zone. In Zones 5 through 7, the window for tool maintenance is during the dormant winter period, typically between the first hard frost and the spring thaw. This ensures your equipment is ready before the photoperiod increases, triggering the transition from dormancy to the vegetative stage. Perform your primary soil ammendments 3 to 4 weeks before the last frost date. This timing allows the microbial community to stabilize and the nitrogen to become plant-available through mineralization. Monitoring the soil temperature with a probe is essential; do not transplant until the soil consistently reaches 60 degrees Fahrenheit (15.5 degrees Celsius) at a depth of four inches.
Phases:

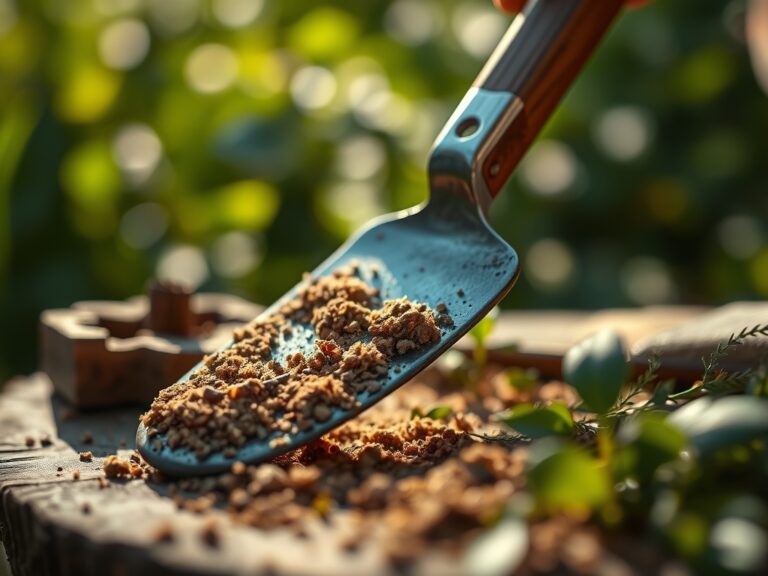
Sowing
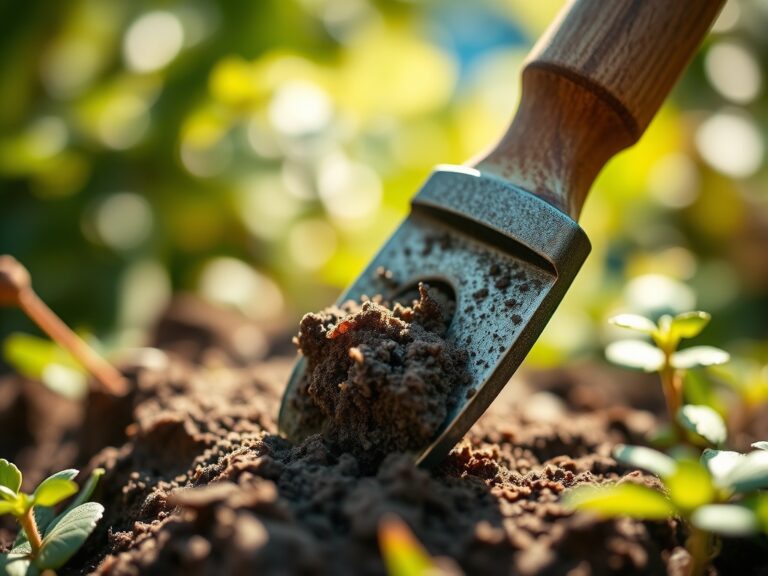
Begin with mechanical cleaning. Use a wire brush to remove large scales of rust from your hori-hori knife or spade. Submerge the metal components in a mild acetic acid solution for 12 to 24 hours. This chemical reaction converts ferric oxide into a water-soluble form. Once the rust is dissolved, neutralize the acid with a basic solution of sodium bicarbonate and water.
Pro-Tip: Maintaining a clean blade prevents the transmission of fungal spores. When a clean cut is made, the plant utilizes auxin suppression to redirect energy toward wound healing rather than lateral bud activation, ensuring the primary leader remains dominant.
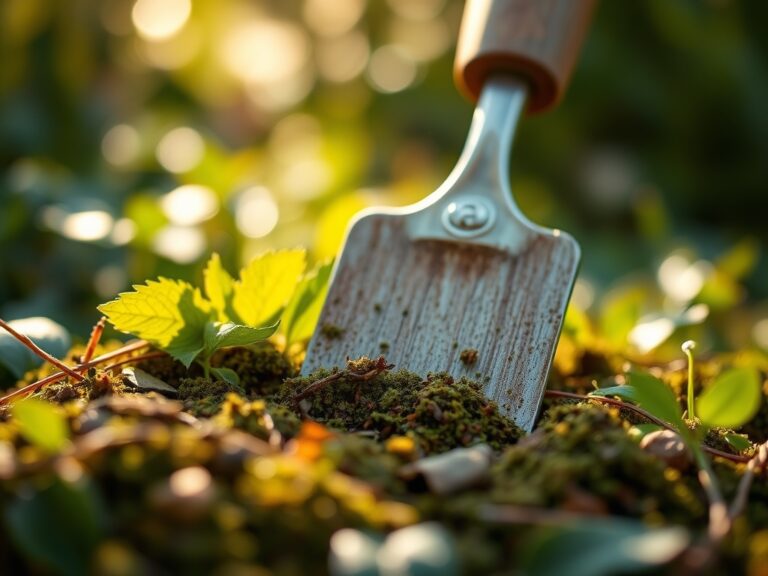
Transplanting
After the chemical bath, use a high-grit sandpaper (300 to 600 grit) to hone the surface. Rinse with distilled water and dry immediately to prevent flash rusting. Apply a thin layer of linseed oil or a food-grade mineral oil to the metal. This creates a hydrophobic barrier that prevents oxygen from reaching the iron molecules.
Pro-Tip: Smooth tool surfaces reduce friction against the soil. This minimizes the disturbance of mycorrhizal symbiosis during transplanting, as the tool slides through the earth without dragging and tearing the delicate fungal hyphae attached to the root system.
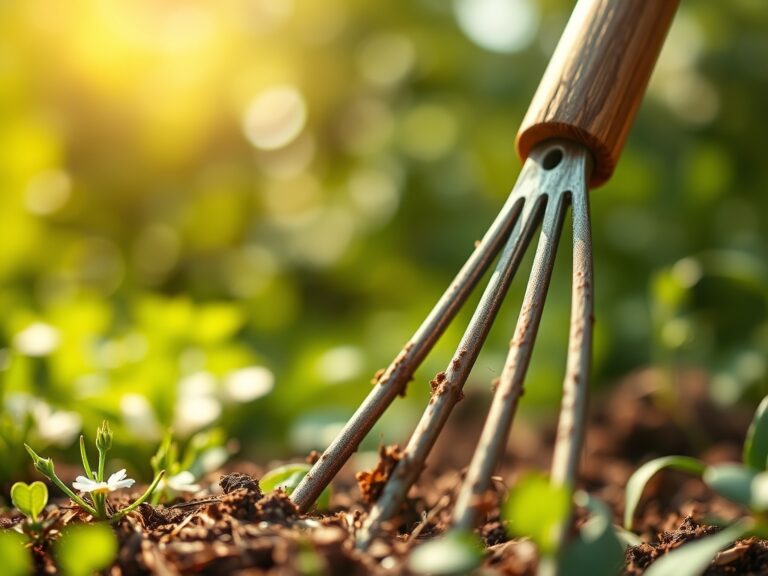
Establishing
Sharpen the edges of your bypass pruners using a whetstone at a 20-degree angle. A sharp edge ensures a clean cut at the branch collar. Store tools in a bucket filled with sand and motor oil to maintain the protective coating between uses. This practice is vital during high-humidity months when atmospheric moisture accelerates oxidation.
Pro-Tip: A surgical cut promotes rapid senescence of the non-essential tissue at the wound site. This allows the plant to seal the vascular system quickly, preventing the loss of internal water pressure and maintaining high leaf turgor.
The Clinic:
Physiological disorders often stem from poor tool hygiene or soil imbalances.
- Symptom: Jagged, brown edges on pruned stems.
- Solution: Sharpen and sterilize blades with 70 percent isopropyl alcohol. This prevents the entry of Botrytis cinerea and other necrotrophic pathogens.
- Symptom: Interveinal chlorosis in new growth (Nitrogen deficiency).
- Solution: Apply a quick-release high-nitrogen fertilizer (20-0-0). Check soil pH; if it is above 7.5, nitrogen uptake is inhibited regardless of soil concentration.
- Symptom: Purpling of lower leaves (Phosphorus deficiency).
- Solution: Incorporate bone meal or triple superphosphate into the root zone. Cold soil temperatures often cause temporary phosphorus lockout.
- Symptom: Leaf tip burn or marginal necrosis.
- Solution: Flush the soil with 2 inches of water to leach excess salts. Calibrate your soil moisture meter to ensure you are not over-irrigating, which can lead to root anoxia.
Maintenance:
Precision is the hallmark of professional horticulture. Provide 1.5 inches of water per week delivered at the drip line rather than the base of the stem to encourage lateral root expansion. Use a soil moisture meter daily to maintain a consistent moisture profile of 40 to 60 percent field capacity. Inspect your bypass pruners after every use; if sap buildup is present, remove it with a solvent to prevent the blades from sticking. Lubricate the pivot bolt with a drop of machine oil every 10 hours of use. For large-scale digging, ensure your spade is kept at a 45-degree angle when entering the soil to maximize leverage and minimize physical strain on the tool's handle.
The Yield:
Harvesting should occur during the period of maximum sugar concentration, usually in the early morning after the dew has evaporated but before the heat of the day. Use your cleaned and sharpened hori-hori knife to sever the stem. For woody perennials, cut at a 45-degree angle away from the bud to prevent water from pooling on the wound. Post-harvest, submerge the cut ends in 40-degree Fahrenheit (4.4 degrees Celsius) water to remove field heat and preserve cellular turgor. This process, known as hydro-cooling, extends the shelf life and maintains the crisp texture of the produce by slowing the rate of respiration.
FAQ:
How long should tools soak in vinegar?
Soak rusty tools in white vinegar for 12 to 24 hours. Heavy oxidation may require a longer duration. After soaking, use a stiff brush to scrub away the softened rust and rinse with a baking soda solution.
What is the best oil for garden tools?
Linseed oil or mineral oil are the most effective options. These oils create a durable, hydrophobic barrier that prevents moisture from contacting the metal. Avoid vegetable oils, as they can become rancid and sticky over time.
Why is soil pH important for tool care?
Highly acidic soils (pH below 5.0) accelerate the corrosion of metal tools. If you work in acidic conditions, rinse your tools with fresh water immediately after use to remove residual ions that promote the oxidation process.
Can I use steel wool to clean rust?
Yes, Grade 00 or 000 steel wool is excellent for removing surface rust without deeply scratching the metal. For heavy pitting, start with a coarser wire brush before moving to the finer steel wool for a polished finish.