7 Simple Steps to Organize a Tool Event
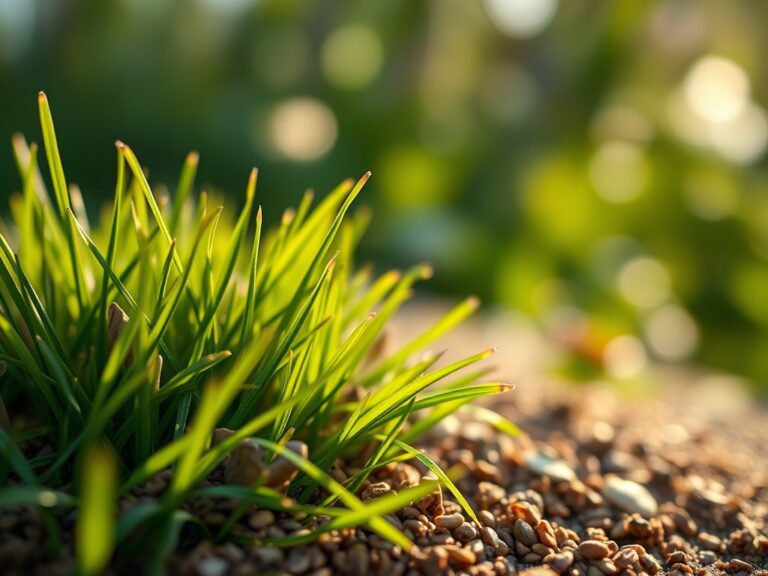
Damp earth releases geosmin when the soil is disturbed; this earthy scent signals a healthy microbial community within the rhizosphere. A garden with high turgor pressure in its foliage provides the necessary structural integrity to withstand the foot traffic of a public gathering. Learning how to prepare a garden for a tool organization event requires a systematic approach to soil management and spatial logistics. You must transition the landscape from a productive workspace into a demonstration-ready environment.
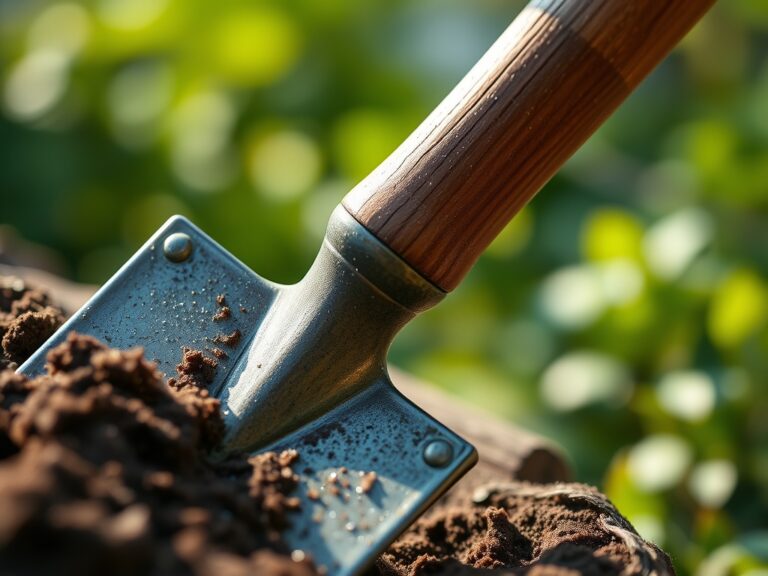
The process begins with stabilizing the soil structure to prevent compaction during the event. High-traffic areas require a firm, well-draining substrate to protect delicate root systems from anaerobic conditions. You are not just cleaning a shed; you are curating a living laboratory where tool efficiency meets botanical health. Every square foot of the garden must be evaluated for its ability to host heavy equipment and human movement without compromising the soil's Cation Exchange Capacity (CEC). Proper preparation ensures that the demonstration of a sharp hori-hori knife or a pair of bypass pruners occurs against a backdrop of peak physiological health.
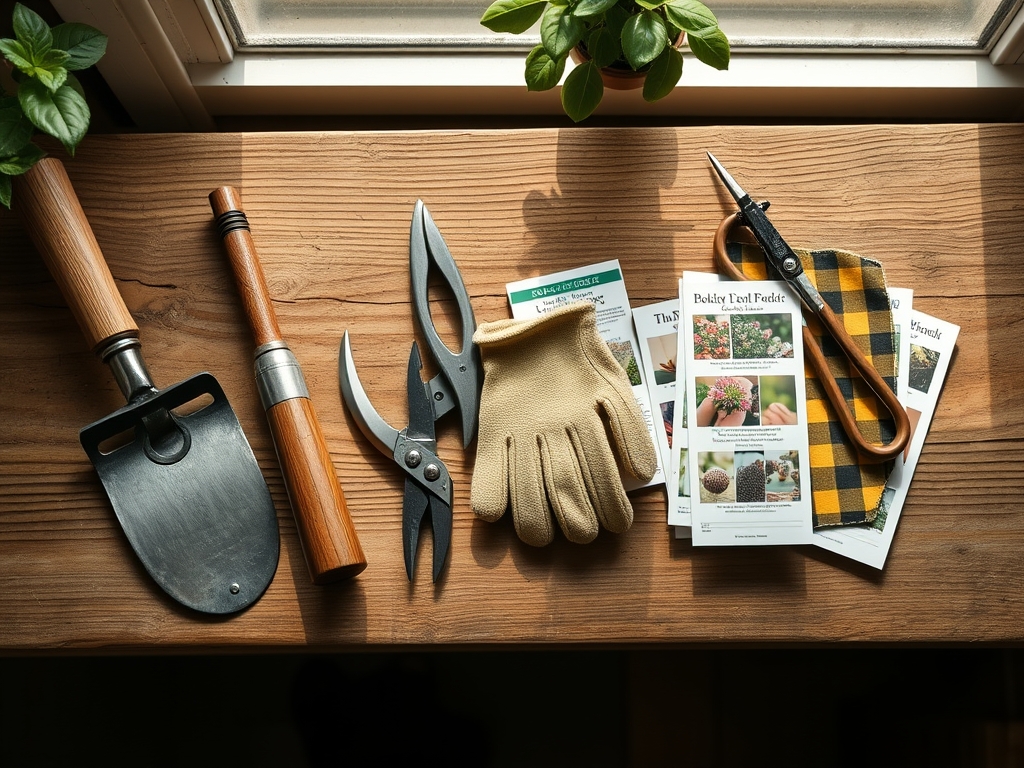
Materials:
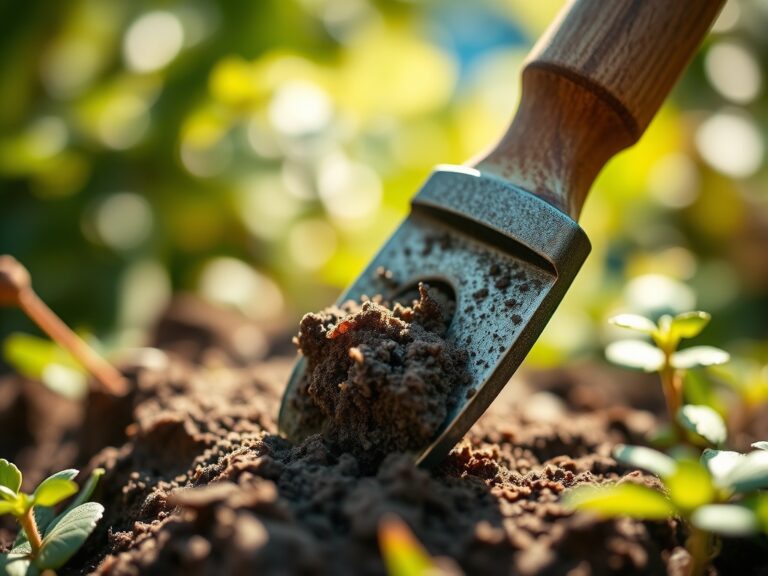
To prepare the site, you must manage the nutrient profile and physical texture of the soil. The ideal substrate is a **friable loam** consisting of 40% sand, 40% silt, and 20% clay. This balance ensures optimal drainage while retaining sufficient moisture for plant turgidity. Maintain a **soil pH between 6.2 and 6.8** to ensure maximum nutrient bioavailability.
For vegetative support during the event, apply a low-nitrogen fertilizer with an NPK ratio of 5-10-10. This ratio prioritizes root development and cellular strength over rapid, weak succulent growth. High phosphorus levels (the middle number) encourage sturdy stems that can withstand accidental contact. Use a soil moisture meter to verify that the root zone maintains a consistent 15% to 20% volumetric water content.
Timing:
Timing is dictated by the Hardiness Zone and the biological clock of the local flora. In Zones 5 through 7, the window for a tool event is best situated between the last spring frost and the summer solstice. This period aligns with the transition from the vegetative stage to the reproductive stage when plants have high auxin levels and rapid healing capabilities.
Schedule the event at least 14 days after the final frost date to ensure the soil has warmed to a minimum of 55 degrees Fahrenheit (12.8 Celsius). At this temperature, soil microbes become active, facilitating the breakdown of organic matter. Avoid organizing events during the peak photoperiod of the summer solstice; excessive heat causes high transpiration rates, leading to temporary wilting and plant stress.
Phases:

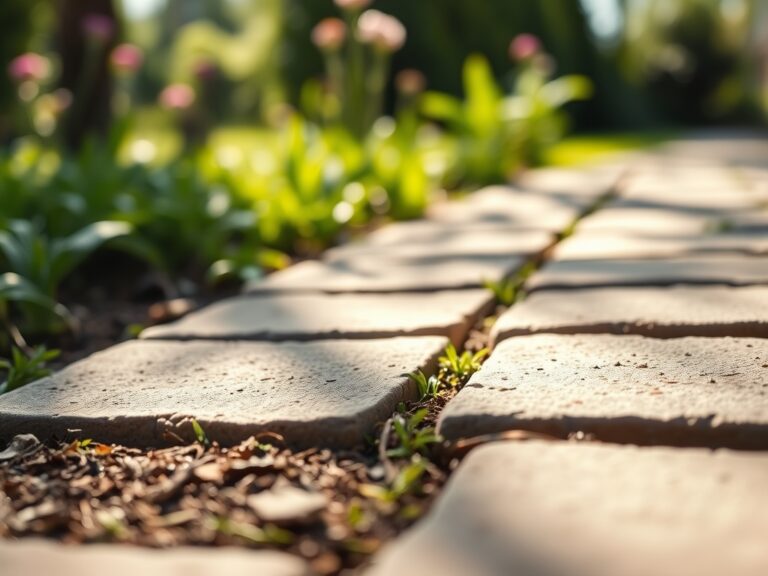
Sowing and Site Leveling
Clear the staging area of all debris. If you are planting annuals for aesthetic borders, sow seeds at a depth of three times their diameter. Use a rake to level the soil, ensuring there are no depressions where water can pool.
Pro-Tip: Proper site leveling prevents localized hypoxia in the roots. When water settles in low spots, it displaces oxygen in the soil pores, leading to root rot and the cessation of nutrient uptake.
Transplanting and Structural Support
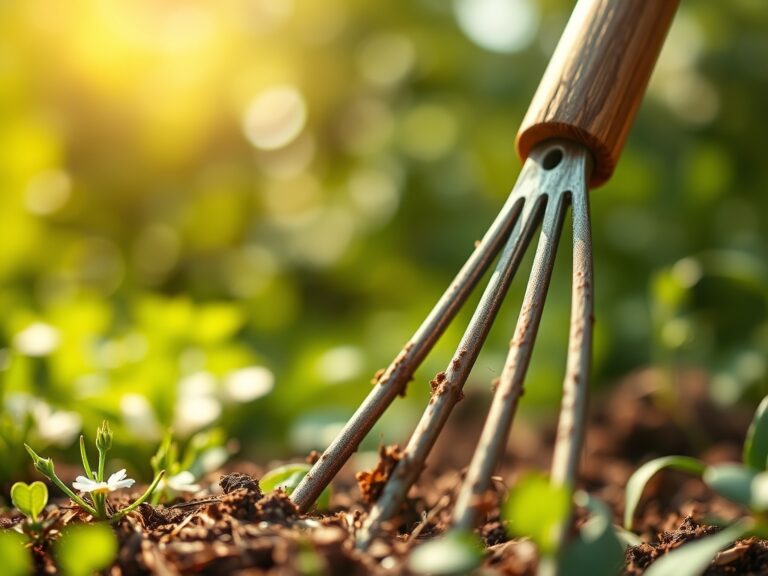
When moving established perennials to clear space for tool racks, maintain a root ball diameter at least 12 inches for every inch of trunk caliper. Use a hori-hori knife to clean-cut any circling roots, which encourages lateral branching.
Pro-Tip: Minimize transplant shock by maintaining the same orientation to the sun. This respects the plant's established phototropism, preventing the energy expenditure required to reorient leaves toward the light source.
Establishing and Hardening
Two weeks before the event, reduce irrigation frequency but increase the volume. This "hardens" the plants by encouraging deeper root penetration into the subsoil. Apply a 2-inch layer of arborist wood chips to the walking paths to distribute weight and prevent compaction.
Pro-Tip: Mycorrhizal symbiosis is enhanced when soil is left undisturbed. The fungal hyphae extend the root system's reach, allowing the plant to access water and phosphorus that would otherwise be unavailable.
The Clinic:
Physiological disorders can detract from the professional appearance of the garden. Use the following diagnostic criteria to address issues before guests arrive.
Symptom: Interveinal chlorosis on young leaves.
Solution: This indicates an Iron (Fe) deficiency, often caused by a pH above 7.0.
Fix-It: Apply chelated iron to the soil or lower the pH using elemental sulfur to reach the 6.5 target.
Symptom: Marginal leaf burn or "scorching."
Solution: This is typically Potassium (K) deficiency or salt accumulation.
Fix-It: Flush the soil with 2 inches of water to leach excess salts and apply a 0-0-50 sulfate of potash supplement.
Symptom: Stunted growth with purple tinting on the underside of leaves.
Solution: Phosphorus (P) deficiency, common in cold soils below 50 degrees Fahrenheit.
Fix-It: Apply a water-soluble 10-30-10 fertilizer to provide immediately available orthophosphates.
Maintenance:
Precision is the hallmark of a master gardener. Provide exactly 1.5 inches of water per week delivered at the drip line via drip irrigation or a soaker hose. This prevents foliar diseases like powdery mildew by keeping the leaves dry.
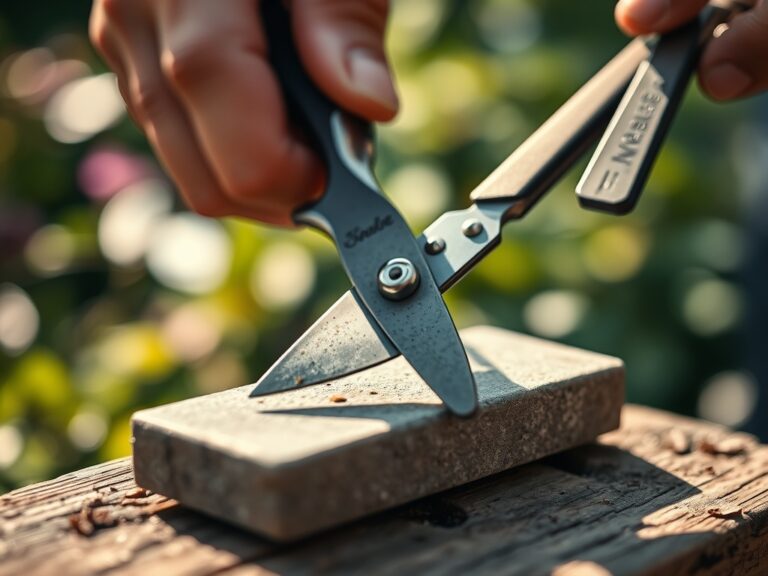
Use bypass pruners for all live wood cuts; anvil pruners crush the vascular cambium and delay healing. Every cut should be made at a 45-degree angle just above a lateral bud to direct growth away from the center of the plant. Monitor the site daily with a soil moisture meter to ensure the tension remains between 10 and 30 centibars.
The Yield:
If the tool event involves harvesting demonstrations, timing is critical for post-harvest longevity. Harvest leafy greens and herbs before 8:00 AM when the plant is at maximum turgidity. Use a sharp blade to minimize cellular damage at the wound site.
Immediately submerge the cut ends in 40-degree Fahrenheit water to remove field heat. This process slows down the rate of respiration and prevents the onset of senescence. For woody stems, a vertical slit at the base of the stem increases the surface area for water uptake, extending the "day-one" freshness for the duration of the event.
FAQ:
How do I prevent soil compaction during a garden event?
Apply a 3-inch layer of organic mulch or layout plywood sheets over high-traffic zones. This distributes the downward pressure and protects the soil macropores, which are essential for gas exchange and water infiltration.
What is the best way to clean tools for a public demo?
Wipe blades with 70% isopropyl alcohol to prevent the transmission of pathogens like Fusarium or Verticillium. After sterilization, apply a thin coat of mineral oil to prevent oxidation and ensure smooth mechanical operation.
How much water do plants need before an event?
Aim for one inch of water applied 48 hours prior. This ensures the cells are fully hydrated and the plants appear upright and healthy, without making the soil muddy or difficult for guests to walk on.
When should I stop fertilizing before a tool event?
Cease all high-nitrogen applications three weeks prior. This prevents the growth of tender, succulent shoots that are easily bruised by equipment or passing guests, ensuring the plant's cuticle is thick and resilient.