8 Quick Steps to Clean a Digging Spade
The smell of damp earth signals a healthy rhizosphere, where the turgor pressure of a well hydrated plant meets the resistance of a sharp blade. Maintaining this interface requires discipline. Following specific steps for cleaning a garden spade after use prevents the mechanical degradation of the tool and the cross contamination of soil pathogens. A neglected spade carries dormant fungal spores and acidic residue that compromises the integrity of the high carbon steel over time.
Efficiency in the field depends on the condition of your edge. A spade coated in dried clay increases physical exertion and disrupts the delicate soil structure during penetration. By establishing a rigorous cleaning protocol, you ensure that every cut into the earth is precise. This process begins the moment the blade leaves the ground. It is not merely about aesthetics; it is about preserving the metallurgical properties of the tool and protecting the biological health of your next planting site. Proper maintenance ensures the tool remains an extension of the horticulturist's intent.
Materials:
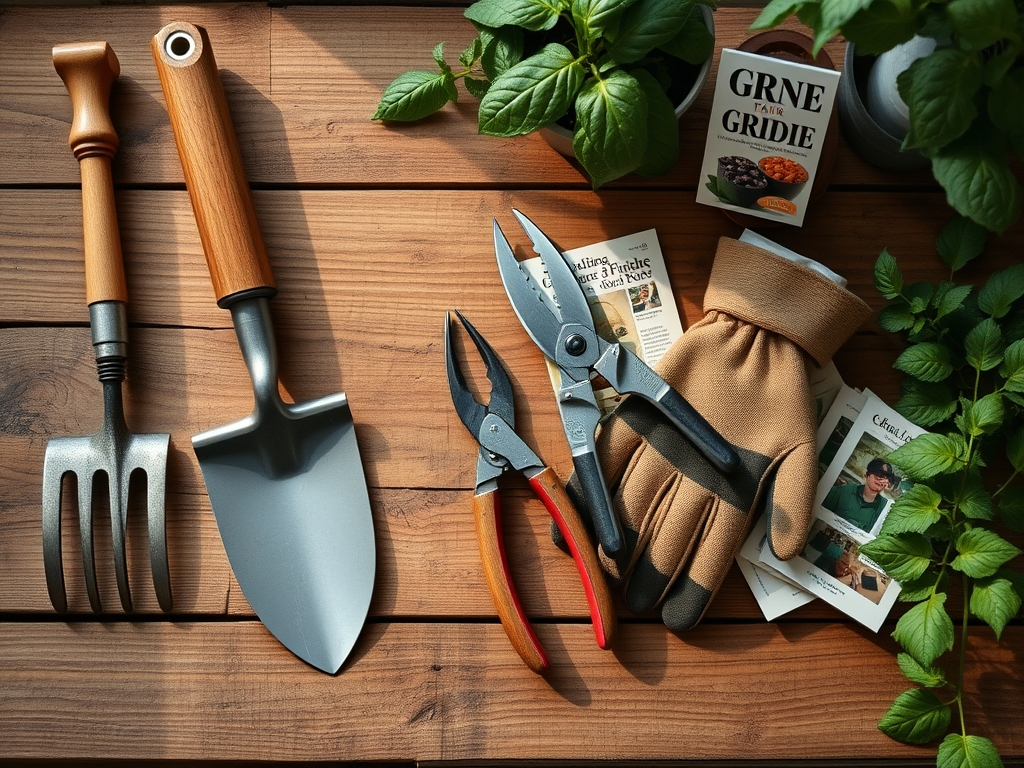
Cleaning a spade involves managing the chemical residue of the substrate. In a **friable loam** with a **pH of 6.5**, the soil is rich in organic matter but less corrosive than highly acidic peat based mixes. If you are working in soils with high **Cation Exchange Capacity (CEC)**, such as heavy clays, the mineral adhesion is significant. You will need a stiff bristled brush, a 5 gallon bucket filled with builders sand, and **1 quart of linseed oil**. For disinfection, utilize a solution of **70 percent isopropyl alcohol**.
To understand the impact of soil on your tools, consider the nutrient profile of the earth you move. A standard 10-10-10 NPK fertilizer application increases salt concentrations in the soil. These salts are hygroscopic; they pull moisture from the air and accelerate oxidation on steel surfaces. The physical texture of the ideal substrate for tool storage is dry, coarse sand, which provides mechanical abrasion to remove micro-pitting while excluding oxygen.
Timing:
In Hardiness Zones 5 through 7, the window for intensive spade use typically spans from the last frost date in April to the first hard freeze in November. During the "Biological Clock" transition from vegetative growth to reproductive stages, the spade is used for root pruning or transplanting. Cleaning must occur immediately after these tasks. In the heat of July, soil dries onto the blade within 15 minutes, forming a hardened crust that requires significant force to remove.
Winter storage requires a different cadence. As plants enter senescence and the ground reaches a temperature below 40 degrees Fahrenheit, tools must be deep cleaned and oiled for dormancy. This prevents the "flash rust" that occurs when humidity fluctuates during the freeze-thaw cycles of late winter. If you ignore the spade after the final autumn bulb planting, the moisture trapped in the soil residue will pit the metal by spring.
Phases:

Sowing and Preparation
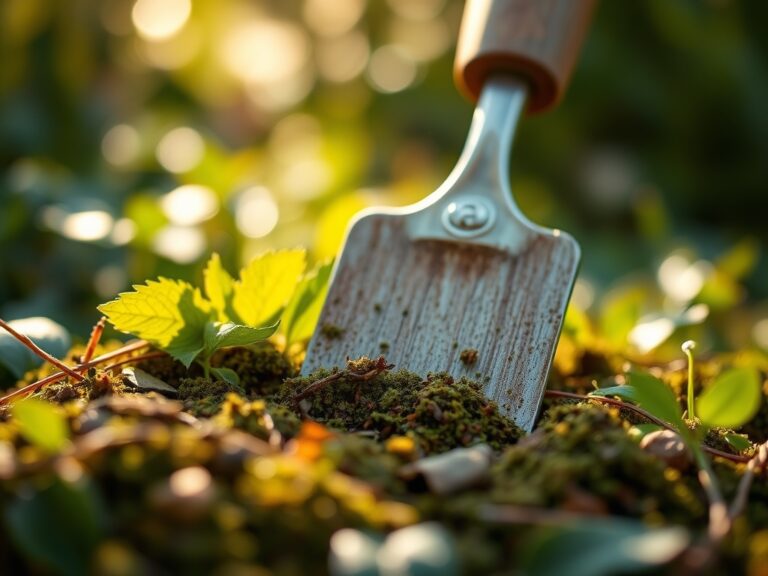
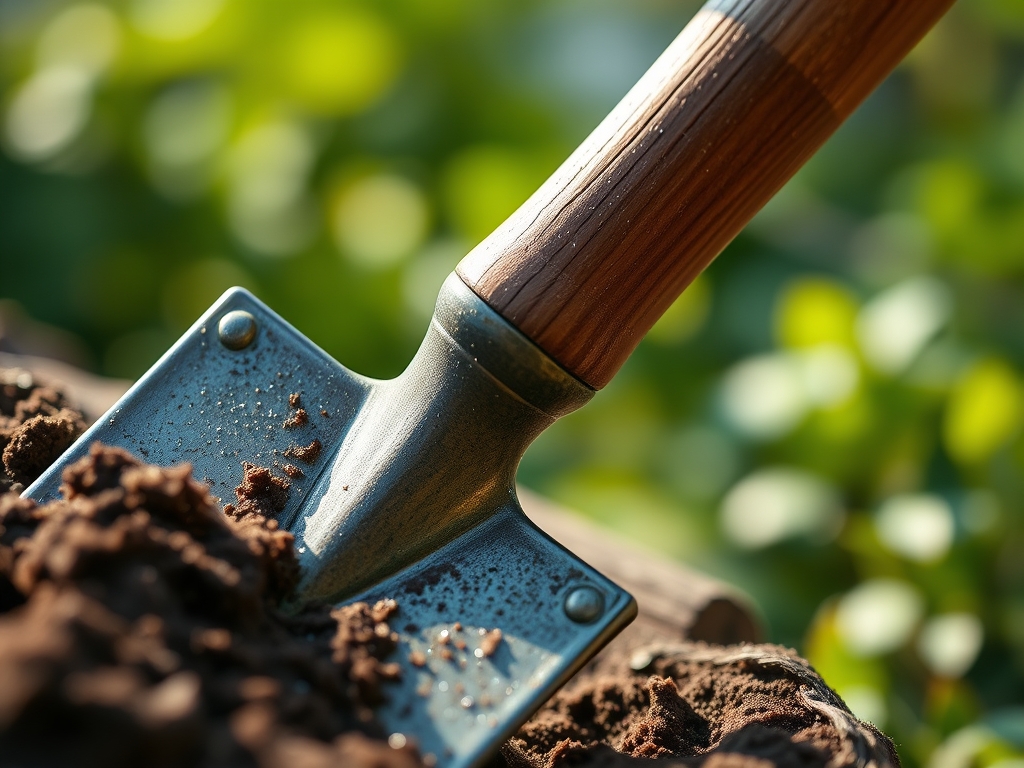
The first phase involves removing bulk organic matter. Use a hori-hori knife to scrape away large clods of earth. Focus on the "shoulder" of the spade where the handle meets the blade, as this is a high stress point for fungal accumulation. Rinse the blade with a steady stream of water to dislodge fine particulates.
Pro-Tip: Removing soil prevents the transfer of mycorrhizal fungi between incompatible zones. While these fungi are generally beneficial, introducing non-native fungal strains to a specific rhizosphere can disrupt the established symbiotic balance of the existing root systems.
Transplanting and Root Management
When moving established perennials, the spade contacts root exudates and sap. These sticky substances act as adhesives for pathogens. Use a scouring pad to remove all biological films. If the plant was showing signs of wilt, soak the blade in a 10 percent bleach solution for 30 seconds.
Pro-Tip: Clean blades reduce the risk of auxin suppression. A jagged, dirty cut on a root tip triggers a stress response that halts the production of auxins, the hormones responsible for root elongation. A clean cut allows the plant to resume growth immediately.
Establishing and Storage
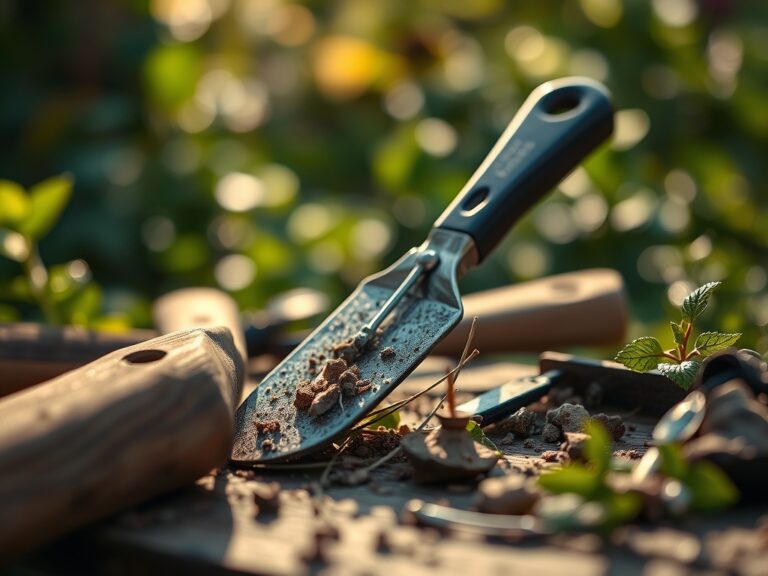
The final phase is the "Sand Bucket Dip." Submerge the clean, dry spade into a bucket of sand mixed with motor oil or linseed oil. This coats the metal in a hydrophobic layer. Wipe away excess oil with a lint free rag to ensure the handle remains slip resistant for the next use.
Pro-Tip: This step prevents phototropism interference in storage. Reflective, clean metal surfaces in a shed can occasionally bounce concentrated light onto stored bulbs or sensitive seedlings, triggering improper growth directions before they are planted in the field.
The Clinic:
Symptom: Orange Pitting (Oxidation)
Solution: This is iron oxide forming on the steel surface. Use a wire brush or 80-grit sandpaper to grind down to the raw metal.
Fix-It: Apply a thin layer of penetrating oil and buff. To prevent recurrence, never store the spade touching a concrete floor, which wicks moisture.
Symptom: Handle Splitting
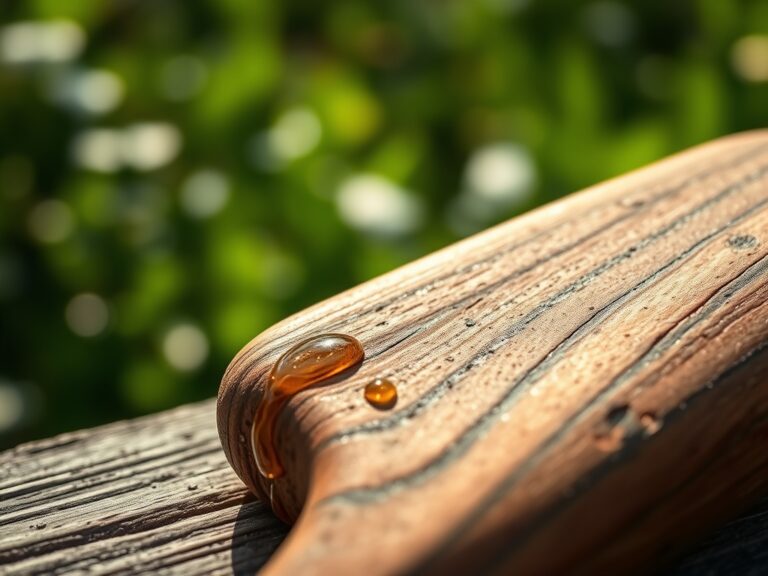
Solution: Dehydration of the wooden shaft, usually ash or hickory.
Fix-It: Sand the wood with 120-grit paper and rub in boiled linseed oil. Repeat until the wood no longer absorbs the liquid. This restores the structural integrity needed for high leverage digging.
Symptom: Nitrogen Chlorosis in New Transplants
Solution: Yellowing of older leaves after using a dirty spade.
Fix-It: This often indicates that the spade transferred a soil borne pathogen like Fusarium. Sterilize the tool with alcohol and apply a 5-10-5 NPK liquid feed to the affected plant to support immune recovery.
Maintenance:
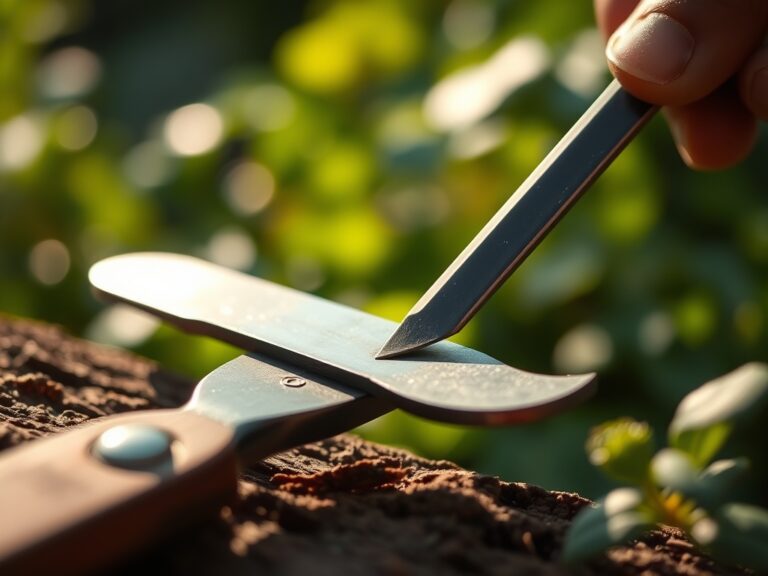
A professional horticulturist maintains a strict schedule. Check the edge of your digging spade every 10 hours of use. Use a 10 inch mill bastard file to sharpen the leading edge at a 45 degree angle. Only sharpen the front face of the blade; the back should remain flat to ensure clean soil ejection.
Irrigation management for your tools is as vital as it is for your plants. If you use a soil moisture meter and find the ground is above 25 percent moisture, the cleaning process will take twice as long due to soil adhesion. Always carry bypass pruners to snip thick roots rather than forcing the spade through them, which can dull the blade and bend the tip.
The Yield:
While a spade is a preparation tool, its cleanliness directly impacts the yield of root crops like carrots or potatoes. A clean, sharp spade allows for harvesting without bruising the specialized storage tissues of the plant. To maintain "day-one" freshness for harvested tubers, use the spade to lift the entire soil block, then gently crumble the earth away by hand. This avoids mechanical injury that leads to rapid senescence and rot in storage.
FAQ:
Why should I use sand and oil to clean my spade?
The sand provides mechanical abrasion to remove microscopic rust and dirt. The oil creates a hydrophobic barrier that prevents oxygen and moisture from reaching the metal, stopping oxidation and preserving the sharp edge of the tool.
Can I use water alone to clean my tools?
Water removes bulk soil but promotes flash rust if the tool is not dried immediately. Water also fails to neutralize soil pathogens or remove sticky resins and sap that can harbor bacteria and fungi.
How often should I disinfect my garden spade?
Disinfect the spade after every use if you are working with diseased plants. For routine maintenance, a weekly disinfection with 70 percent isopropyl alcohol is sufficient to prevent the spread of common soil borne pathogens between garden beds.
What is the best oil for tool maintenance?
Boiled linseed oil is the professional standard. It is a drying oil that creates a hard, protective film on both metal and wood. Unlike petroleum based oils, it is less likely to contaminate the soil with harmful hydrocarbons.