9 Expert Ways How to Sharpen Garden Shears
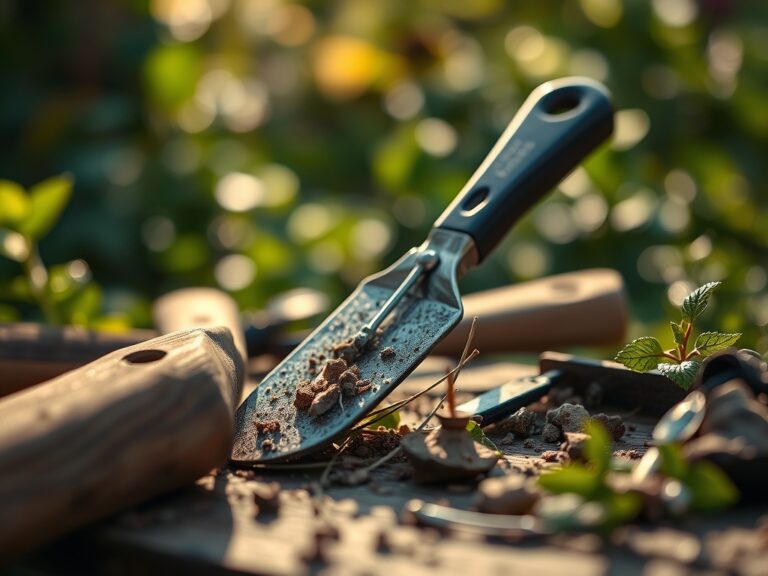
The scent of bruised chlorophyll and damp earth signals the height of the pruning season. When a blade is dull, it crushes the vascular cambium rather than slicing it; this jagged trauma inhibits the plant's ability to seal the wound through compartmentalization. A clean cut maintains the turgor pressure within the xylem and phloem, ensuring the specimen remains hydrated and resistant to opportunistic pathogens. Learning how to sharpen garden shears is a fundamental requirement for any horticulturist managing a high-density orchard or a delicate perennial border. Precision in the edge profile directly correlates to the rate of wound occlusion and the overall health of the rhizosphere.
Materials:
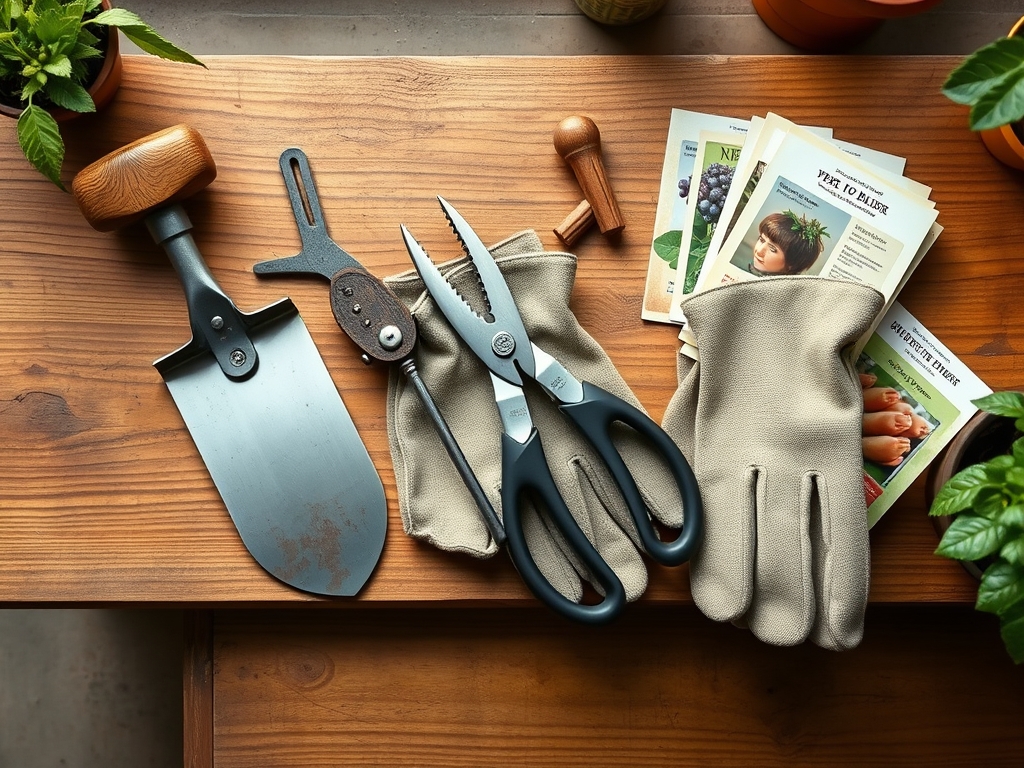
While sharpening is a mechanical process, the environment where your plants reside dictates the frequency of maintenance. Tools used in a **friable loam** with a **pH of 6.5** encounter less abrasive grit than those used in sandy soils with low Cation Exchange Capacity (CEC). For plants requiring a high-nitrogen environment, such as those with an **NPK ratio of 10-5-5**, rapid vegetative growth necessitates frequent, sharp cuts to manage canopy density. You will need a **diamond whetstone (400 and 1000 grit)**, a **3-in-1 oil or linseed oil**, and **isopropyl alcohol (70%)** for sterilization. The goal is to remove the microscopic burrs that form during the shearing of woody lignified tissue.
Timing:
Maintenance must align with the biological clock of the garden. In Hardiness Zones 5 through 7, the primary sharpening window occurs during the dormant phase, typically between the first hard frost and the late winter thaw. Pruning during the transition from the vegetative stage to the reproductive stage requires peak blade performance to avoid stressing the plant during flower induction. For deciduous species, this timing prevents the depletion of stored carbohydrates in the root system. Always sharpen before the spring sap flow begins, as the increase in hydrostatic pressure makes the bark more susceptible to tearing if the blade is even slightly compromised.
Phases:

Sowing the Edge
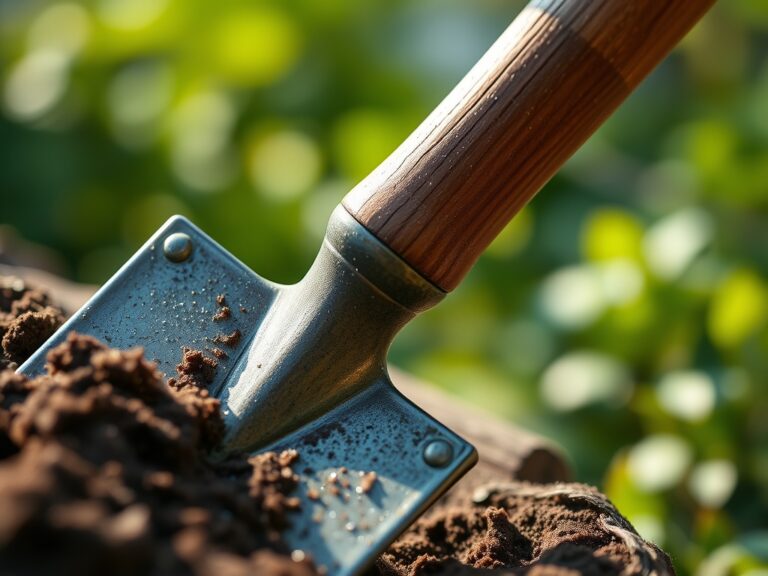
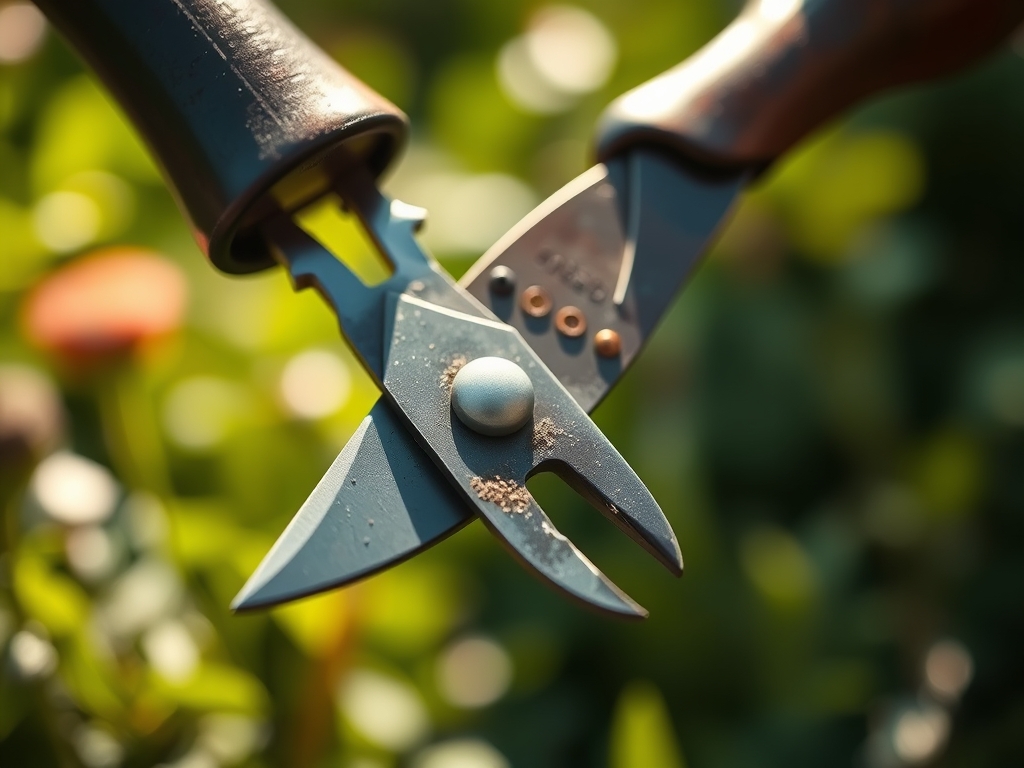
Begin by disassembling the bypass pruners to expose the entire length of the cutting blade. Use a stiff wire brush to remove oxidized metal and dried sap. This prevents the transfer of necrotic tissue between specimens. If the blade has deep nicks from hitting wire or stones, use a medium-grit file to reset the bevel angle, which is typically 20 to 25 degrees.
Pro-Tip: Maintaining a consistent bevel angle ensures that the force applied during the cut is distributed evenly across the cell walls. This prevents the collapse of the xylem vessels, which is essential for maintaining hydraulic conductance post-pruning.
Transplanting the Metal
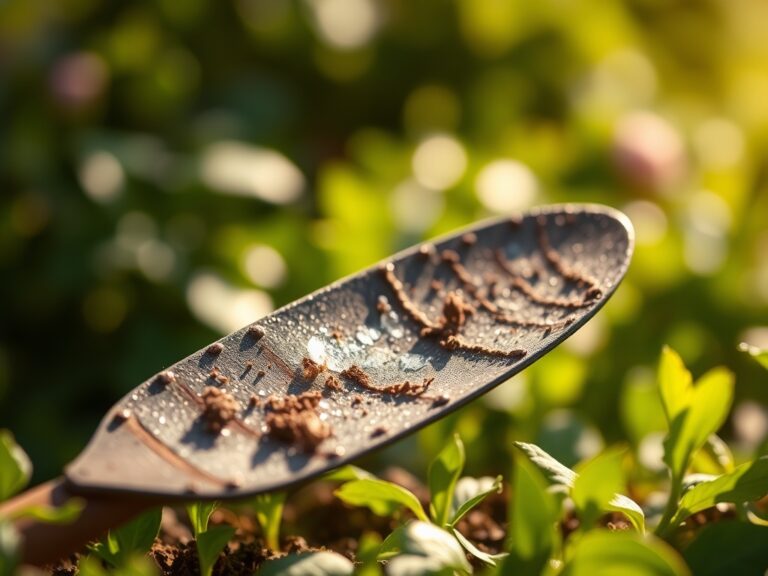
Move to the 1000-grit diamond stone. Lubricate the surface with oil to float away metal filings. Stroke the stone from the base of the blade toward the tip in a single, fluid motion. Repeat this process until a fine wire edge, or burr, forms on the flat backside of the blade. This indicates that the two planes of the bevel have successfully intersected at a molecular level.
Pro-Tip: A sharp blade reduces the release of ethylene gas at the site of the cut. Ethylene is a stress hormone that can trigger premature senescence in neighboring tissues if the wound is ragged and slow to heal.
Establishing the Finish
Remove the burr by lightly running the stone flat against the back of the blade once. Reassemble the tool and adjust the tension nut. The blades should slide past each other with minimal resistance but no lateral play. Apply a thin coat of oil to prevent oxidation and reduce friction during the next use.
Pro-Tip: Reducing friction prevents localized heat buildup during heavy pruning. Excessive heat can cause thermal denaturation of proteins in the delicate cambium layer, leading to localized dieback and "die-back" disease.
The Clinic:
Physiological disorders often stem from poor tool maintenance. Observe the following symptoms to diagnose issues in your garden:
- Symptom: Ragged, white fibers protruding from a cut.
- Solution: The blade is dull and crushing the lignin. Sharpen immediately using a 400-grit stone to restore the cutting edge.
- Symptom: Localized necrosis at the pruning site.
- Solution: Pathogen transfer. Sterilize blades with 70% isopropyl alcohol between every plant to stop the spread of fungal spores.
- Symptom: Yellowing of new growth (Chlorosis).
- Fix-It: While often a Nitrogen deficiency, check for mechanical damage at the base of the stem. If the bark is stripped by dull shears, the plant cannot transport nutrients. Supplement with a chelated iron spray and sharpen your tools.
Maintenance:
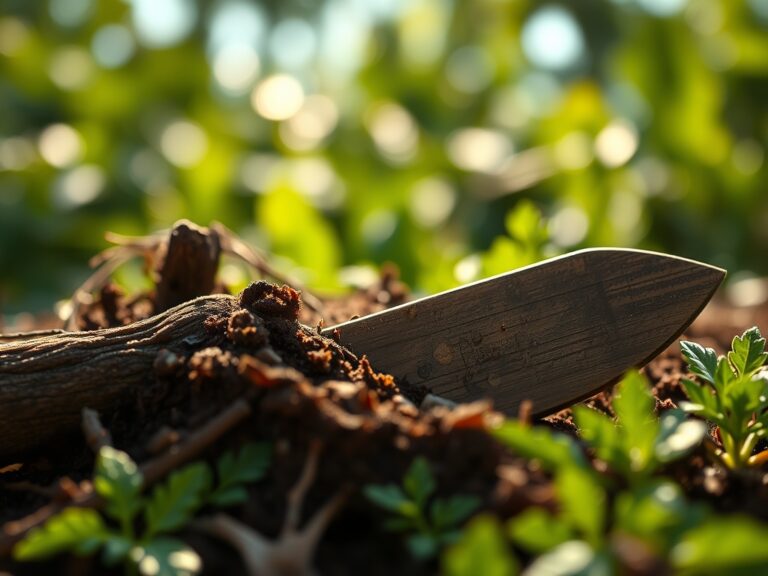
A professional garden requires more than just sharp steel. Ensure your plants receive 1.5 inches of water per week at the drip line, monitored by a soil moisture meter. Use a hori-hori knife for weeding to avoid disturbing the delicate mycorrhizal fungi networks in the top 4 inches of soil. After every use, wipe your bypass pruners with a dry cloth. If you are working in high-tannin plants like oaks, use a specialized solvent to dissolve the resin before it hardens on the blade.
The Yield:
When harvesting herbs or woody perennials, the timing must be precise. Harvest in the early morning when turgor pressure is at its peak. Use your freshly sharpened shears to make a clean, 45-degree angle cut just above a lateral bud. This encourages the plant to redirect auxins to the side shoots, promoting a bushier growth habit. For "day-one" freshness, immediately submerge the cut ends in cool water to maintain the vacuum within the vascular system, preventing air embolisms that lead to wilting.
FAQ:
How often should I sharpen my shears?
Sharpen after every 10 to 15 hours of heavy use or whenever you notice the blade pinching the wood rather than slicing it. High-carbon steel holds an edge longer but requires immediate drying to prevent rust.
Can I use a power grinder to sharpen?
Avoid power grinders. The high RPMs generate excessive heat that can ruin the temper of the steel, making the metal brittle and unable to hold a sharp edge during future pruning tasks.
What is the best lubricant for garden tools?
Use food-grade mineral oil or linseed oil. These are non-toxic to the plant's vascular system and provide a hydrophobic barrier that prevents moisture from oxidizing the metal surface between uses.
Why do my shears keep sticking?
Sticking is usually caused by sap accumulation or a loose pivot bolt. Clean the blades with a solvent and tighten the nut until the blades bypass each other without a visible gap.